Pololu-Romi-Arm-Assembler
|
|
En cours de traduction/élaboration. |
Micro gripper with position feedback servo
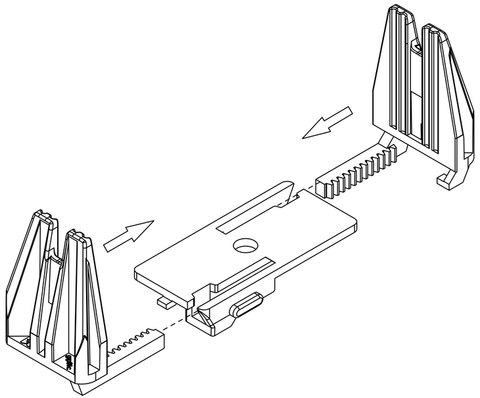
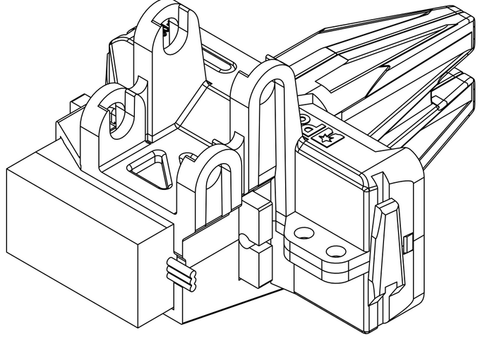
1. Slide the two gripper paddles into the slots on the gripper plate and push them together until they meet at the center.
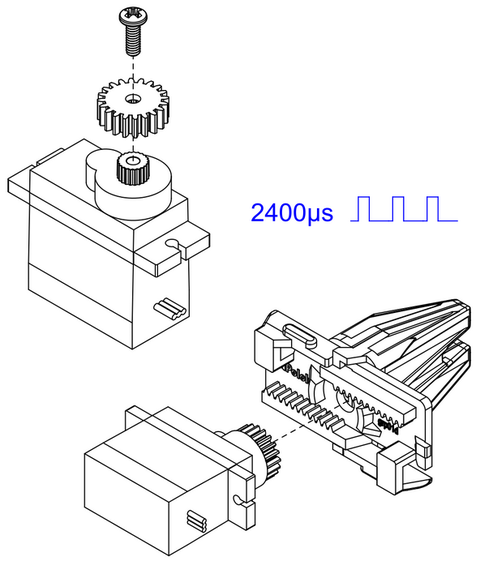
2. Install the gripper pinion gear on the micro servo using the included screw and use your servo controller to command the servo to the fully closed position (2400 µs pulse duration). Holding the gripper paddles together, insert the pinion gear between the paddles, making sure the servo is in the orientation as shown.
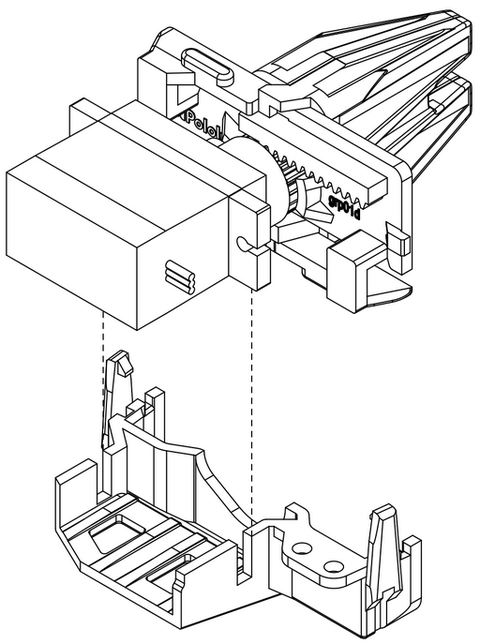
3. Keeping the paddles and servo in place, slide the assembly into the bottom micro gripper case.
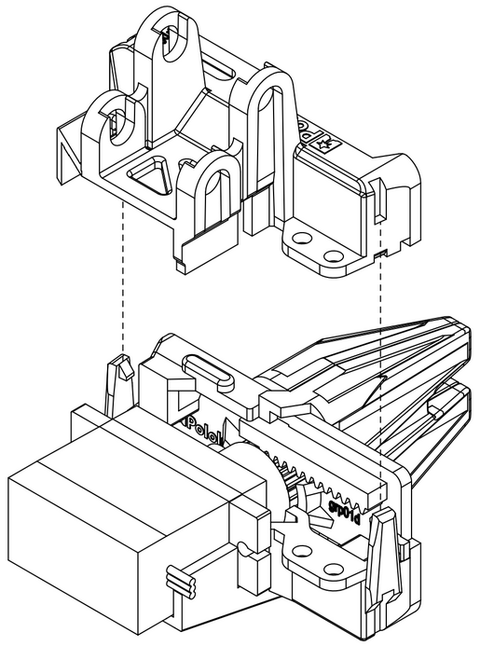
4. Align the top micro gripper case with the bottom micro gripper case and press them together, ensuring the clips snap closed.
Your gripper subassembly is now complete! If you ever need to open the micro gripper case. you can gently lift on the clips and pull them apart. A small screwdriver can help get under the clip. Set it aside for now; you will attach it to the end of the arm once it is assembled.
Robot Arm Kit for Romi assembly
| Do not overtighten screws. The screws used in the joints of the arm should be firmly tightened, but not enough to deform the nylon spacers. Overtightening the screws can increase the friction in the joints and result in much higher loads on your servos, potentially leading to damage. |
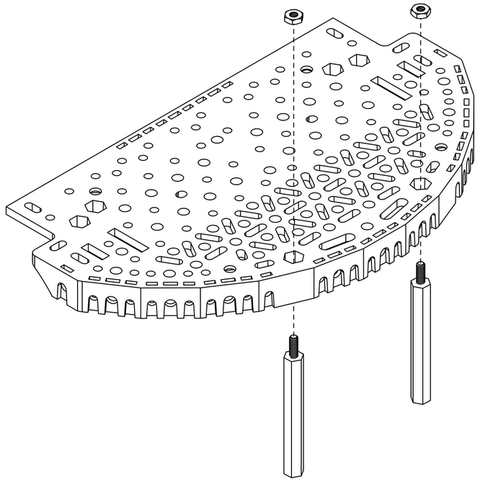
1. Since the servos will be mounted on top of the mounting holes for the standoffs, install the standoffs on the Romi expansion platform first. Start by putting the #2 nuts in the hexagonal holes shown below, and threading them onto the 1.5″ aluminum standoffs inserted through the mounting hole in the Romi expansion platform.
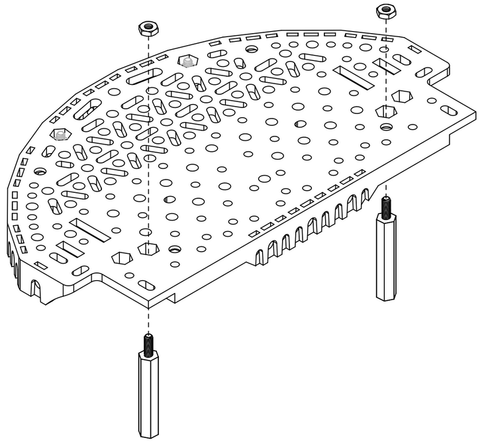
2. Do the same for the 1″ standoffs on the front of the platform. Note that you should be using the two mounting holes closer to the center of the chassis.
