Différences entre versions de « RASP-PI-3G »
(→Aperçu) |
|||
| (4 versions intermédiaires par le même utilisateur non affichées) | |||
| Ligne 5 : | Ligne 5 : | ||
Nous allons établir une connexion à internet à l'aide d'un dongle 3G depuis un Raspberry Pi 2 ou 3 sur lequel se trouve l'OS Raspbian. | Nous allons établir une connexion à internet à l'aide d'un dongle 3G depuis un Raspberry Pi 2 ou 3 sur lequel se trouve l'OS Raspbian. | ||
| − | + | [[fichier:RASP-PI-3G-01.jpg|640px]] | |
= Matériel nécessaire = | = Matériel nécessaire = | ||
| Ligne 14 : | Ligne 14 : | ||
|name=Raspberry Pi 2 ou 3 | |name=Raspberry Pi 2 ou 3 | ||
|descr=Le Raspberry Pi 2 ou 3 selon vos besoins et surtout si vous souhaitez du wifi intégré ou non. | |descr=Le Raspberry Pi 2 ou 3 selon vos besoins et surtout si vous souhaitez du wifi intégré ou non. | ||
| − | |img=RASP-PI-3G-02. | + | |img=RASP-PI-3G-02.jpg |
|link=http://shop.mchobby.be/recherche?controller=search&orderby=position&orderway=desc&search_query=raspberry+pi&submit_search=Rechercher | |link=http://shop.mchobby.be/recherche?controller=search&orderby=position&orderway=desc&search_query=raspberry+pi&submit_search=Rechercher | ||
|qty=1 | |qty=1 | ||
| Ligne 20 : | Ligne 20 : | ||
{{parts-item | {{parts-item | ||
| − | |name= | + | |name=Dongle USB compatible Linux |
| − | |descr= | + | |descr=Module 3G HSDPA, Interface USB, 7.2 Mbps, Modem avec commande AT |
|img=RASP-PI-3G-03.jpg | |img=RASP-PI-3G-03.jpg | ||
| − | |link=http://shop.mchobby.be/product.php?id_product= | + | |link=http://shop.mchobby.be/product.php?id_product=677 |
|qty=1 | |qty=1 | ||
}} | }} | ||
| Ligne 35 : | Ligne 35 : | ||
{{parts-item | {{parts-item | ||
| − | |name=Un boitier adapté pour contenir le Pi | + | |name=Un boitier adapté pour contenir le Pi |
| − | |descr=Boitier | + | |descr=Boitier Raspberry Pi 3 Officiel |
|img=RASP-PI-3G-05.jpg | |img=RASP-PI-3G-05.jpg | ||
| − | |link=http://shop.mchobby.be/product.php?id_product= | + | |link=http://shop.mchobby.be/product.php?id_product=821 |
|qty=1 | |qty=1 | ||
}} | }} | ||
| Ligne 45 : | Ligne 45 : | ||
|name=Une alimentation officielle RPi | |name=Une alimentation officielle RPi | ||
|descr=Alimentation 5V 2.5A avec fiche micro USB - Officiel Raspberry Pi 3 - 5v 2500mA!!!! | |descr=Alimentation 5V 2.5A avec fiche micro USB - Officiel Raspberry Pi 3 - 5v 2500mA!!!! | ||
| − | |img=RASP-PI | + | |img=RASP-RDIOWIFI-PI-06.jpg |
|link=http://shop.mchobby.be/product.php?id_product=820 | |link=http://shop.mchobby.be/product.php?id_product=820 | ||
|qty=1 | |qty=1 | ||
Version actuelle datée du 29 août 2016 à 20:51
Aperçu
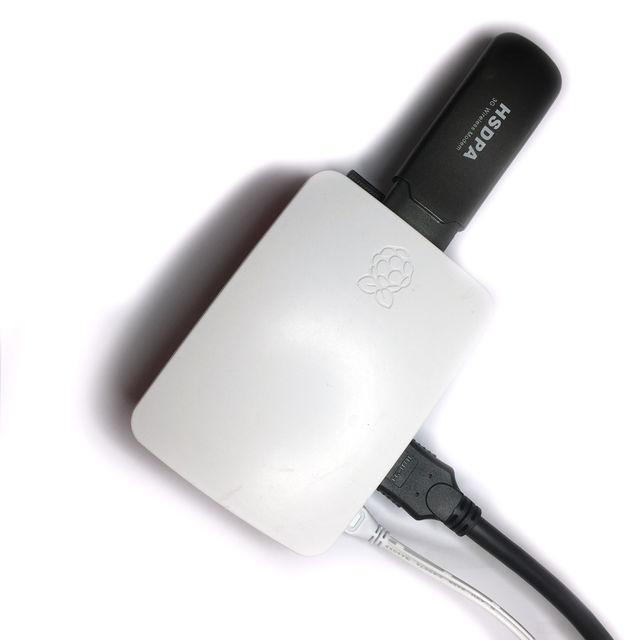
Nous allons établir une connexion à internet à l'aide d'un dongle 3G depuis un Raspberry Pi 2 ou 3 sur lequel se trouve l'OS Raspbian.
Matériel nécessaire
| Description | Quantité | |
Raspberry Pi 2 ou 3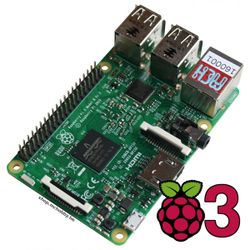
|
Le Raspberry Pi 2 ou 3 selon vos besoins et surtout si vous souhaitez du wifi intégré ou non. disponible ici chez MCHobby |
1 |
Dongle USB compatible Linux
|
Module 3G HSDPA, Interface USB, 7.2 Mbps, Modem avec commande AT disponible ici chez MCHobby |
1 |
Carte microSD 8Go CLASS 10, UHS 1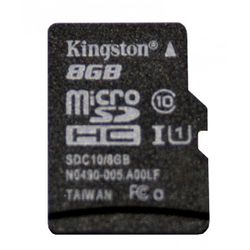
|
Une carte microSD de 8Go SHDC Class 10 sur laquelle nous installerons le système d'exploitation. disponible ici chez MCHobby |
1 |
Un boitier adapté pour contenir le Pi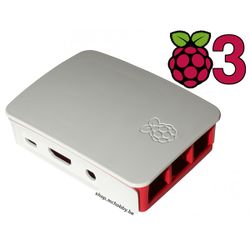
|
Boitier Raspberry Pi 3 Officiel disponible ici chez MCHobby |
1 |
Une alimentation officielle RPi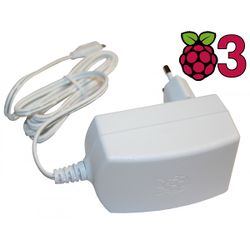
|
Alimentation 5V 2.5A avec fiche micro USB - Officiel Raspberry Pi 3 - 5v 2500mA!!!! disponible ici chez MCHobby |
1 |
Tutoriel créé par Antoine Wrotny (PYRANOID) pour MCHobby SPRL
Toute référence, mention ou extrait de cette traduction doit être explicitement accompagné du texte suivant : « Traduction par MCHobby (www.MCHobby.be) - Vente de kit et composants » avec un lien vers la source (donc cette page) et ce quelque soit le média utilisé.
L'utilisation commercial de la traduction (texte) et/ou réalisation, même partielle, pourrait être soumis à redevance. Dans tous les cas de figures, vous devez également obtenir l'accord du(des) détenteur initial des droits. Celui de MC Hobby s'arrêtant au travail de traduction proprement dit.
