Différences entre versions de « RASP-PiTFT-PLUS-Soft-Install »
| Ligne 116 : | Ligne 116 : | ||
and enter in the following lines, then save. | and enter in the following lines, then save. | ||
| − | <nowiki>Section "InputClass" | + | <nowiki>Section "InputClass" |
Identifier "calibration" | Identifier "calibration" | ||
MatchProduct "stmpe-ts" | MatchProduct "stmpe-ts" | ||
Version du 12 juillet 2015 à 17:16
Introduction
| Si vous avez téléchargé l'image 'Easy Install' proposée par AdaFruit (ou utilisé le script) alors cette étape n'est pas nécessaire. Elle est déjà réalisée! Cette partie du tutoriel est destiné aux utilisateurs avancés qui désire savoir comment configurer et adapter l'installation du noyaux |
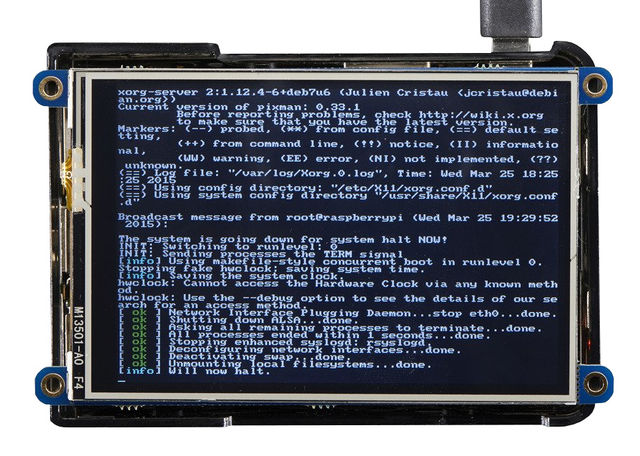
Crédit: AdaFruit Industries www.adafruit.com
Vous devrez installer un nouveau noyaux Linux (un kernel) pour faire fonctionner nativement le TFT 3.5" et l'écran tactile. Par chance, AdaFruit Industries à créé un paquet noyaux (kernel package) qu'il suffit simplement d'installer sur votre Raspbian (ou dérivé de Raspbian) à la place d'avoir besoin d'une nouvelle image à graver sur une carte SD. Cette option kernel package facilite les tâches de mise-à-jour du système.
Pour utiliser le paquet .deb noyau d'AdaFruit, vous devez utiliser Raspbian ou un dérivé. Cela ne fonctionnera pas avec Arch ou autres systèmes Linux. Etant donné que Raspbian est le seul OS officiel du Pi, il sera aussi le seul OS supporté par AdaFruit Industries pour ce produit! Pour les autres OS, vous pouvez recompiler votre propre kernel en utilisant la patch d'AdaFruit mais il n'y a ni tutoriel, ni support, ni planification pour une telle approche.
Avant de commencer
Vous aurez besoin d'une installation fonctionnelle de Raspbian avec un accès réseau. Si vous avez besoin d'aide pour préparer votre Pi, vous pouvez consulter nos tutoriels Raspberry ou les les Pi tutorials d'AdaFruit (anglais).
Nous allons effectuer nos préparatifs par l'intermédiaire d'un câble console, mais vous pourriez le faire depuis une console sur une connexion directe via HDMI/TV ou via SSH. Tout ce qui vous donne accès au shell fonctionnera!
N'oubliez pas d'exécuter sudo apt-get update !
Télécharger et installer le Kernel
Adafruit distribue les paquet du kernel du PiTFT d'une seule façon pour le moment, c'est via apt.adafruit.com, vous devez donc exécuter la commande:
curl -SLs https://apt.adafruit.com/add | sudo bash
Pour ajouter add apt.adafruit.com à la liste de vos sources logiciels
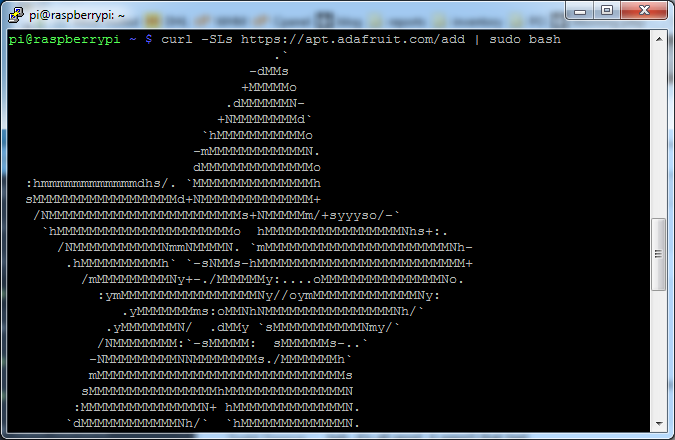
Crédit: AdaFruit Industries www.adafruit.com
Puis installer le module kernel avec
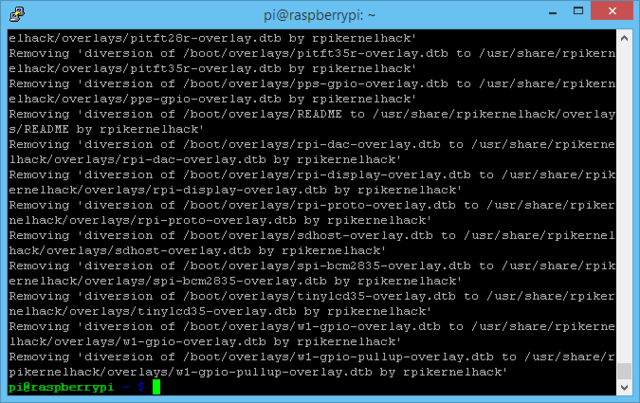
sudo apt-get install raspberrypi-bootloader
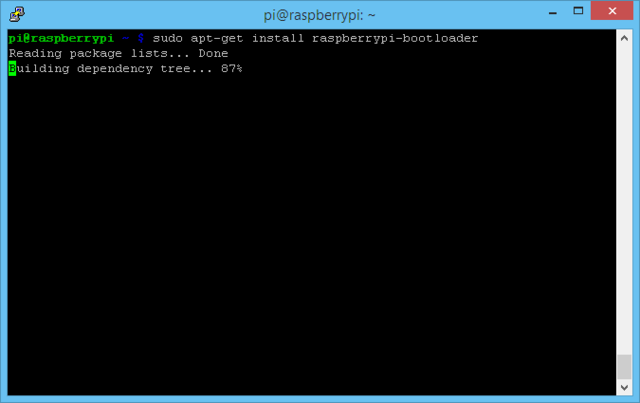
Crédit: AdaFruit Industries www.adafruit.com
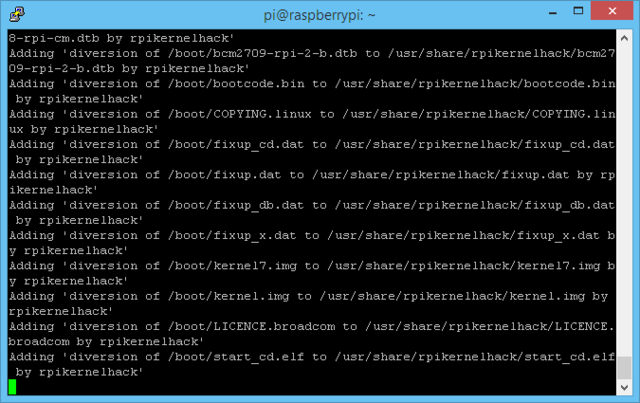
Crédit: AdaFruit Industries www.adafruit.com
Crédit: AdaFruit Industries www.adafruit.com
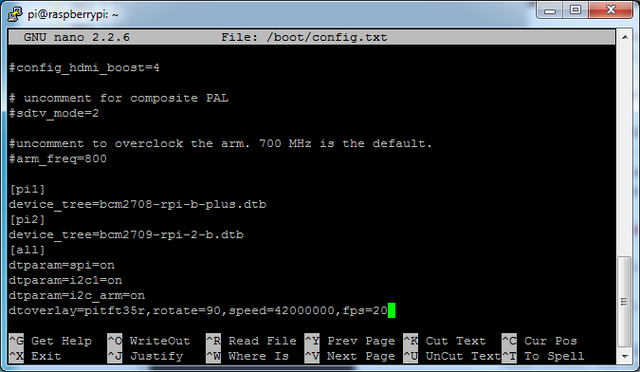
Bien, étant donné que nous n'allons pas utiliser le Helper, nous allons ajouter le périphérique manuellement au device tree. Editez le fichier /boot/config.txt avec
sudo nano /boot/config.txt
Et ajoutez les lignes suivantes à la fin:
[pi1]
device_tree=bcm2708-rpi-b-plus.dtb
[pi2]
device_tree=bcm2709-rpi-2-b.dtb
[all]
dtparam=spi=on
dtparam=i2c1=on
dtparam=i2c_arm=on
dtoverlay=pitft35r,rotate=90,speed=42000000,fps=20
Crédit: AdaFruit Industries www.adafruit.com
The rotate= variable tells the driver to rotate the screen 0 90 180 or 270 degrees.
- 0 is portrait, with the bottom near theUSB jacks
- 90 is landscape, with the bottom of the screen near the headphone jack
- 180 is portrait, with the top near the USB jacks
- 270 is landscape, with the top of the screen near the headphone jack.
You can change this file with nano and reboot to make the change stick.
The speed= variable tells the driver how to fast to drive the display. 42MHz (42000000) is a good place to start but if your screen is acting funny, try taking it down to 16MHz (16000000) especially if you're doing something like using a GPIO extender to put the screen away from the Pi.
Save the file. Now we'll just reboot to let it all sink in.
sudo shutdown -h now (if you don't have the TFT installed, shutdown, place the TFT on the Pi and re-power)
OU
sudo reboot (if you have the TFT plate installed already)
When the Pi restarts, the attached PiTFT should start out all white and then turn black. That means the kernel found the display and cleared the screen. If the screen did not turn black, that means that likely there's something up with your connection or kernel install. Solder anything that needs resoldering!
Now that you're rebooted, log back in on the console/TV/SSH. There's nothing displayed on the screen yet, we'll do a test to make sure everything is perfect first!
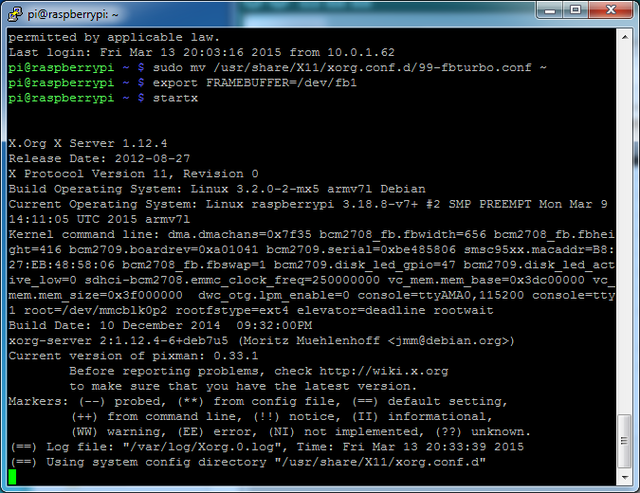
Run the following commands to startx on the /dev/fb1 framebuffer, a.k.a PiTFT screen:
sudo mv /usr/share/X11/xorg.conf.d/99-fbturbo.conf ~
export FRAMEBUFFER=/dev/fb1
startx
Crédit: AdaFruit Industries www.adafruit.com
You should see the Pi desktop show up on the TFT! Congrats, you've completed the first test perfectly.
Hit Control-C in the console to quit the X server so we can continue configuration
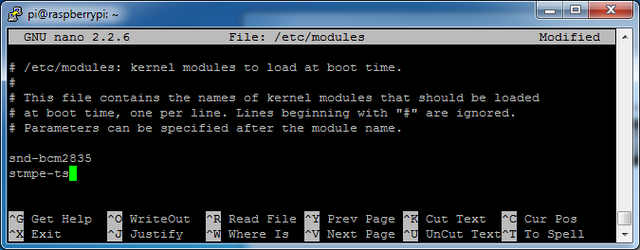
Next up we'll add support for the touch screen automatically on boot. Edit the module list with
sudo nano /etc/modules
and add stmpe-ts on a line at the end
Crédit: AdaFruit Industries www.adafruit.com
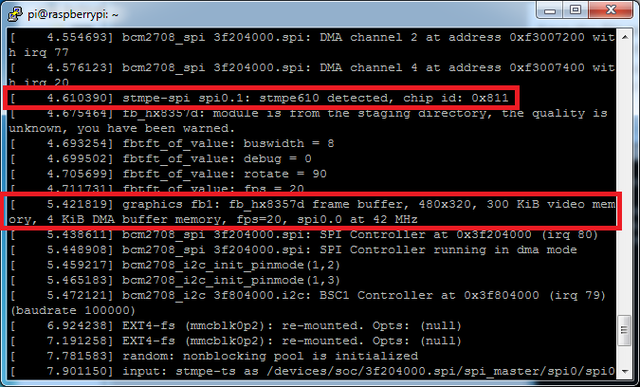
Save the file and reboot the Pi with sudo reboot and look at the console output (or run dmesg in the console window after logging in) you will see the modules install. Look in particular for the STMPE610 detection and the HX5387D screen frequency as highlighted here
Crédit: AdaFruit Industries www.adafruit.com
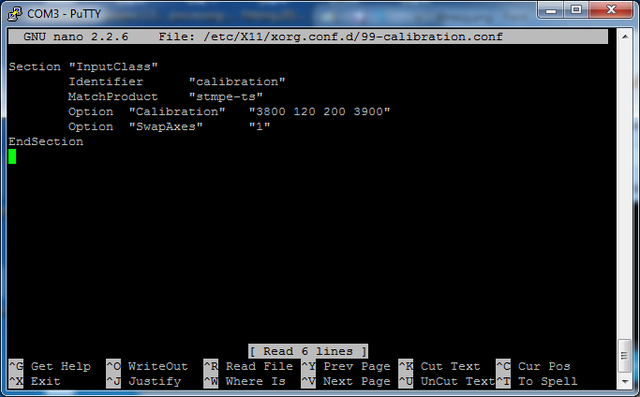
We can set up the touchscreen for rotate=90 configuration by doing the following (for more delicate calibration or for other rotate=XX values, see the next section) Create the directory and new calibration configuration file:
sudo mkdir /etc/X11/xorg.conf.d
sudo nano /etc/X11/xorg.conf.d/99-calibration.conf
and enter in the following lines, then save.
Section "InputClass"
        Identifier      "calibration"
        MatchProduct    "stmpe-ts"
        Option  "Calibration"   "3800 120 200 3900"
        Option  "SwapAxes"      "1"
EndSection
Crédit: AdaFruit Industries www.adafruit.com
Source: Adafruit PiTFT 3.5" Touch Screen for Raspberry Pi
Créé par LadyAda pour AdaFruit Industries.
Traduction réalisée par Meurisse D pour MCHobby.be.
Toute référence, mention ou extrait de cette traduction doit être explicitement accompagné du texte suivant : « Traduction par MCHobby (www.MCHobby.be) - Vente de kit et composants » avec un lien vers la source (donc cette page) et ce quelque soit le média utilisé.
L'utilisation commercial de la traduction (texte) et/ou réalisation, même partielle, pourrait être soumis à redevance. Dans tous les cas de figures, vous devez également obtenir l'accord du(des) détenteur initial des droits. Celui de MC Hobby s'arrêtant au travail de traduction proprement dit.
Traduit avec l'autorisation d'AdaFruit Industries - Translated with the permission from Adafruit Industries - www.adafruit.com