Différences entre versions de « Micropython-neotrellis-mosaique »
Sauter à la navigation
Sauter à la recherche
| Ligne 34 : | Ligne 34 : | ||
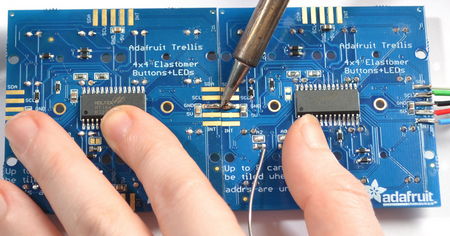
A small wire (or a few strands of wire) might help make the bridge. Just be sure the bridge doesn't touch any of the adjacent pads. | A small wire (or a few strands of wire) might help make the bridge. Just be sure the bridge doesn't touch any of the adjacent pads. | ||
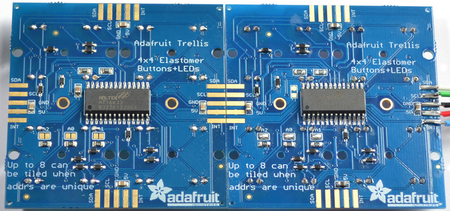
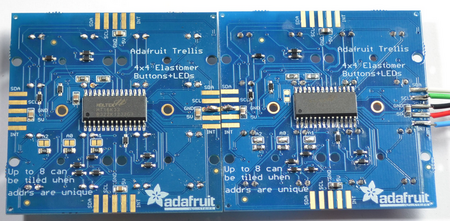
| + | {{asm-row|img=Micropython-neotrellis-mosaique-14.png}} | ||
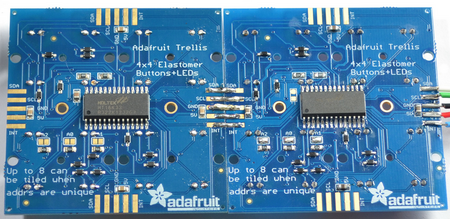
| + | {{asm-text}} Use your soldering iron to drag solder from one pad to another, with a little effort they'll stick together and make a connection. You can add more solder to make the connection stronger. Its still not mechanically strong - so be careful not to bend or shake the arrangement. | ||
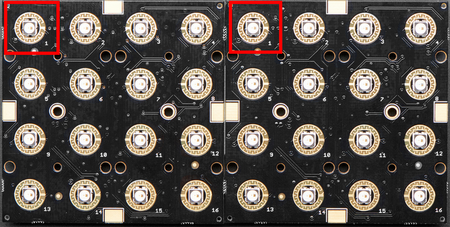
| + | {{asm-row|img=Micropython-neotrellis-mosaique-15.png}} | ||
| + | {{asm-text}} Repeat for the other 4 fingers | ||
| + | |||
| + | {{asm-row|img=Micropython-neotrellis-mosaique-16.png}} | ||
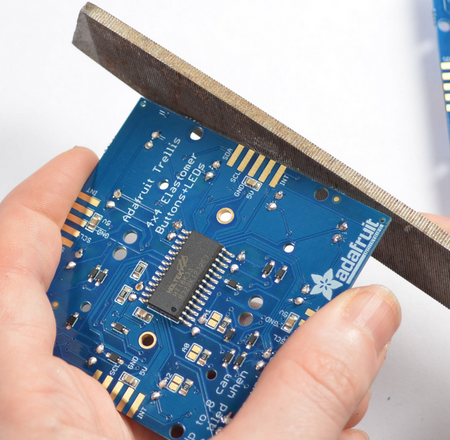
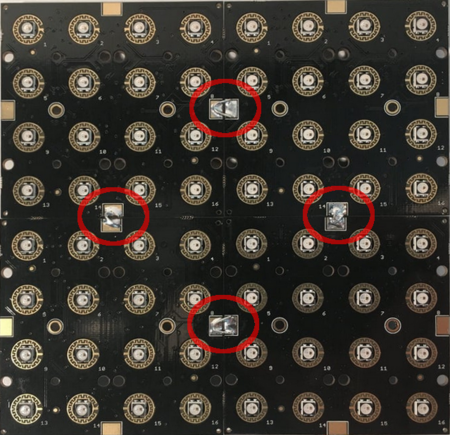
| + | {{asm-text}} Retournez la mosaïque et soudez les points de contacts à l'avant des cartes pour offrir une meilleure stabilité mécanique. | ||
| + | |||
| + | L'utilisation d'un morceau de fil monobrin saura se montrer utile pour faciliter cette tâche. | ||
{{asm-end}} | {{asm-end}} | ||
{{Micropython-neotrellis-TRAILER}} | {{Micropython-neotrellis-TRAILER}} | ||
Version du 7 mars 2025 à 13:13
Mosaïque NeoTrellis
Il est possible de créer une mosaïque/damier avec un maximum de 32 NeoTrellis connectés sur un même bus I2C (bus à 2 fils).
Cela permet de créer facilement un super NeoTrellis pouvant être 16x16 plus grand qu'un seul NeoTrellis, de quoi réaliser quelque chose de vraiment amusant!
Avant de commencer l'assemblage en mosaïque, il est vivement recommandé de tester individuellement chacune des cartes NeoTrellis.
L'image ci-dessous présente un assemblage de 4 cartes NeoTrellis pour réaliser une matrice de 8 lignes et 8 colonnes (donc 64 boutons et 64 NeoPixels).
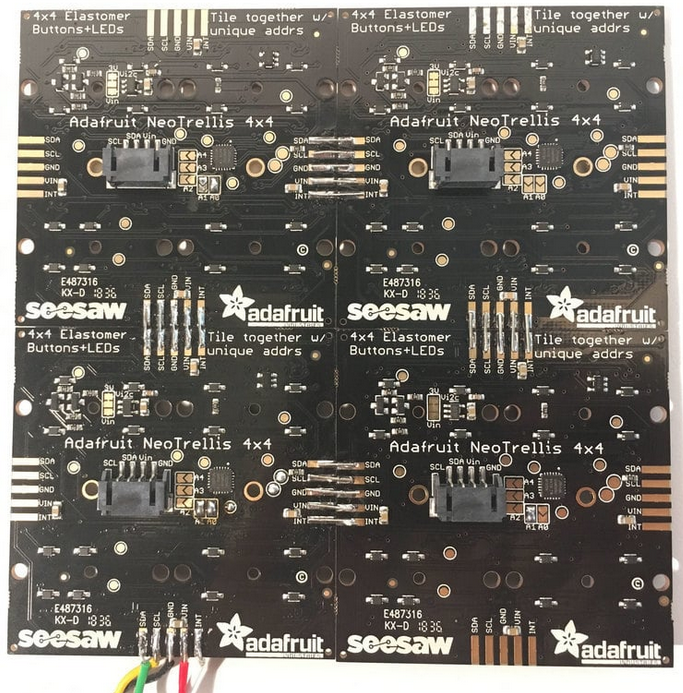
Crédit: AdaFruit Industries www.adafruit.com
Assembler
| Les images ci-dessous utilisent des Trellis (une version monochrome des NeoTrellis). Le processus d'assemblage reste cependant identique. |
| Tous les images ci-dessous sont créditées à Adafruit Industries. All images below are credited to Adafruit Industries. |
Traduction augmentée réalisée par Meurisse. D pour shop.MCHobby.be - Licence CC-BY-SA.
