Différences entre versions de « ADF-ADJ-BBALIM-SOUDER »
| Ligne 34 : | Ligne 34 : | ||
[[Fichier:ADF-ADJ-BBALIM-SOUDER-07.jpg]] | [[Fichier:ADF-ADJ-BBALIM-SOUDER-07.jpg]] | ||
| + | |||
| + | Place the diode next to the marking '''D1''' | ||
| + | |||
| + | See that there is a white stripe on the silkscreen? Make sure that the white stripe on the diode matches that below it. Otherwise you'll find that the kit doesn't work at all! | ||
| + | |||
| + | Bend the two wire leads out so that the diode sits flat against the PCB | ||
[[Fichier:ADF-ADJ-BBALIM-SOUDER-08.jpg]] | [[Fichier:ADF-ADJ-BBALIM-SOUDER-08.jpg]] | ||
| + | |||
| + | Now solder both wires to the PCB. | ||
| + | |||
| + | Press the flat of the soldering iron tip against both the wire and the pad (silver ring in the PCB) for a few seconds and then poke in some solder. Then remove the solder. Then finally remove the iron. The solder joint should be a shiny cone. | ||
[[Fichier:ADF-ADJ-BBALIM-SOUDER-09.jpg]] | [[Fichier:ADF-ADJ-BBALIM-SOUDER-09.jpg]] | ||
| + | |||
| + | Now use yoru diagonal cutters to clip the long leads just above the solder joint. | ||
[[Fichier:ADF-ADJ-BBALIM-SOUDER-10.jpg]] | [[Fichier:ADF-ADJ-BBALIM-SOUDER-10.jpg]] | ||
[[Fichier:ADF-ADJ-BBALIM-SOUDER-11.jpg]] | [[Fichier:ADF-ADJ-BBALIM-SOUDER-11.jpg]] | ||
| + | |||
| + | Now flip back over. Next we wil solder in the ON/OFF switch! Its pretty clear what we use it for :) | ||
| + | |||
| + | The switch is 'symmetric' so don't worry about putting it in backwards because it is the same either way. | ||
[[Fichier:ADF-ADJ-BBALIM-SOUDER-12.jpg]] | [[Fichier:ADF-ADJ-BBALIM-SOUDER-12.jpg]] | ||
Version du 7 novembre 2012 à 21:43
Prepare to assemble the kit by checking the parts list and verifying you have everything!
Next, heat up your soldering iron and clear off your desk.
Place the circuit board in a vise so that you can easily work on it
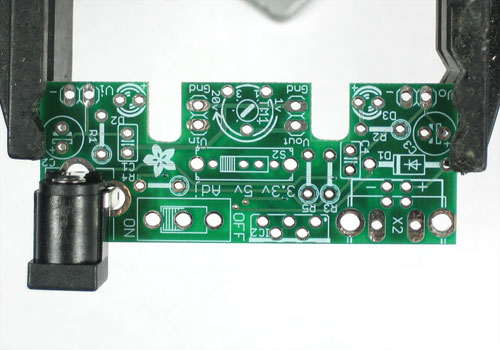
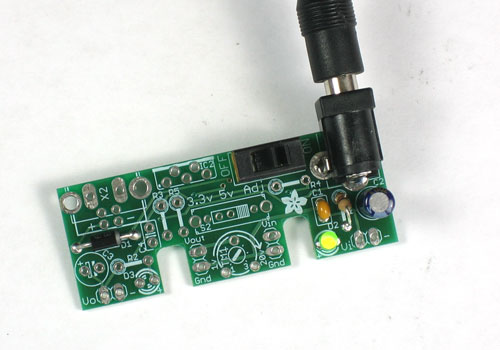
We'll start by placing the DC power jack. This is how we will attach outlet power supplies to the board. The jack is 2.1mm which is the most common size.
The DC jack can only go in one way, so its pretty easy to work with
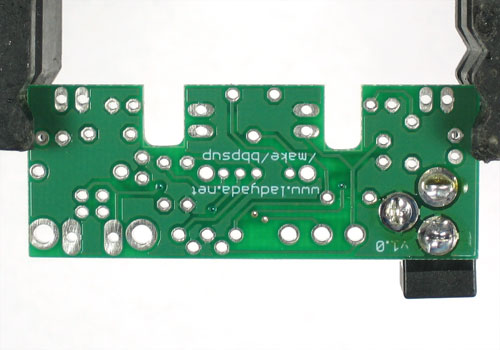
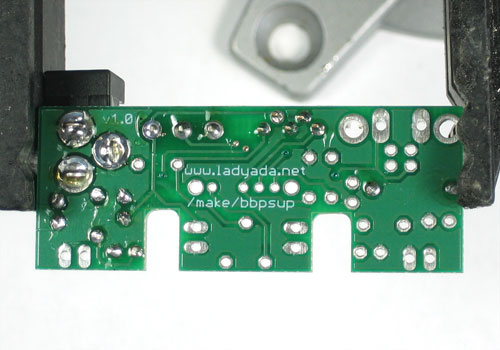
Flip over the PCB - you can either tape the DC jack down or use a finger to keep it place.
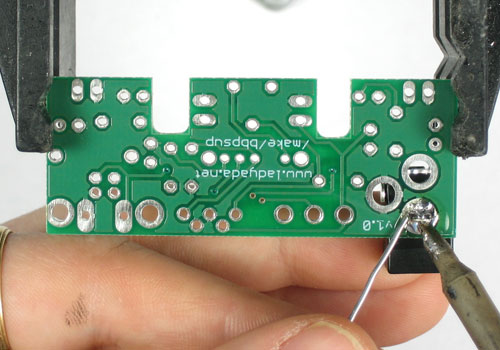
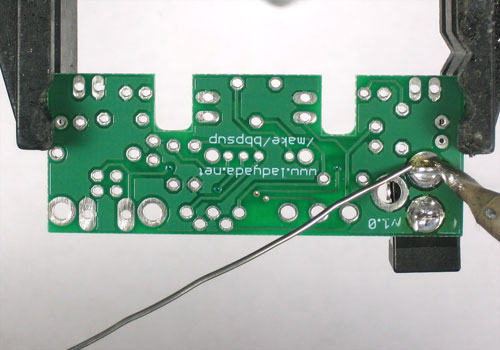
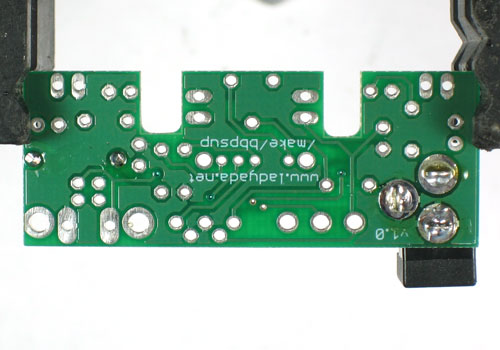
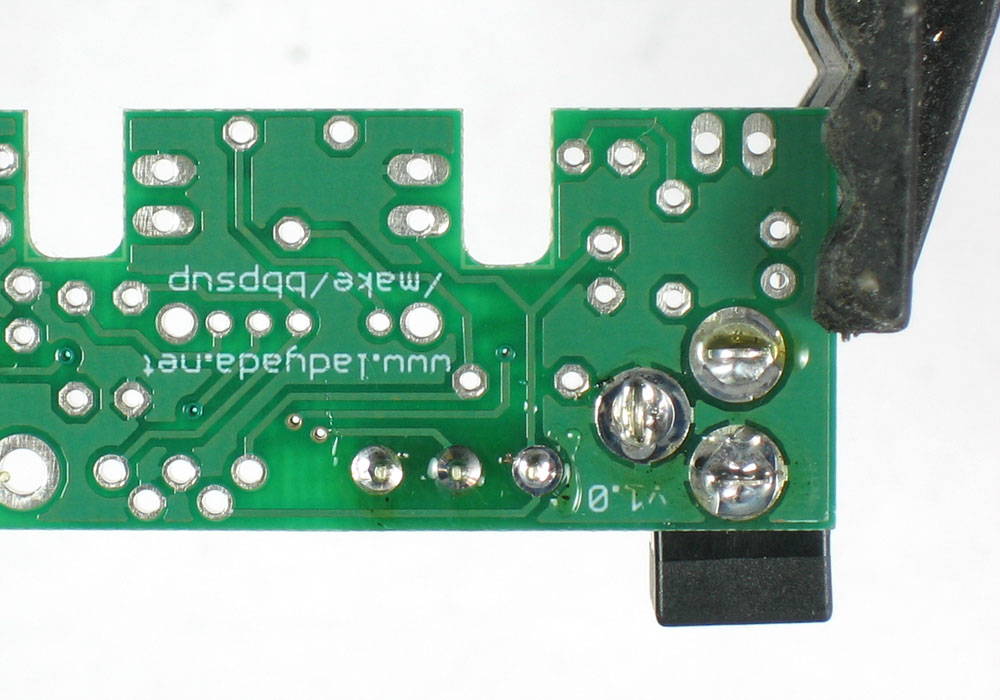
Solder the three big pads that bring power to the board.
Make sure to use lots of solder! This is both an electrical and mechanical connection so it needs to be solid.
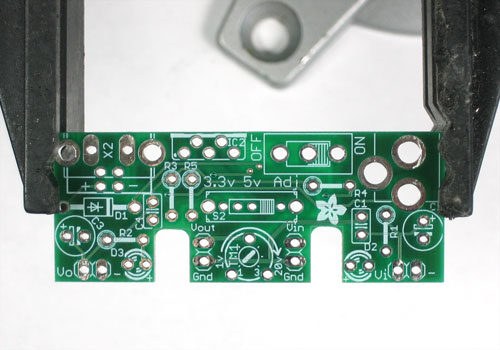
Next we will solder in the 1N5818 protection diode. Diodes only conduct electricity in one direction. This means we can use them to protect our circuitry from negative voltages - a top killer of electronics!
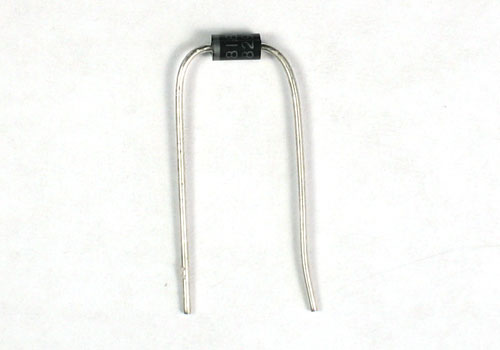
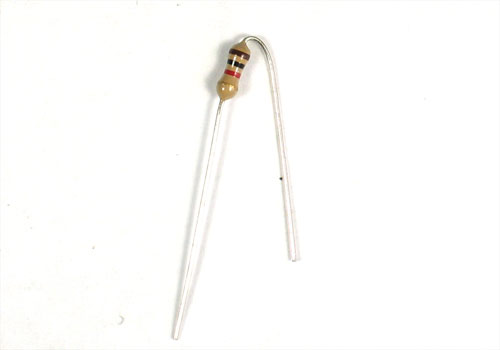
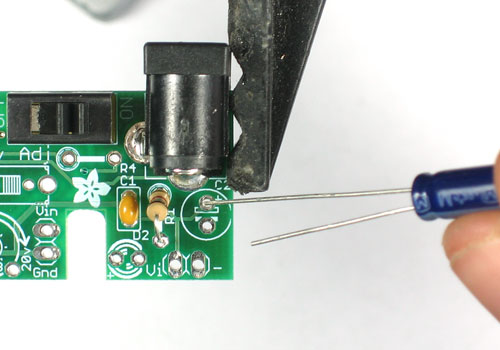
Bend the diode into a staple like so. Note one side has a white/silver stripe on it.
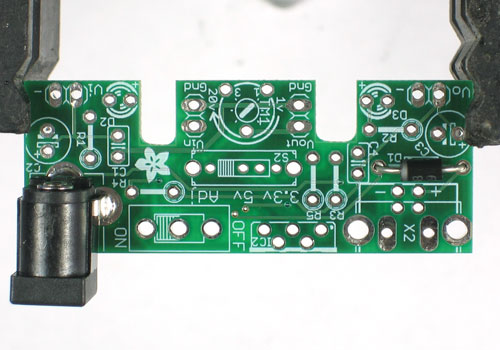
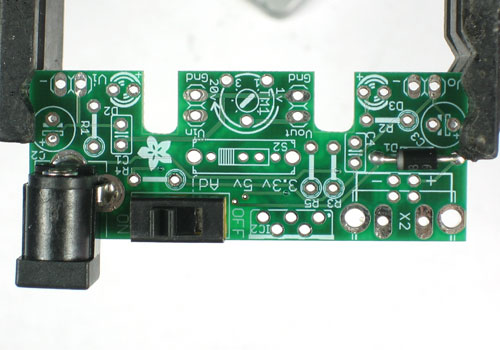
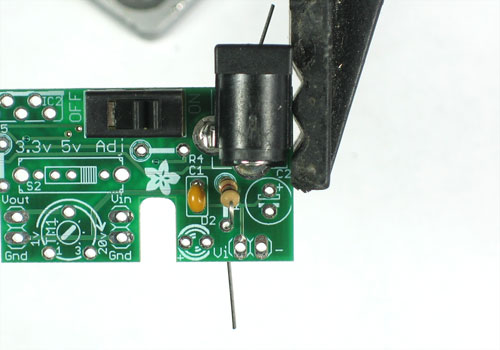
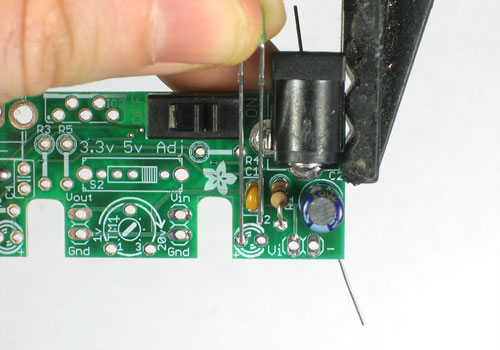
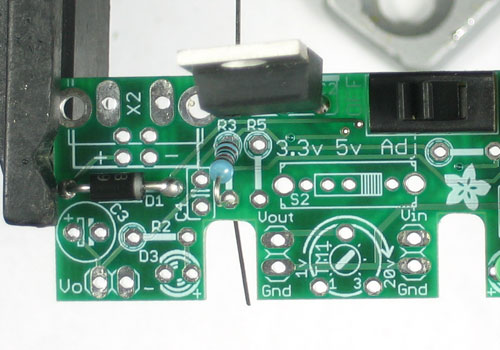
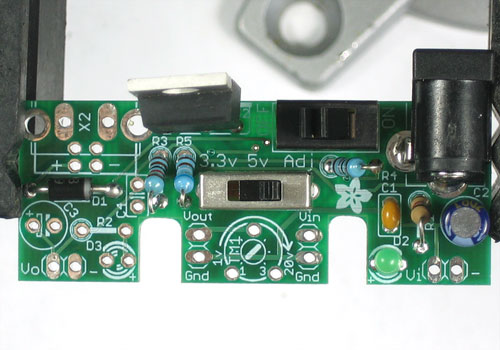
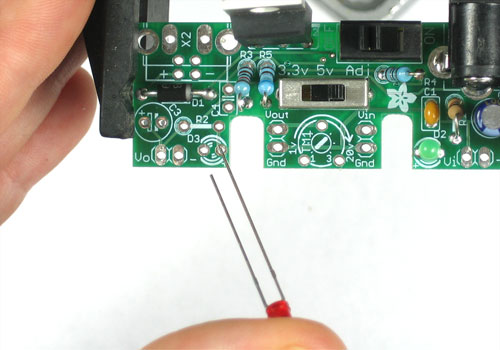
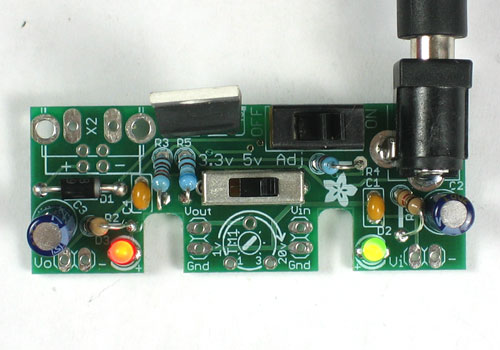
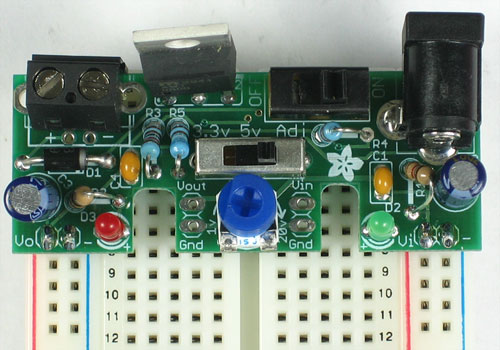
Place the diode next to the marking D1
See that there is a white stripe on the silkscreen? Make sure that the white stripe on the diode matches that below it. Otherwise you'll find that the kit doesn't work at all!
Bend the two wire leads out so that the diode sits flat against the PCB
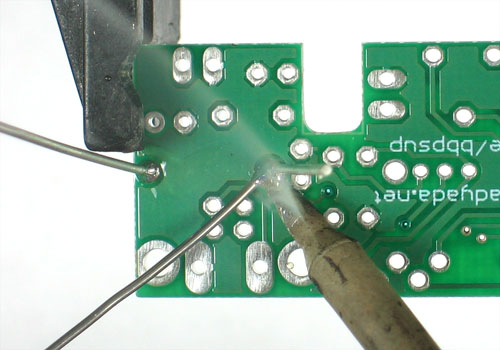
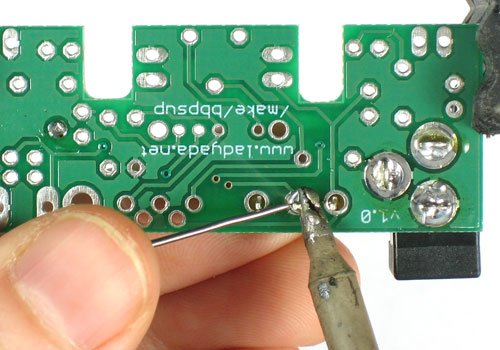
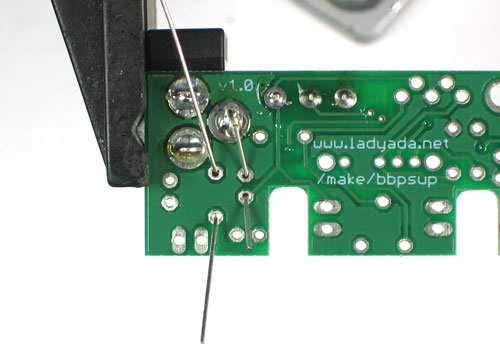
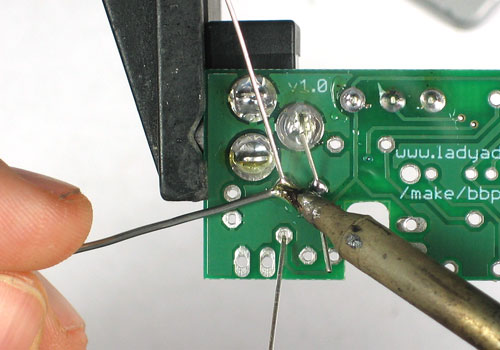
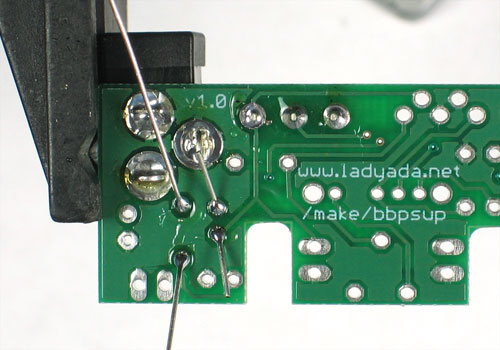
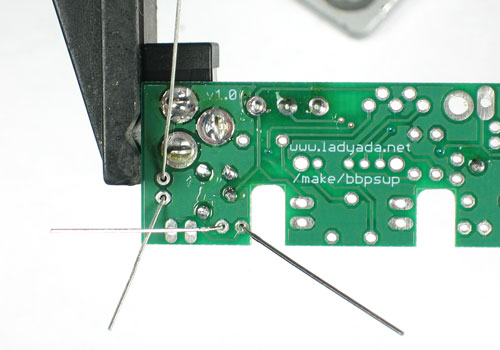
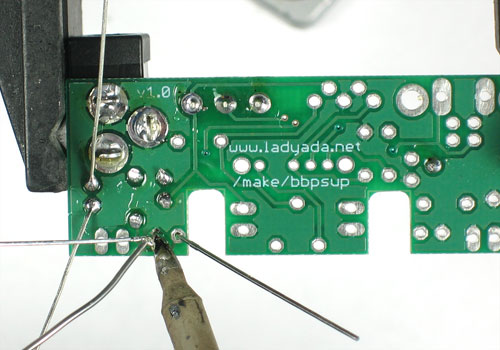
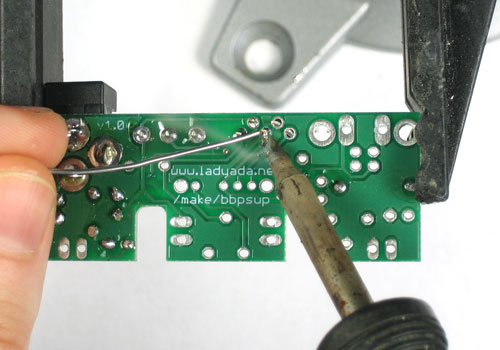
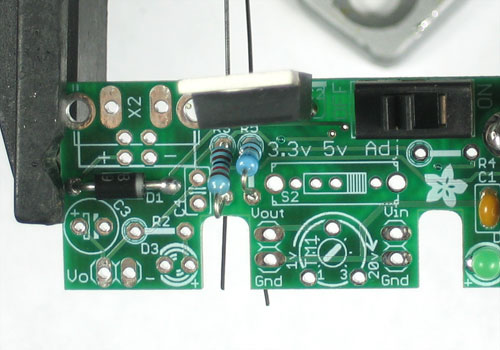
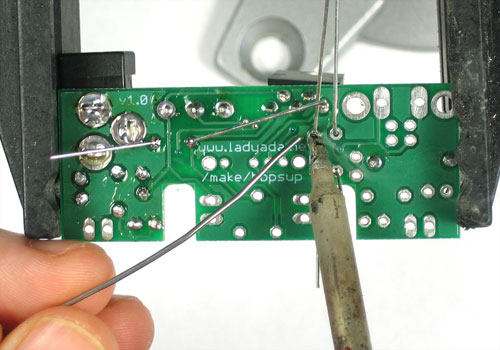
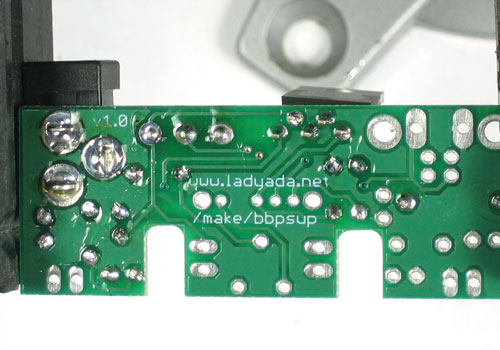
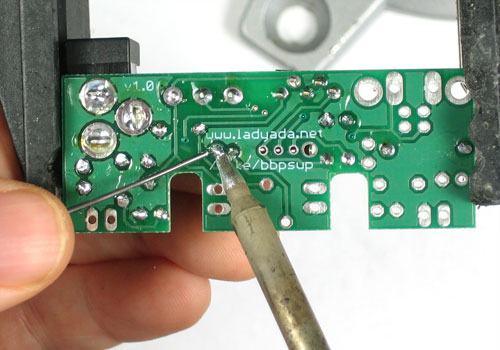
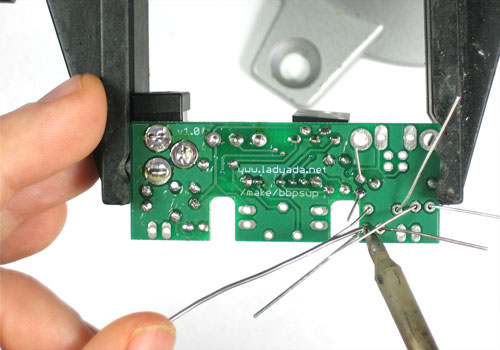
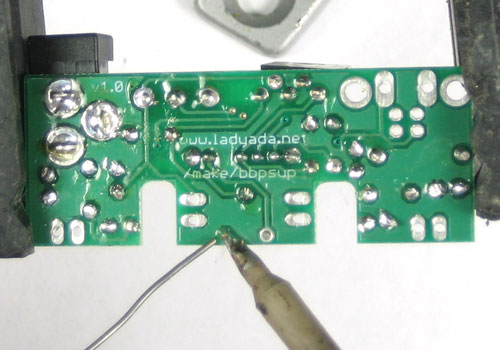
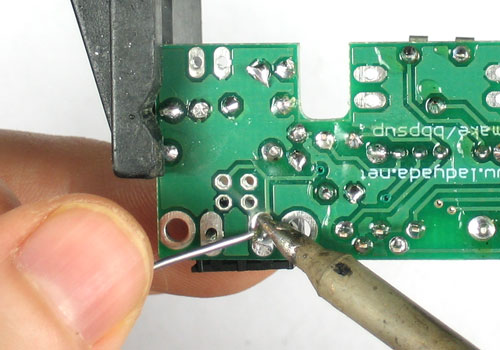
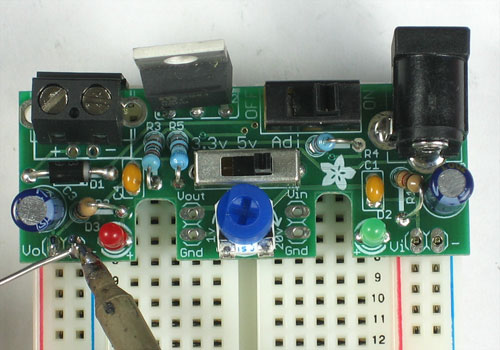
Now solder both wires to the PCB.
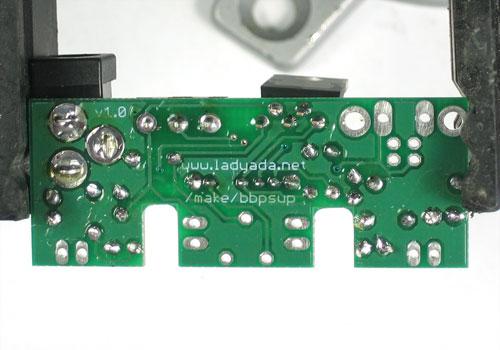
Press the flat of the soldering iron tip against both the wire and the pad (silver ring in the PCB) for a few seconds and then poke in some solder. Then remove the solder. Then finally remove the iron. The solder joint should be a shiny cone.
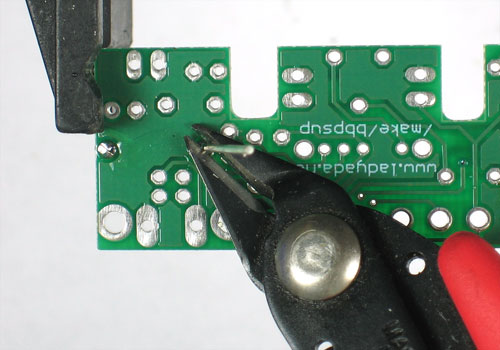
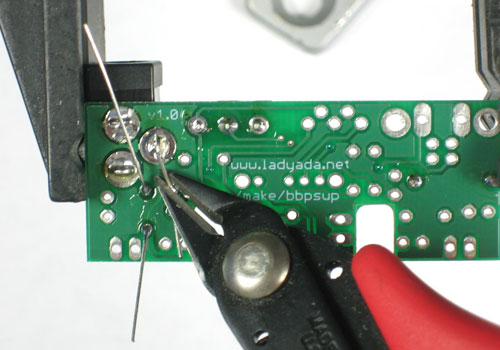
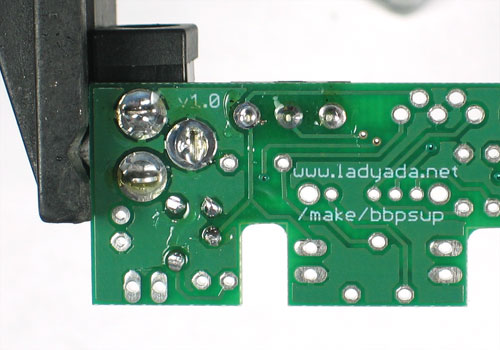
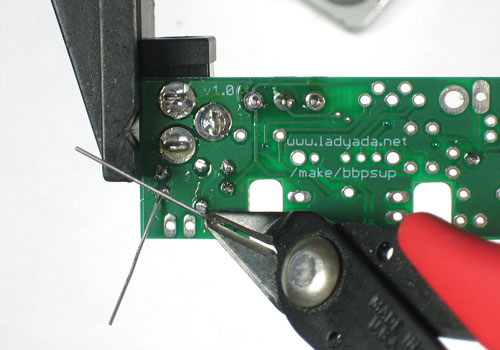
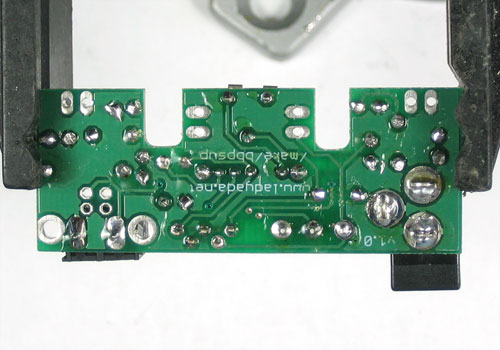
Now use yoru diagonal cutters to clip the long leads just above the solder joint.
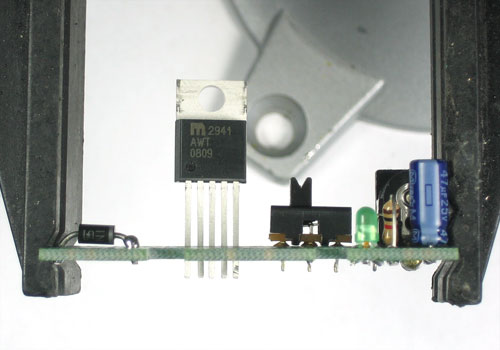
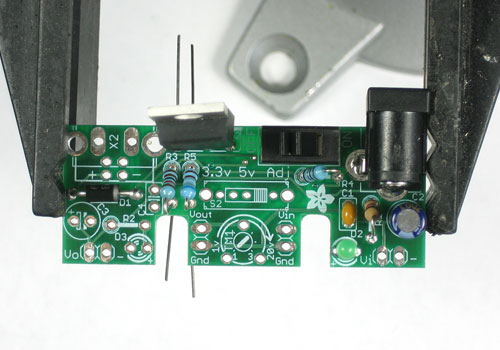
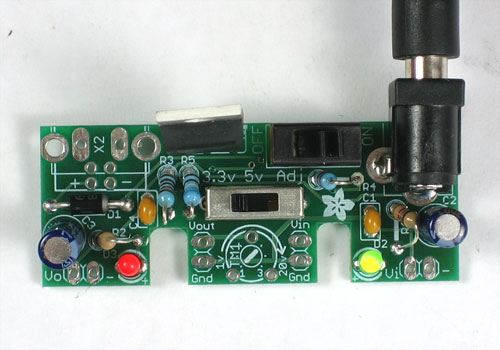
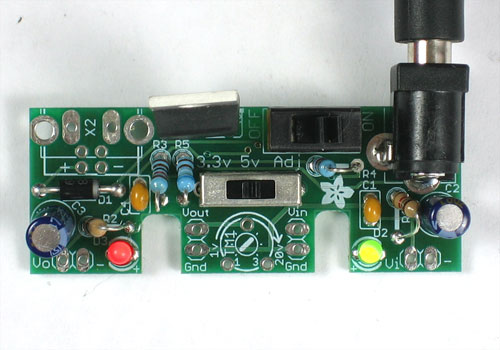
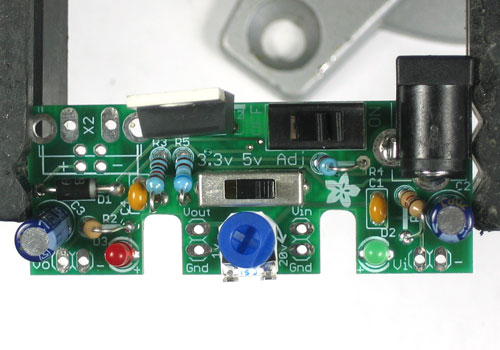
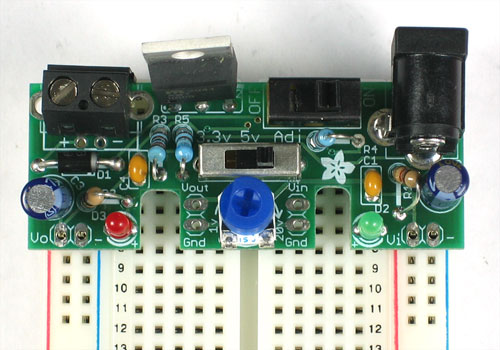
Now flip back over. Next we wil solder in the ON/OFF switch! Its pretty clear what we use it for :)
The switch is 'symmetric' so don't worry about putting it in backwards because it is the same either way.
Traduit avec l'autorisation d'AdaFruit Industries - Translated with the permission from Adafruit Industries - www.adafruit.com
Toute référence, mention ou extrait de cette traduction doit être explicitement accompagné du texte suivant : « Traduction par MCHobby (www.MCHobby.be) - Vente de kit et composants » avec un lien vers la source (donc cette page) et ce quelque soit le média utilisé.
L'utilisation commercial de la traduction (texte) et/ou réalisation, même partielle, pourrait être soumis à redevance. Dans tous les cas de figures, vous devez également obtenir l'accord du(des) détenteur initial des droits. Celui de MC Hobby s'arrêtant au travail de traduction proprement dit.
