Arduino-ATTiny-85-Programmer
Installer le support ATTiny sur Arduino 1.6.4
In Arduino 1.6.4, you can install the ATtiny support using the built-in boards manager.
- Open the preferences dialog in the Arduino software.
- Find the “Additional Boards Manager URLs” field near the bottom of the dialog.
- Paste the following URL into the field (use a comma to separate it from any URLs you’ve already added):
https://raw.githubusercontent.com/damellis/attiny/ide-1.6.x-boards-manager/package_damellis_attiny_index.json - Click the OK button to save your updated preferences.
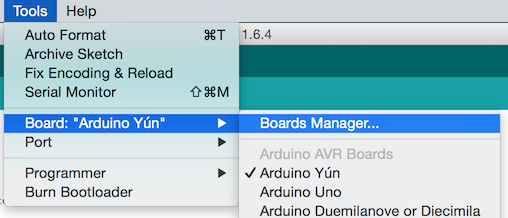
- Open the boards manager in the “Tools > Board” menu.
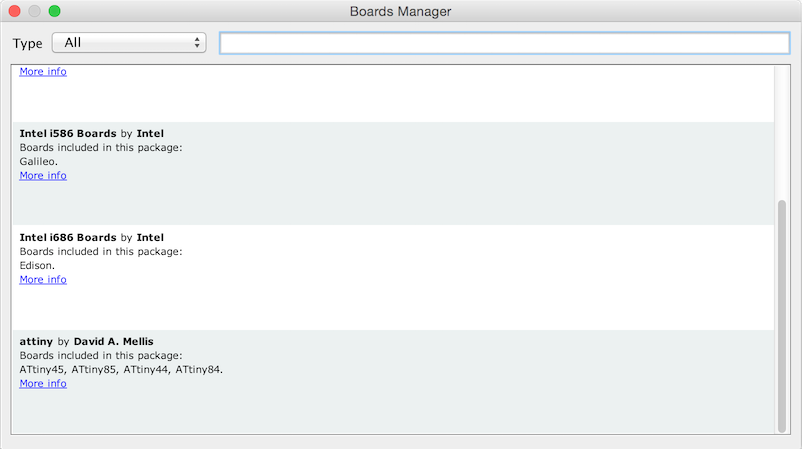
- Scroll to the bottom of the list; you should see an entry for “ATtiny”.
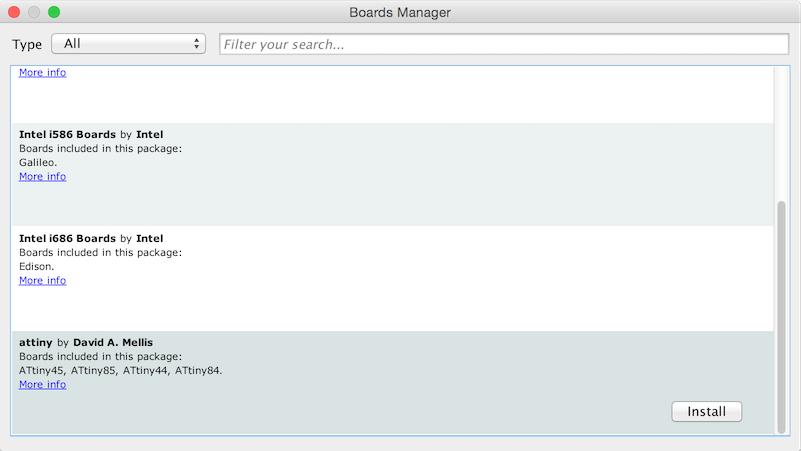
- Click on the ATtiny entry. An install button should appear. Click the install button.
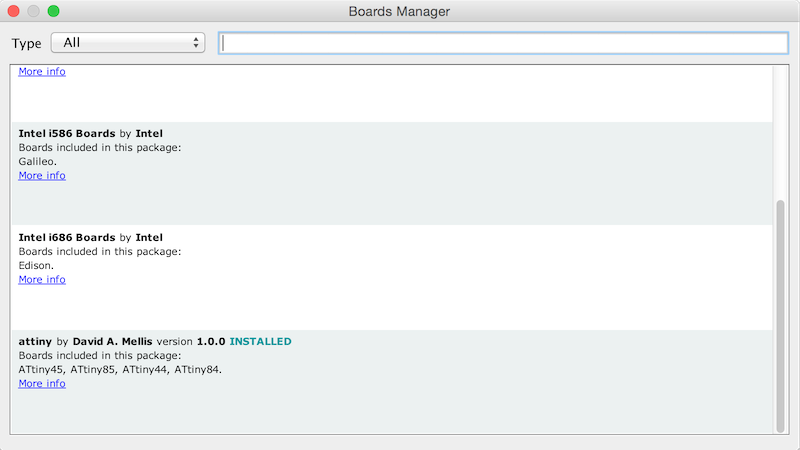
- The word “installed” should now appear next to the title of the ATtiny entry.
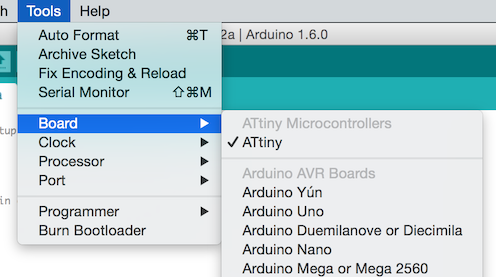
- Close the boards manager. You should now see an entry for ATtiny in the “Tools > Board” menu.
Installer le support ATTiny sur Arduino 1.0
Bien que largement dépassé, vous trouverez les instructions souhaitées dans cet article (source: http://highlowtech.org).
Programmer l'ATTiny
Next, we can use the ISP to upload a program to the ATtiny:
- Open the Blink sketch from the examples menu.
- Change the pin numbers from 13 to 0.
- Select “ATtiny” from the Tools > Board menu and the particular ATtiny you’re using from the Tools > Processor menu. (In Arduino 1.0.x, these options are combined in just the Tools > Board menu.)
- Select the appropriate item from the Tools > Programmer menu (e.g. “Arduino as ISP” if you’re using an Arduino board as the programmer, USBtinyISP for the USBtinyISP, FabISP, or TinyProgrammer, etc).
- Upload the sketch.
You should see “Done uploading.” in the Arduino software and no error messages. If you then connect an LED between pin 0 and ground, you should see it blink on and off. Note that you may need to disconnect the LED before uploading a new program.
Tutoriel Arduino board as ATtiny programmer et Programming an ATtiny w/ Arduino 1.6 (or 1.0) créé par High-Low Tech Group :: MIT Media Lab.
Tutoriel traduit par Meurisse D. pour MCHobby.be
Toute référence, mention ou extrait de cette traduction doit être explicitement accompagné du texte suivant : « Traduction par MCHobby (www.MCHobby.be) - Vente de kit et composants » avec un lien vers la source (donc cette page) et ce quelque soit le média utilisé.
L'utilisation commercial de la traduction (texte) et/ou réalisation, même partielle, pourrait être soumis à redevance. Dans tous les cas de figures, vous devez également obtenir l'accord du(des) détenteur initial des droits. Celui de MC Hobby s'arrêtant au travail de traduction proprement dit.

