LCD-USB-TTL-USB-ou-Serie
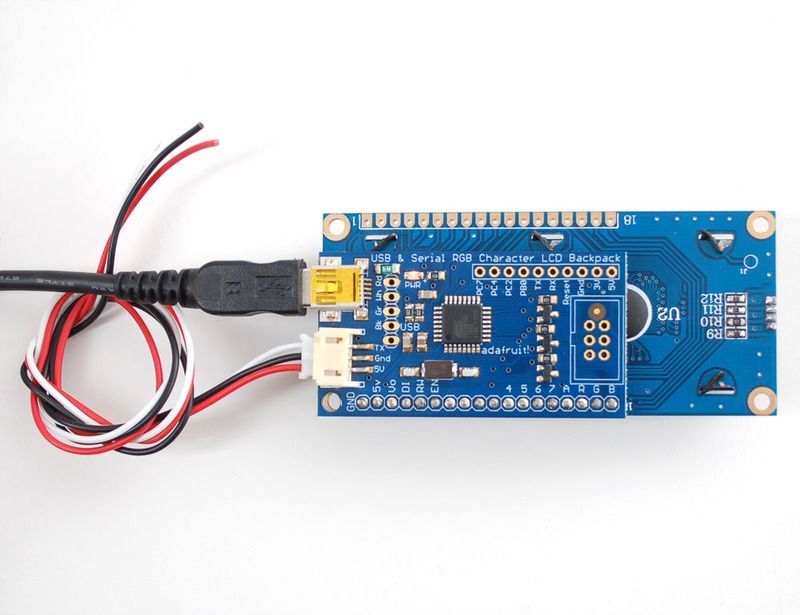
There are two interfaces for transmitting data to the backpack: USB and Serial. USB is the easiest: simply plug a mini-B cable from the backpack to a computer to power and connect. The backpack will appear as a "USB Serial Port" to Windows, Mac and Linux computers. An INF file is required for windows, no driver is required for Mac or Linux. Windows computers will create a COM port, Mac/Linux will create a device under /dev/cu.usbserialXX ou /dev/ttyACMx su un Pi ou quelque-chose de similaire. Run dmesg right after plugging in to see what the device is called. With USB, use any terminal progam to connect at any baud rate to the port and send text and command data. The baud rate is not used for USB so just connect at 9600 or whichever is easiest.

Crédit: AdaFruit Industries www.adafruit.com
You can also connect with the TTL serial input. This is the red/black/white cable. Power is provided by connecting the black wire to ground and the red wire to +5V. The white cable is the 5V TTL serial input. By default, the backpack is configured for 9600 baud, 8 bit, no parity, 1 stop bit. You can configure the baud rate if you need faster/slower TTL interface. When powered, the backpack will blink the baud rate onto the display for 100 milliseconds so if you're ever really confused, connect while watching the display. You can always connect with USB (baud rate is not used for USB) and reset the baud rate there.
For hard-wiring the USB connection, there is a USB breakout in the standard '5x1' pinout for red, black, white, and green USB wires. For hardwiring the TTL connection, there are breakouts for the RX and TX pin. along the edge of the PCB.
Tutoriel USB + Serial RGB Backlight Character LCD Backpack créé par Tyler Cooper pour AdaFruit Industries.
Tutoriel traduit et augmenté par Meurisse D. pour MCHobby.be
Traduit avec l'autorisation d'AdaFruit Industries - Translated with the permission from Adafruit Industries - www.adafruit.com
Toute référence, mention ou extrait de cette traduction doit être explicitement accompagné du texte suivant : « Traduction par MCHobby (www.MCHobby.be) - Vente de kit et composants » avec un lien vers la source (donc cette page) et ce quelque soit le média utilisé.
L'utilisation commercial de la traduction (texte) et/ou réalisation, même partielle, pourrait être soumis à redevance. Dans tous les cas de figures, vous devez également obtenir l'accord du(des) détenteur initial des droits. Celui de MC Hobby s'arrêtant au travail de traduction proprement dit.