Différences entre versions de « PYBD-Butterfly-ENG »
Sauter à la navigation
Sauter à la recherche
| Ligne 2 : | Ligne 2 : | ||
== Introduction == | == Introduction == | ||
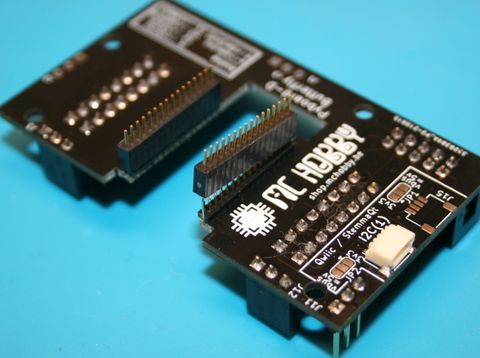
| − | The "PYBD Butterfly" board allows you to use your MicroPython Pyboard-D (PYBD) and its X-Y positions to facilitate rapid prototyping. It also allows you to plug sensor and expansion board with popular connectors like [https://www.sparkfun.com/qwiic Qwiic (SparkFun)] / [https://learn.adafruit.com/introducing-adafruit-stemma-qt/what-is-stemma-qt StemmaQT (Adafruit)] | + | The "PYBD Butterfly" board allows you to use your MicroPython Pyboard-D (PYBD) and its X-Y positions to facilitate rapid prototyping. |
| + | |||
| + | It also allows you to plug sensor and expansion board with popular connectors like: | ||
| + | * [https://www.sparkfun.com/qwiic Qwiic (SparkFun)] / [https://learn.adafruit.com/introducing-adafruit-stemma-qt/what-is-stemma-qt StemmaQT (Adafruit)] | ||
| + | * [https://www.seeedstudio.com/category/Grove-c-1003.html Grove (SeeedStudio)] | ||
| + | * [https://www.olimex.com/Products/Modules/UEXT/ UEXT (Olimex)] this Universal EXTension is robust ship I2C/SPI/UART and 3.3V/Ground power. '''A Must'''. | ||
The Butterfly also offers more GROUND and Power connections. It uses male header for 3.3V points and female connector for GROUND points. | The Butterfly also offers more GROUND and Power connections. It uses male header for 3.3V points and female connector for GROUND points. | ||
| Ligne 40 : | Ligne 45 : | ||
{{asm-row|img=PYBD-Butterfly-asm-04.jpg|size=480px}} | {{asm-row|img=PYBD-Butterfly-asm-04.jpg|size=480px}} | ||
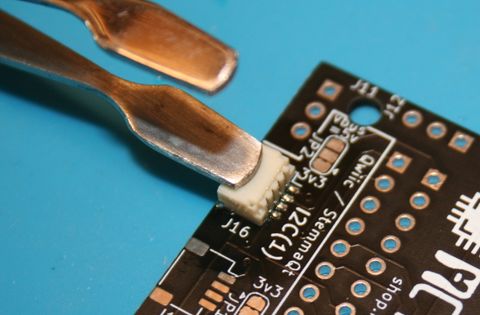
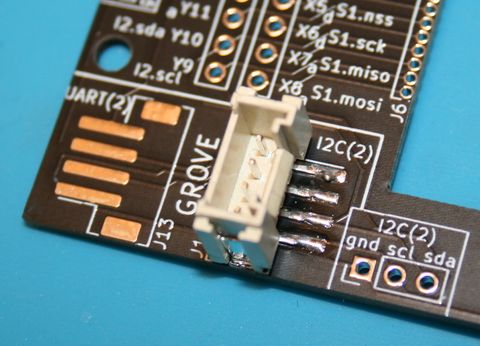
{{asm-text}} '''Solder the Grove connector is more easy'''. Place the Grove connector and maintain it right in place with your fingers (this connector is bigger enough). | {{asm-text}} '''Solder the Grove connector is more easy'''. Place the Grove connector and maintain it right in place with your fingers (this connector is bigger enough). | ||
| − | |||
Load the iron tip with some solder and drop off the solder on the connection pin first (solder should easily melt down on the pads and the pins). | Load the iron tip with some solder and drop off the solder on the connection pin first (solder should easily melt down on the pads and the pins). | ||
| Ligne 58 : | Ligne 62 : | ||
{{asm-row|img=PYBD-Butterfly-asm-21.jpg|size=480px}} | {{asm-row|img=PYBD-Butterfly-asm-21.jpg|size=480px}} | ||
| − | {{asm-text}} | + | {{asm-text}} Prepare the 2 sections 1.27mm connector. Cut them with care, they are fragile. |
{{asm-row|img=PYBD-Butterfly-asm-22.jpg|size=480px}} | {{asm-row|img=PYBD-Butterfly-asm-22.jpg|size=480px}} | ||
| − | {{asm-text}} | + | {{asm-text}} Place the shorter part of the connector inside the holes of the Butterfly board. |
{{asm-row|img=PYBD-Butterfly-asm-23.jpg|size=480px}} | {{asm-row|img=PYBD-Butterfly-asm-23.jpg|size=480px}} | ||
| − | {{asm-text}} | + | {{asm-text}} Place your Pyboard-D on the top of the 1.27mm connectors to maintain a perfect alignment. |
{{asm-row|img=PYBD-Butterfly-asm-24.jpg|size=480px}} | {{asm-row|img=PYBD-Butterfly-asm-24.jpg|size=480px}} | ||
| − | {{asm-text}}''' | + | {{asm-text}}'''Flip-over the whole assembly'''. |
| − | ''' | + | '''Solder few pins''' to maintain the connector right in place on the Butterfly. |
{{asm-row|img=PYBD-Butterfly-asm-25.jpg|size=480px}} | {{asm-row|img=PYBD-Butterfly-asm-25.jpg|size=480px}} | ||
| − | {{asm-text}} | + | {{asm-text}} Remove the Pyboard-D to avoids accidental solder projection while soldering the 1.27mm connector. |
| − | + | Then finish the solder operation on the 1.27mm connector of the Butterfly. | |
{{asm-row|img=PYBD-Butterfly-asm-26.jpg|size=480px}} | {{asm-row|img=PYBD-Butterfly-asm-26.jpg|size=480px}} | ||
| − | {{asm-text}} | + | {{asm-text}} Prepare and solder the UEXT connector. |
| − | + | Please align the UEXT Notch (opening) with the board silkscreen. | |
{{asm-row|img=PYBD-Butterfly-asm-27.jpg|size=480px}} | {{asm-row|img=PYBD-Butterfly-asm-27.jpg|size=480px}} | ||
| Ligne 88 : | Ligne 92 : | ||
{{asm-end}} | {{asm-end}} | ||
| − | === Option 1: | + | === Option 1: Solder the Pyboard-D on Butterfly === |
Une des options est de souder directement la PYBD sur la Butterfly. | Une des options est de souder directement la PYBD sur la Butterfly. | ||
Version du 4 juillet 2021 à 14:39
Cette page existe également en FRANCAIS ICI
Introduction
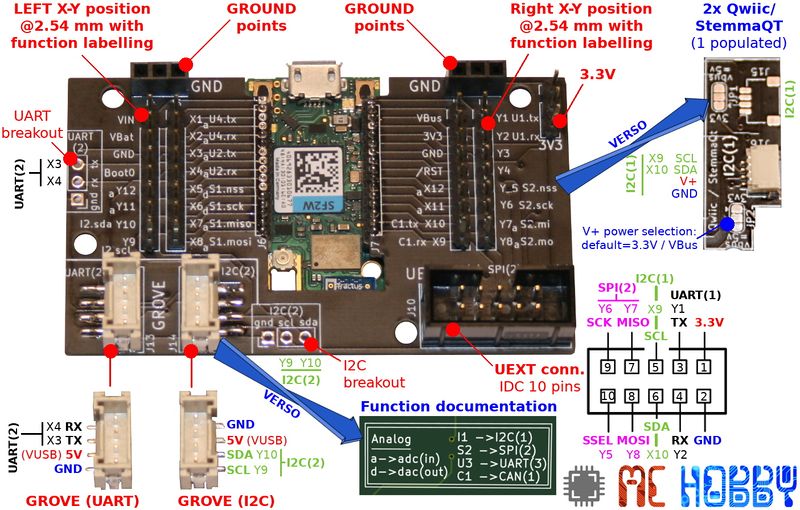
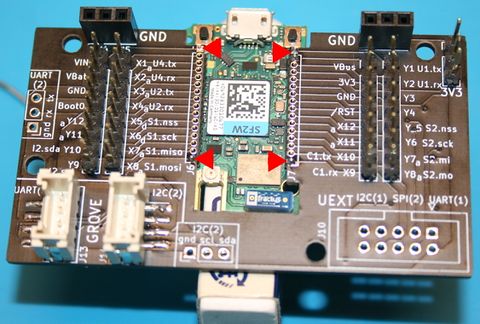
The "PYBD Butterfly" board allows you to use your MicroPython Pyboard-D (PYBD) and its X-Y positions to facilitate rapid prototyping.
It also allows you to plug sensor and expansion board with popular connectors like:
- Qwiic (SparkFun) / StemmaQT (Adafruit)
- Grove (SeeedStudio)
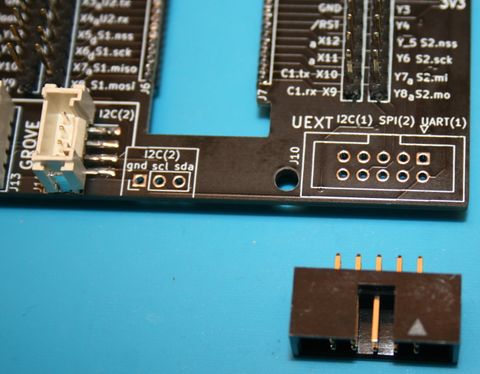
- UEXT (Olimex) this Universal EXTension is robust ship I2C/SPI/UART and 3.3V/Ground power. A Must.
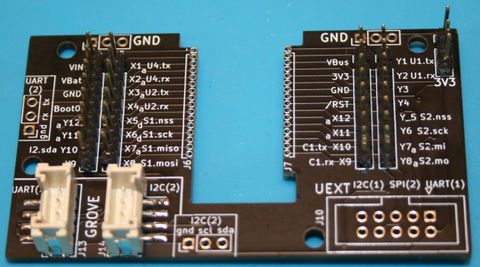
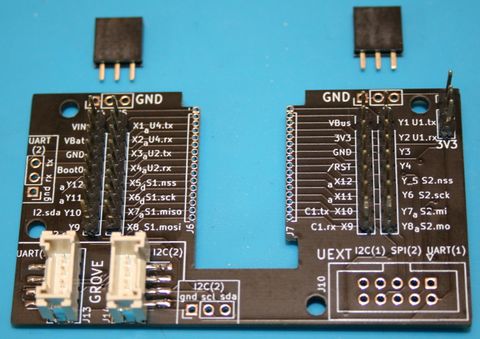
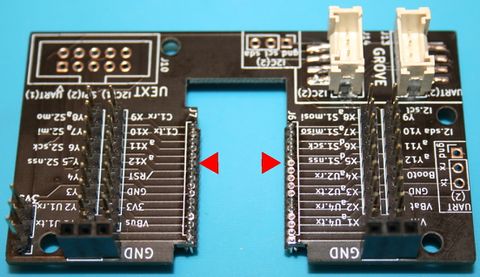
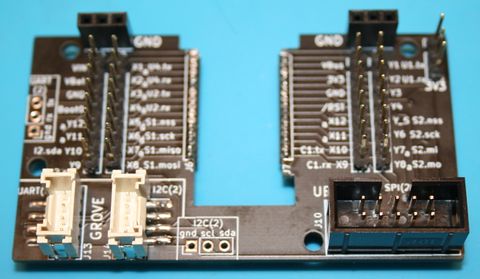
The Butterfly also offers more GROUND and Power connections. It uses male header for 3.3V points and female connector for GROUND points.
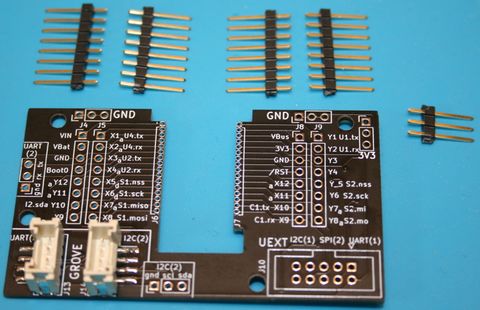
The Butterfly is distributed as a kit.
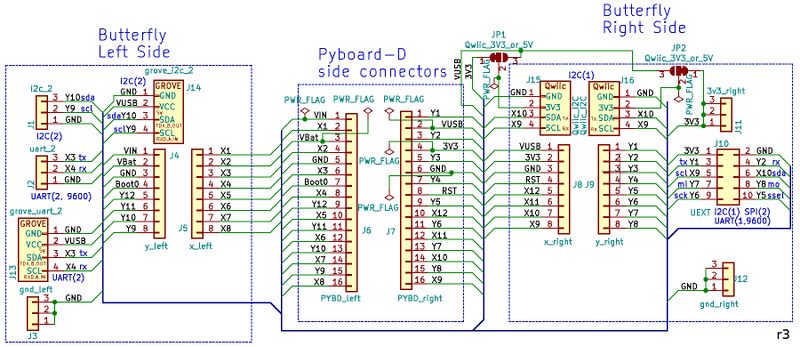
Schematic
Assembly
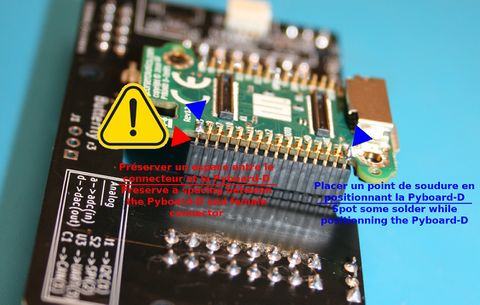
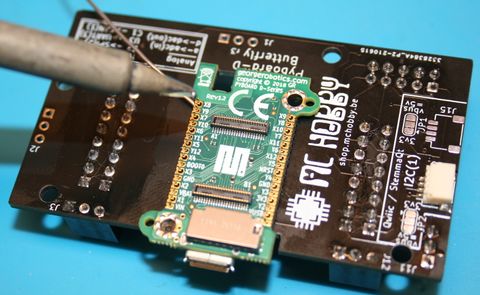
Option 1: Solder the Pyboard-D on Butterfly
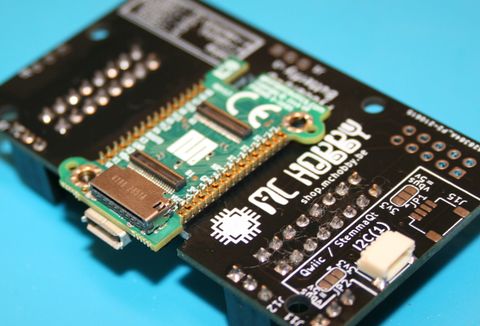
Une des options est de souder directement la PYBD sur la Butterfly.
- L'avantage est que l'assemblage est très compacte.
- L'inconvénient c'est que la PYBD est "bloquée" sur la carte
|
Souder la Pyboard-D sur la carte Butterfly. |
Option 2: Utiliser des connecteurs femelles
Une autre options est de souder des connecteurs femelles 1.27mm sur la PYBD sur la Butterfly.
- L'avantage est qu'il est possible de retirer la Pyboard-D de la Butterfly.
- L'inconvénient c'est que l'ensemble Pyboard-D + Blutterfly est plus épais (massif)
