Rasp-Node-Red-Premier-Pas
|
|
En cours de traduction/élaboration. |
Avant de vous lancer à corps perdu dans les fonctionnalités avancées de Node-Red, nous allons nous pencher sur la compréhension du fonctionnement du système.
Cette page explique comment réaliser un "Hello World" en utilisant un noeud d'injection (inject node) et un noeud de débogage (debug node).
Commencez par ouvrir votre instance de Node-Red et localiser le noeud "inject node". Lorsque vous déplacez au dessus de chaque noeud, une brève description de la fonctionnalité est affiché.
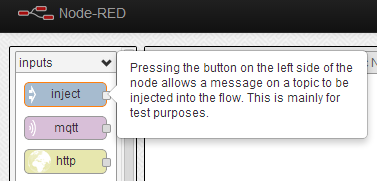
Crédit: AdaFruit Industries www.adafruit.com
Cliquez et déposez un noeud "inject" n'importe tout sur la feuille au centre de l'écran.
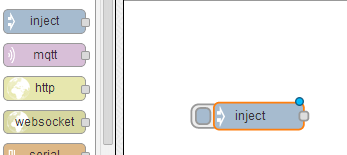
Crédit: AdaFruit Industries www.adafruit.com
Localisez ensuite un noeud "debug" classé dans la section "outputs" (sortie). Le noeud "Debug" est génial poir voir ce qui se passe dans vos flux et peut également être utilisé pour lire les sorties des senseurs, broches GPIO et capture de donnée (requête sur Internet ou WebServices).
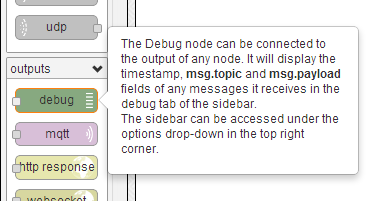
Crédit: AdaFruit Industries www.adafruit.com
Déposez un noeud de "Debug" sur la feuille (près de votre noeud d'entrée).
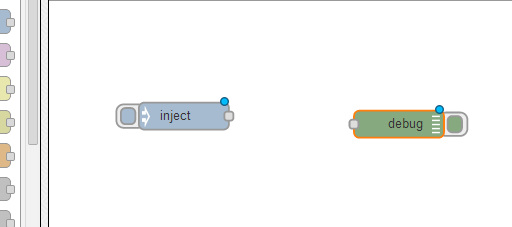
Crédit: AdaFruit Industries www.adafruit.com
Now you can see that the inject node is an input and therefore has a small grey circle on its right hand side. Whilst the debug node is an output and has the small grey circle on its left. We just need to join these two together for them to work as one. Click and drag the inject nodes small grey circle towards the debugs.

Crédit: AdaFruit Industries www.adafruit.com
As you begin to drag you are creating a "wire" between the two nodes. This is allowing them to pass content and interact with each other. Once completed the wire turns grey to show it is in place.
| It is worth noting that you can have multiple wires going in to a node. As an example you can have multiple flows all going in to a debug node. We don't need lots of debugs we can just re-use the same one. |

Crédit: AdaFruit Industries www.adafruit.com
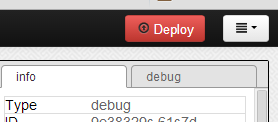
As soon as you change the canvas by adding in new nodes or adding/removing wires between nodes you will notice that the "Deploy" button at the top right of the canvas illuminates red. This shows that there are un-deployed changes.
Deploying simply means allowing the system to update so that it is ready to execute the code within your nodes.
Click the Deploy button and you will see an alert stating that the deployment has been successful.
Once the deploy has completed click the debug tab directly below it. This is our debug window that will allow us to see any messages entering into the debug node.
Crédit: AdaFruit Industries www.adafruit.com
We can now check the wiring is working OK by going to our inject node and clicking on the tab that pokes out on the left hand side.

Crédit: AdaFruit Industries www.adafruit.com
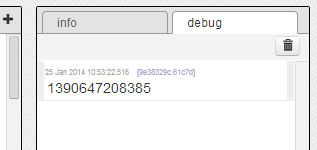
As soon as you click this tab you are telling the node to execute manually due to our intervention. Check the debug window and you will see a bunch of numbers which is actually the current time in milliseconds since 1970.
Crédit: AdaFruit Industries www.adafruit.com
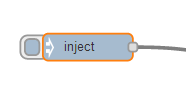
I promised though a Hello World example so double click on the body of the inject node which is highlighted in orange as shown below.
Crédit: AdaFruit Industries www.adafruit.com
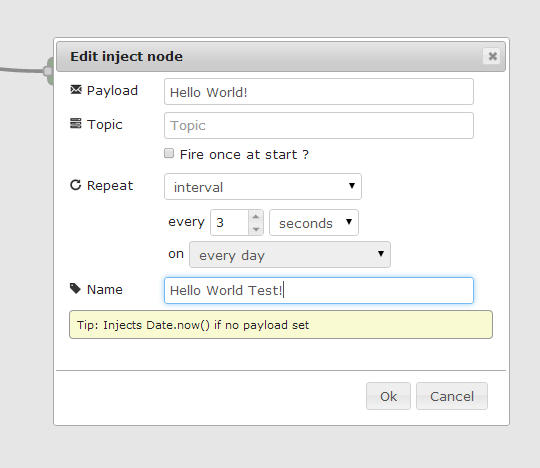
This opens up the nodes options panel. You can do this for any node to see further settings and to make changes.
I want our inject node to output the text Hello World every 3 seconds. In order to do this simply set your options as I have below.
The inject node is very versatile and you can schedule it to inject at various times of day which is really useful. I use it to automate fetching the weather to my twitter account just before I wake to go to work.
Crédit: AdaFruit Industries www.adafruit.com
Once you have everything setup just click OK and the Deploy button at the top right of the screen. You should then start to see the Hello World text output to the debug window every three seconds.
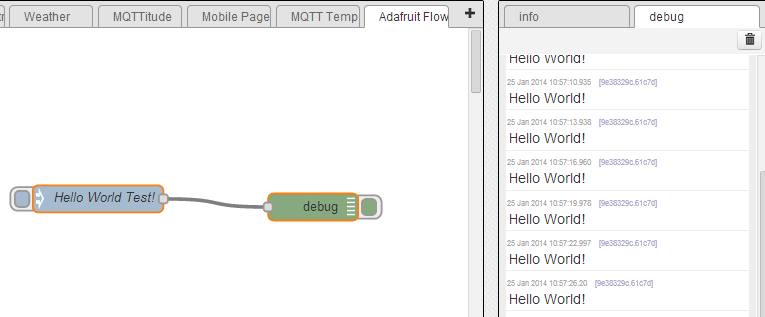
Crédit: AdaFruit Industries www.adafruit.com
I have explained quite a few fundamentals during this stage of the tutorial but the exact same process can be used with the other nodes. You simply drag and drop them on to the canvas, wire them together, change their settings and deploy.
The next stage of the tutorial will move in to making more nodes available and ensuring the environment is set up to run them.There are nodes such as the twitter node that require some further dependencies to be setup other than the ones discussed so far.
Source: Raspberry Pi Hosting Node-Red
Créé par C. Mobberley pour AdaFruit Industries.
Traduction réalisée et augmentée par Meurisse D. pour MCHobby.be.
Toute référence, mention ou extrait de cette traduction doit être explicitement accompagné du texte suivant : « Traduction par MCHobby (www.MCHobby.be) - Vente de kit et composants » avec un lien vers la source (donc cette page) et ce quelque soit le média utilisé.
L'utilisation commercial de la traduction (texte) et/ou réalisation, même partielle, pourrait être soumis à redevance. Dans tous les cas de figures, vous devez également obtenir l'accord du(des) détenteur initial des droits. Celui de MC Hobby s'arrêtant au travail de traduction proprement dit.
Traduit avec l'autorisation d'AdaFruit Industries - Translated with the permission from Adafruit Industries - www.adafruit.com