Différences entre versions de « Bluefruit-LE-Shield-Assembler »
| Ligne 10 : | Ligne 10 : | ||
| − | == | + | == Avec un Stacking Header == |
{{underline|Besoin d'empiler?}} ce tutoriel se concentre sur l'utilisation d'un connecteur normal (pinHeader) pour Arduino. Ne suivez pas cette section du tutoriel {{pl||si vous comptez utiliser des Stacking Headers}}! | {{underline|Besoin d'empiler?}} ce tutoriel se concentre sur l'utilisation d'un connecteur normal (pinHeader) pour Arduino. Ne suivez pas cette section du tutoriel {{pl||si vous comptez utiliser des Stacking Headers}}! | ||
[[Fichier:Bluefruit-LE-Shield-Assembler-10.jpg|320px]] | [[Fichier:Bluefruit-LE-Shield-Assembler-10.jpg|320px]] | ||
| + | |||
| + | == Branchez les connecteurs == | ||
| + | This step is for all Arduino and compatibles. Please note that we use the hardware SPI port (the 2x3 pins) for talking to the Bluefruit LE module. If that port is not available you'll have to jumper the SCK/MOSI/MISO pins to other pins and use 'software SPI'! | ||
| + | |||
| + | <small>All the images here under are credited to [http://www.adafruit.com Adafruit Industries].</small> | ||
| + | {{asm-begin}} | ||
| + | |||
| + | {{asm-row|img=Bluefruit-LE-Shield-Assembler-20.jpg}} | ||
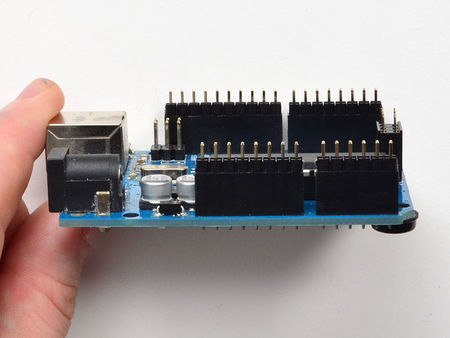
| + | {{asm-text}} Begin by breaking the 36-pin male header into four pieces: one 10-pin, two 8-pin and one 6-pin. Stick the header into the Arduino sockets with the long pins down. | ||
| + | |||
| + | Also place the 2x3 female socket header into the ICSP header on the right of the board | ||
| + | {{asm-row|img=Bluefruit-LE-Shield-Assembler-21.jpg}} | ||
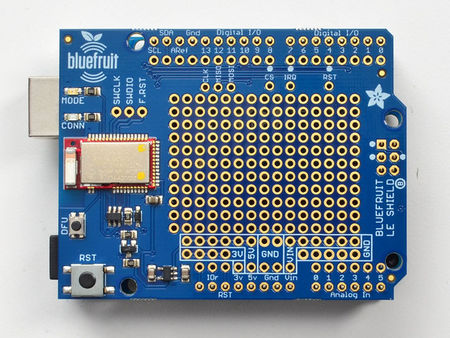
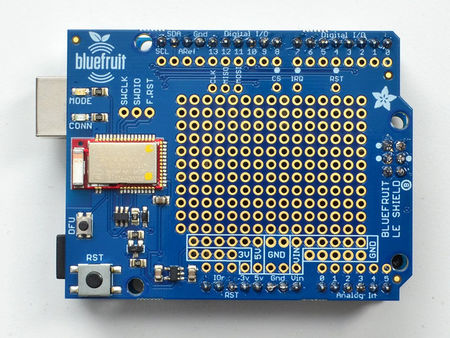
| + | {{asm-text}} Place the shield on top so that all the little pins stick out through the matching holes in the shield. It should match up perfectly! | ||
| + | {{asm-row|img=Bluefruit-LE-Shield-Assembler-22.jpg}} | ||
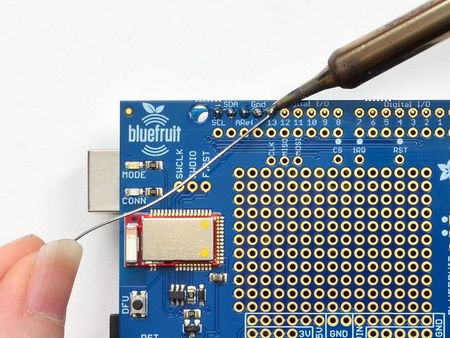
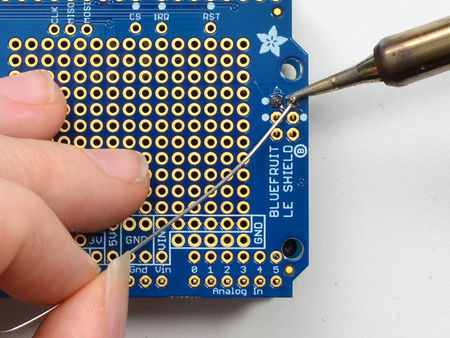
| + | {{asm-text}} Solder in all the header on the top strips | ||
| + | {{asm-row|img=Bluefruit-LE-Shield-Assembler-23.jpg}} | ||
| + | {{asm-text}} Don't forget the 6-pin socket! | ||
| + | {{asm-row|img=Bluefruit-LE-Shield-Assembler-24.jpg}} | ||
| + | {{asm-text}} Check your solder points, all look good? You can proceed to the next steps | ||
| + | |||
| + | {{asm-end}} | ||
| + | |||
{{Bluefruit-LE-Shield-TRAILER}} | {{Bluefruit-LE-Shield-TRAILER}} | ||
Version du 21 mai 2017 à 14:43
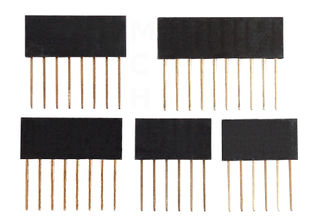
Les éléments
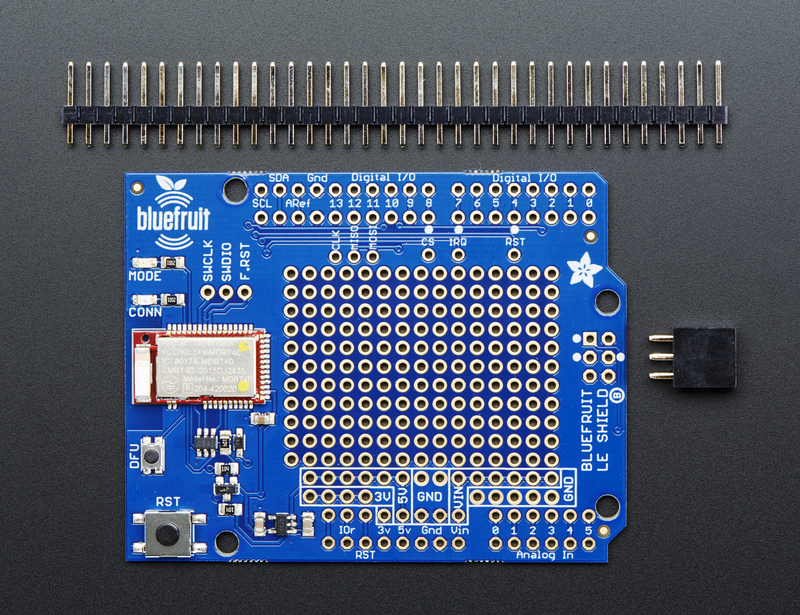
Crédit: AdaFruit Industries www.adafruit.com
Attention à l'empilement
| If you want to stack a shield on top of the Bluefruit LE Shield, you'll want to pick up some stacking headers and use those instead of the plain header shown here! |
Avec un Stacking Header
Besoin d'empiler? ce tutoriel se concentre sur l'utilisation d'un connecteur normal (pinHeader) pour Arduino. Ne suivez pas cette section du tutoriel si vous comptez utiliser des Stacking Headers!
Branchez les connecteurs
This step is for all Arduino and compatibles. Please note that we use the hardware SPI port (the 2x3 pins) for talking to the Bluefruit LE module. If that port is not available you'll have to jumper the SCK/MOSI/MISO pins to other pins and use 'software SPI'!
All the images here under are credited to Adafruit Industries.
Basé sur "Bluefruit LE Shield" d'Adafruit Industries, écrit par
Kevin Townsend - Traduit en Français par shop.mchobby.be CC-BY-SA pour la traduction
Toute copie doit contenir ce crédit, lien vers cette page et la section "crédit de traduction".
Based on "Bluefruit LE Shield" from Adafruit Industries, written by
Kevin Townsend - Translated to French by shop.mchobby.be CC-BY-SA for the translation
Copies must includes this credit, link to this page and the section "crédit de traduction" (translation credit).
Traduit avec l'autorisation d'AdaFruit Industries - Translated with the permission from Adafruit Industries - www.adafruit.com

