Différences entre versions de « Rasp-PiGRRL-2-Nappe »
| Ligne 17 : | Ligne 17 : | ||
{{asm-text}} | {{asm-text}} | ||
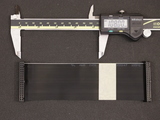
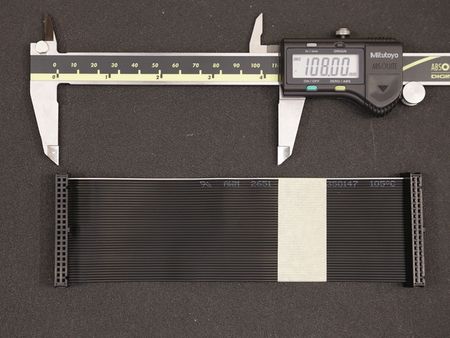
| − | Use | + | Use un pied à coulisse pour mesurer la bonne longueur et marquez l'emplacement à l'aide d'une morceau de toile isolante - papier collant, feutre ou autre. |
| + | {{asm-end}} | ||
| − | |||
{{ADFImage|Rasp-PiGRRL-2-Nappe-05.jpg|640px}} | {{ADFImage|Rasp-PiGRRL-2-Nappe-05.jpg|640px}} | ||
Version du 19 février 2018 à 22:58
Redimensionner le ruban GPIO
Crédit: AdaFruit Industries www.adafruit.com
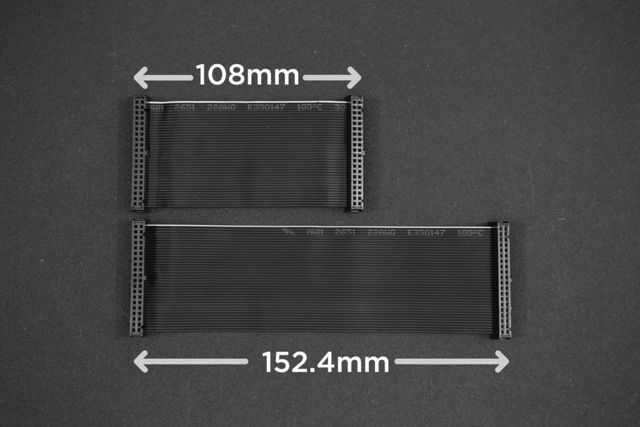
Dans cette section, nous allons redimensionner le ruban GPIO de sorte qu'il soit plus facile à gérer (à caser) une fois placé dans le boîtier. C'est opération n'est pas vraiment essentielle et vous pouvez sauter cette étape. Mais, plus tard, si vous trouvez qu'il n'y a pas passez d'espace disponible pour fermer le boîtier, alors pensez à raccourcir le câble.
Les rubans GPIO standard font 152.4mm de long mais Adafruit recommande de le raccourcir à 108mm, la longueur adéquate répondant à nos besoins.
|
Use un pied à coulisse pour mesurer la bonne longueur et marquez l'emplacement à l'aide d'une morceau de toile isolante - papier collant, feutre ou autre. |
Crédit: AdaFruit Industries www.adafruit.com
Cut Cable
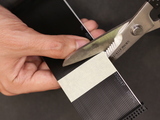
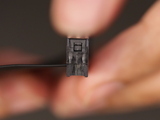
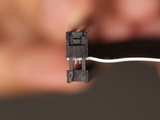
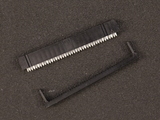
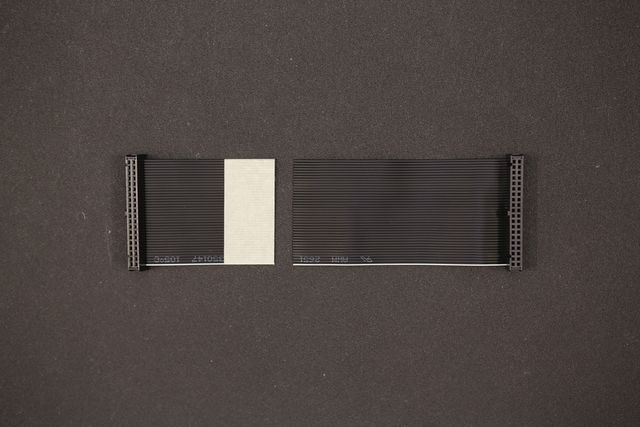
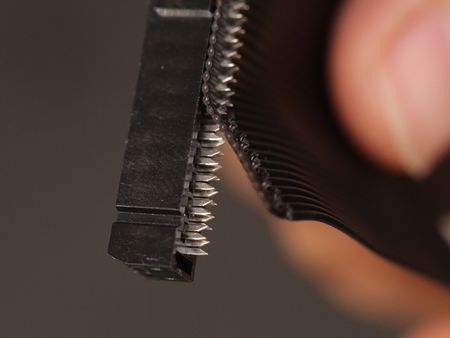
With the cable split in two, set aside the longer end and keep the short end handy - we need to remove the connector from the end of it.
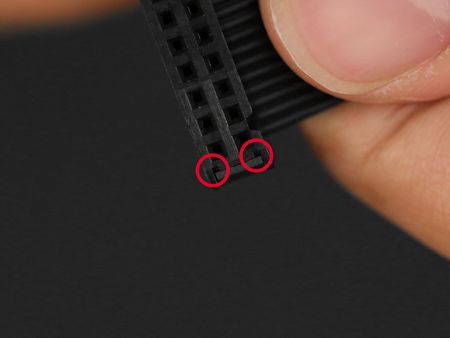
| DO THIS SLOWLY - Be very careful not to break the clips off! |
|
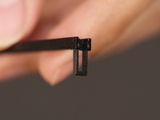
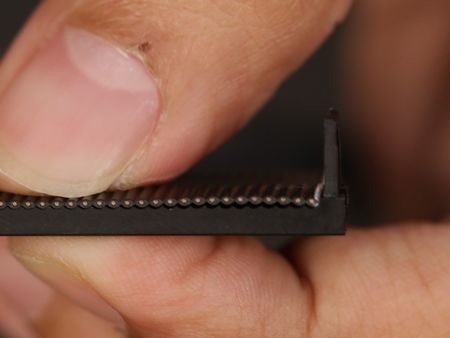
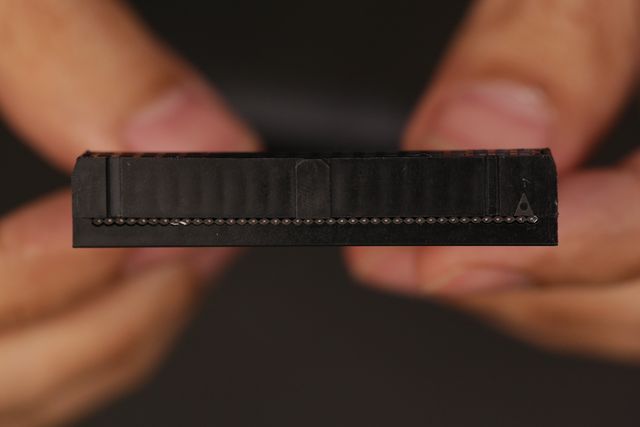
With the top removed from the connector, carefully peel the ribbon cable from the connector. You should be left with the top part and the female connector. You can discard the ribbon cable. |
| Slowly peel the ribbon cable off - If any metal bits come out, carefully push them back into the connector. |
Crédit: AdaFruit Industries www.adafruit.com
Mash Top Piece to Connector
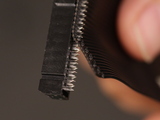
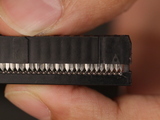
Unless you're incredibly strong, you won't be able to press the top piece back onto the connector because it's hard to puncture the wire with the pointy teeth. The easiest way to do this is to use a rubber mallet to smash the pieces together. I recommend doing this on a hard surface (like on the floor) while holding the connector in place. Tap the top piece in sessions as straight as you can and be careful not to mash your fingers in the process. If all goes well, the teeth from the connector will puncture the ribbon cable and close the two pieces back together.
Crédit: AdaFruit Industries www.adafruit.com
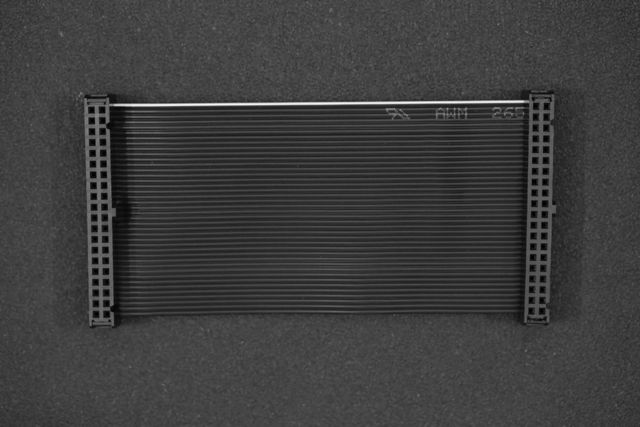
Shortened Pi Ribbon Cable
And there you have it! A shortened Raspberry Pi Ribbon Cable. Bit of a hack, I know - But it really does make closing the case much easier in when we're all done.
Source: PiGRRL 2 - Make a portable Raspberry Pi 2 game console
Créé par les frères Ruiz pour AdaFruit Industries.
Traduction réalisée par Wrotny A pour MCHobby.be.
Toute référence, mention ou extrait de cette traduction doit être explicitement accompagné du texte suivant : « Traduction par MCHobby (www.MCHobby.be) - Vente de kit et composants » avec un lien vers la source (donc cette page) et ce quelque soit le média utilisé.
L'utilisation commercial de la traduction (texte) et/ou réalisation, même partielle, pourrait être soumis à redevance. Dans tous les cas de figures, vous devez également obtenir l'accord du(des) détenteur initial des droits. Celui de MC Hobby s'arrêtant au travail de traduction proprement dit.
Traduit avec l'autorisation d'AdaFruit Industries - Translated with the permission from Adafruit Industries - www.adafruit.com

