Différences entre versions de « Rasp-PiGRRL-2-Fermeture »
(Page créée avec « {{Rasp-PiGRRL-2-NAV}} {{traduction}} {{Rasp-PiGRRL-2-TRAILER}} ») |
|||
| Ligne 2 : | Ligne 2 : | ||
{{traduction}} | {{traduction}} | ||
| + | |||
| + | {{asm-begin}} | ||
| + | {{asm-row|img=Rasp-PiGRRL-2-Montage-01.jpg}} | ||
| + | {{asm-img|img=Rasp-PiGRRL-2-Montage-02.jpg}} | ||
| + | {{asm-img|img=Rasp-PiGRRL-2-Montage-03.jpg}} | ||
| + | {{asm-img|img=Rasp-PiGRRL-2-Montage-04.jpg}} | ||
| + | {{asm-img|img=Rasp-PiGRRL-2-Montage-05.jpg}} | ||
| + | {{asm-text}} | ||
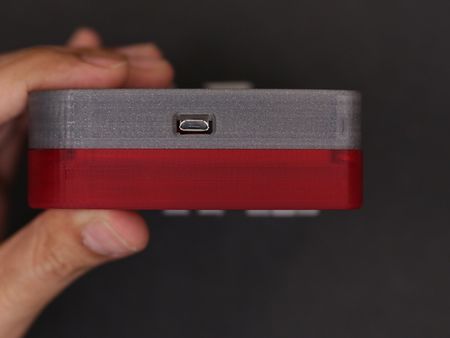
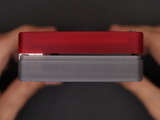
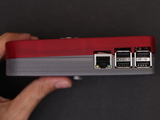
| + | Now its time to close it all up. Before that, make sure all of the wires are inside the case. Wires should be neaty tucked and away of kinking from any of the components. Bring the top and bottom parts together and press the bottom part together. They should snap together. Then, inspect the edges and see if everything is in place - no wires hanging out. If it looks good, start pressing the top area close together - Slowly. If you can't squeeze the top together, the battery could be in the way - be sure to check that and ensure its not in the way of any of the components. | ||
| + | |||
| + | {{asm-row|img=Rasp-PiGRRL-2-Montage-06.jpg}} | ||
| + | {{asm-text}} | ||
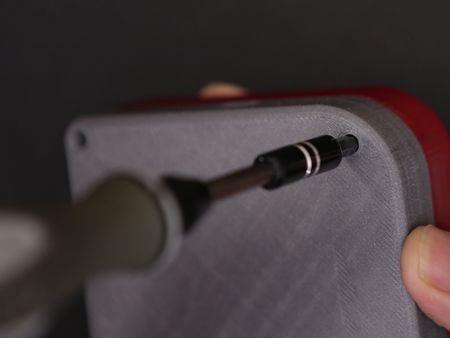
| + | There's two spots on the bottom that feature counter bore standoffs - insert a #2-56 3/8 machine screw and fasten them all the way. This will keep the bottom from coming part. | ||
| + | |||
| + | {{asm-end}} | ||
| + | {{ADFImage|Rasp-PiGRRL-2-Montage-07.jpg|640px}} | ||
| + | |||
| + | <h2> | ||
| + | <a href="#insert-microsd-card" class="anchor-link"><span class="fa fa-link"></span></a><span id="insert-microsd-card" class="anchor-link-target"></span>Insert microSD Card</h2> | ||
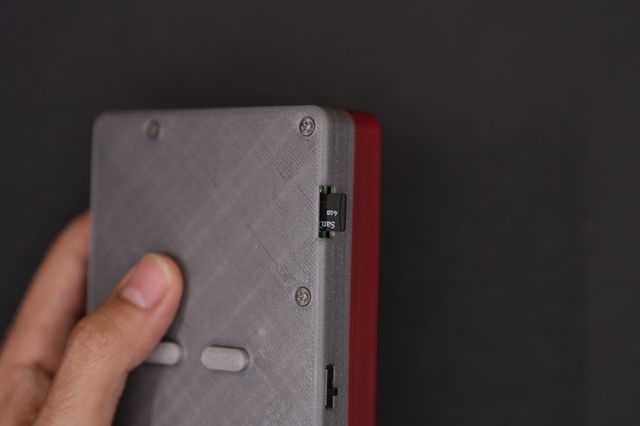
| + | Lastly, insert the microSD card if you haven't already. You should have already burnt the PiGRRL image to the SD card. If not, go ahead and do that now! | ||
| + | |||
| + | {{ADFImage|Rasp-PiGRRL-2-Montage-08.jpg|640px}} | ||
| + | |||
| + | <h2> | ||
| + | <a href="#completed-build" class="anchor-link"><span class="fa fa-link"></span></a><span id="completed-build" class="anchor-link-target"></span>Completed Build!</h2> | ||
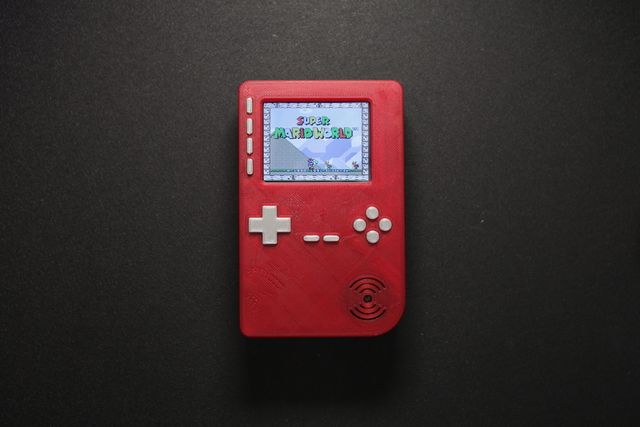
| + | Hazzah! The PiGRRL 2 game console is finally finished and ready to play! Turn it on and RetroPie / Emulationstation should automatically boot. The buttons are premapped to the expected controls. Reference the Software page for uploading ROMs and remapping controls. | ||
| + | |||
| + | <h2> | ||
| + | <a href="#share-your-creation-with-us" class="anchor-link"><span class="fa fa-link"></span></a><span id="share-your-creation-with-us" class="anchor-link-target"></span>Share Your Creation With Us!</h2> | ||
| + | If you built PiGRRL 2, we'd love to see it and share it with the community! Post a make on the thingiverse project page, share it on Instagram or twitter with hashtag #PiGRRL2. | ||
{{Rasp-PiGRRL-2-TRAILER}} | {{Rasp-PiGRRL-2-TRAILER}} | ||
Version du 16 mars 2018 à 22:09
Crédit: AdaFruit Industries www.adafruit.com
<a href="#insert-microsd-card" class="anchor-link"></a>Insert microSD Card
Lastly, insert the microSD card if you haven't already. You should have already burnt the PiGRRL image to the SD card. If not, go ahead and do that now!
Crédit: AdaFruit Industries www.adafruit.com
<a href="#completed-build" class="anchor-link"></a>Completed Build!
Hazzah! The PiGRRL 2 game console is finally finished and ready to play! Turn it on and RetroPie / Emulationstation should automatically boot. The buttons are premapped to the expected controls. Reference the Software page for uploading ROMs and remapping controls.
If you built PiGRRL 2, we'd love to see it and share it with the community! Post a make on the thingiverse project page, share it on Instagram or twitter with hashtag #PiGRRL2.
Source: PiGRRL 2 - Make a portable Raspberry Pi 2 game console
Créé par les frères Ruiz pour AdaFruit Industries.
Traduction réalisée par Wrotny A pour MCHobby.be.
Toute référence, mention ou extrait de cette traduction doit être explicitement accompagné du texte suivant : « Traduction par MCHobby (www.MCHobby.be) - Vente de kit et composants » avec un lien vers la source (donc cette page) et ce quelque soit le média utilisé.
L'utilisation commercial de la traduction (texte) et/ou réalisation, même partielle, pourrait être soumis à redevance. Dans tous les cas de figures, vous devez également obtenir l'accord du(des) détenteur initial des droits. Celui de MC Hobby s'arrêtant au travail de traduction proprement dit.
Traduit avec l'autorisation d'AdaFruit Industries - Translated with the permission from Adafruit Industries - www.adafruit.com

