Différences entre versions de « ADF-LED-BACKPACK-8x8-Matrice-30 »
| Ligne 59 : | Ligne 59 : | ||
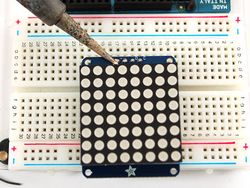
Wiring to the matrix is really easy | Wiring to the matrix is really easy | ||
| + | |||
| + | |||
| + | {{ambox | text = a continuer}} | ||
| + | |||
| + | [[Fichier:ADF-LED-BACKPACK-MATRICE-30mm-INTRO.jpg|400px]] | ||
| + | |||
| + | {{ambox | text = a continuer }} | ||
{{traduction}} | {{traduction}} | ||
Version du 8 février 2013 à 12:19
|
|
En cours de traduction/élaboration. |
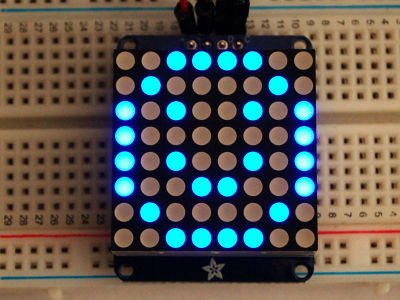
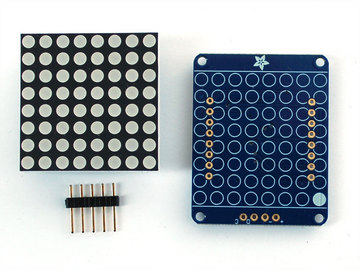
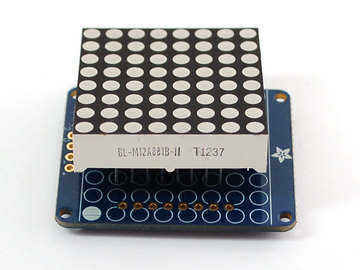
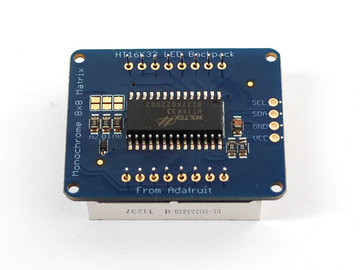
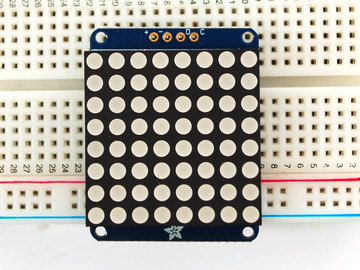
1.2" 8x8 Matrix Created by Ladyada This version of the LED backpack is designed for the 1.2" 8x8 matrices. They measure only 1.2"x1.2" so its a shame to use a massive array of chips to control it. This backpack solves the annoyance of using 16 pins or a bunch of chips by having an I2C constant-current matrix controller sit neatly on the back of the PCB. The controller chip takes care of everything, drawing all 64 LEDs in the background. All you have to do is write data to it using the 2-pin I2C interface. There are two address select pins so you can select one of 8 addresses to control up to 8 of these on a single 2-pin I2C bus (as well as whatever other I2C chips or sensors you like). The driver chip can 'dim' the entire display from 1/16 brightness up to full brightness in 1/16th steps. It cannot dim individual LEDs, only the entire display at once.
| These instruction apply to the 1.2" Matrix only! If you have a Bi-Color or 0.8" square matrix, follow the links on the left side of the page |
That's it! now you're ready to run the firmware!
Mini 8x8 Matrix Software
We wrote a basic library to help you work with the mini 8x8 matrix backpack. The library is written for the Arduino and will work with any Arduino as it just uses the I2C pins. The code is very portable and can be easily adapted to any I2C-capable micro.
Wiring to the matrix is really easy
| a continuer |
| a continuer |
|
|
En cours de traduction/élaboration. |
