Différences entre versions de « Bluefruit-LE-Shield-Controller »
| Ligne 15 : | Ligne 15 : | ||
{{ADFImage|Bluefruit-LE-Shield-Controller-01.png}} | {{ADFImage|Bluefruit-LE-Shield-Controller-01.png}} | ||
| + | |||
| + | == Exécuter le croquis == | ||
| + | Once you upload the sketch to your board (via the arrow-shaped upload icon), and the upload process has finished, open up the Serial Monitor via '''Tools > Serial Monitor''', and make sure that the baud rate in the lower right-hand corner is set to '''115200''': | ||
| + | |||
| + | {{ADFImage|Bluefruit-LE-Shield-HIDKeyboard-10.png}} | ||
| + | |||
| + | To send keyboard data, type anything into the textbox at the top of the Serial Monitor and click the Send button. | ||
== Utiliser Bluefruit LE Connect en mode contrôleur == | == Utiliser Bluefruit LE Connect en mode contrôleur == | ||
Version du 21 mai 2017 à 19:15
|
|
En cours de traduction/élaboration. |
Le croquis Controler
The Controller sketch allows you to turn your BLE-enabled iOS or Android device in a hand-held controller or an external data source, taking advantage of the wealth of sensors on your phone or tablet.
You can take accelerometer or quaternion data from your phone, and push it out to your Arduino via BLE, or get the latest GPS co-ordinates for your device without having to purchase (or power!) any external HW.
Ouvrir le croquis
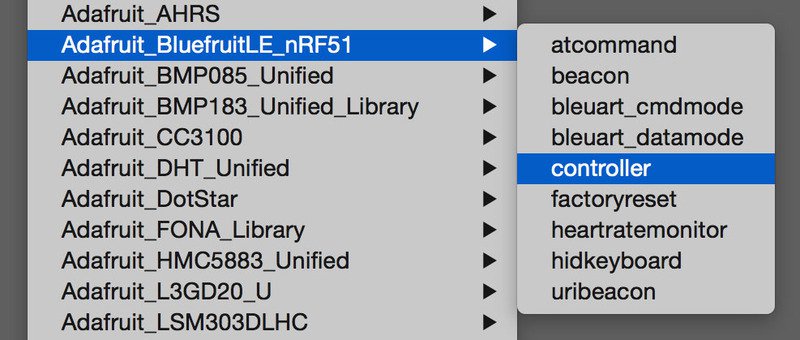
To open the Controller sketch, click on the File > Examples > Adafruit_BluefruitLE_nRF51 folder in the Arduino IDE and select controller:
Crédit: AdaFruit Industries www.adafruit.com
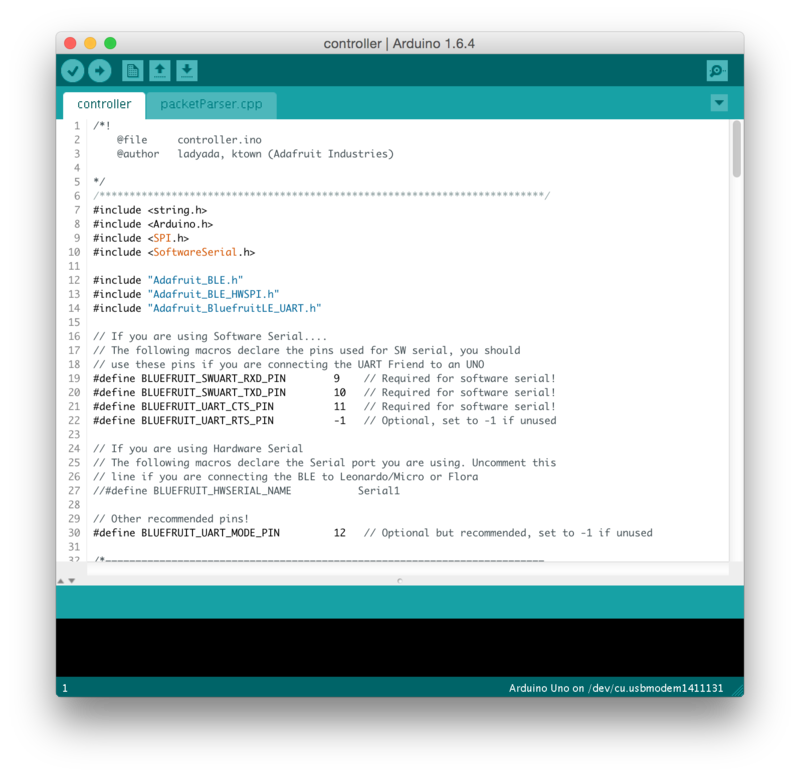
This will open up a new instance of the example in the IDE, as shown below:
Crédit: AdaFruit Industries www.adafruit.com
Exécuter le croquis
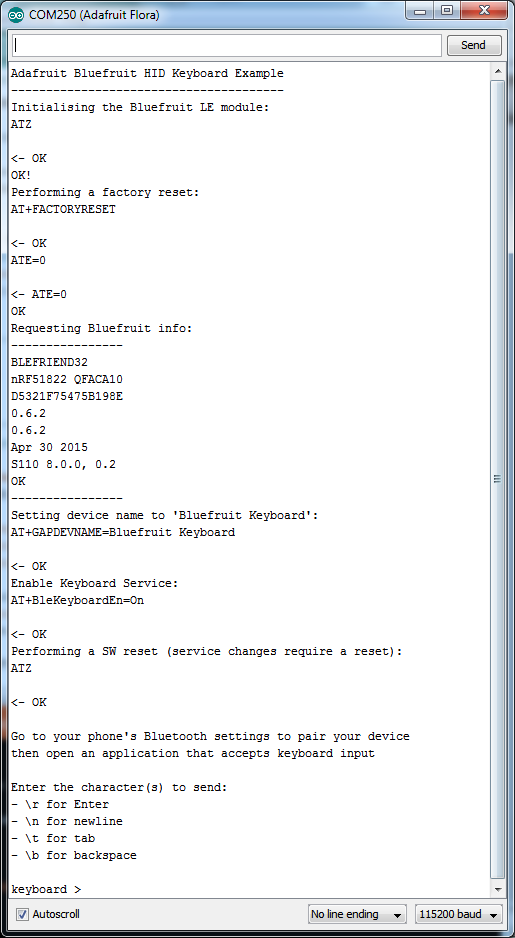
Once you upload the sketch to your board (via the arrow-shaped upload icon), and the upload process has finished, open up the Serial Monitor via Tools > Serial Monitor, and make sure that the baud rate in the lower right-hand corner is set to 115200:
Crédit: AdaFruit Industries www.adafruit.com
To send keyboard data, type anything into the textbox at the top of the Serial Monitor and click the Send button.
Utiliser Bluefruit LE Connect en mode contrôleur
Once the sketch is running you can open Adafruit's Bluefruit LE Connect application (available for Android or iOS) and use the Controller application to interact with the sketch. (If you're new to Bluefruit LE Connect, have a look at our dedicated Bluefruit LE Connect learning guide (Adafruit, anglais).)
On the welcome screen, select the Adafruit Bluefruit LE device from the list of BLE devices in range:

Crédit: AdaFruit Industries www.adafruit.com
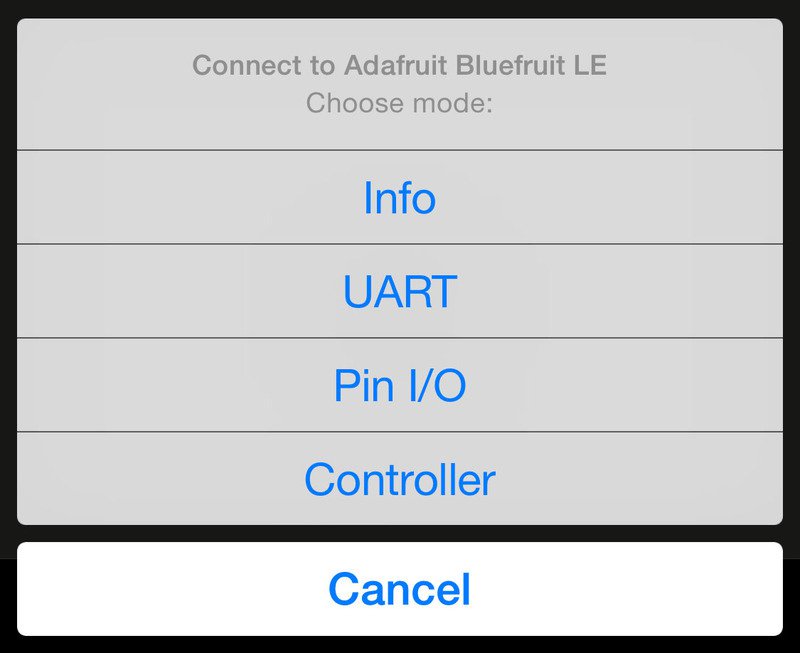
Then from the activity list select Controller:
Crédit: AdaFruit Industries www.adafruit.com
This will bring up a list of data points you can send from your phone or tablet to your Bluefruit LE module, by enabling or disabling the appropriate sensor(s).
Streamer les données de senseur
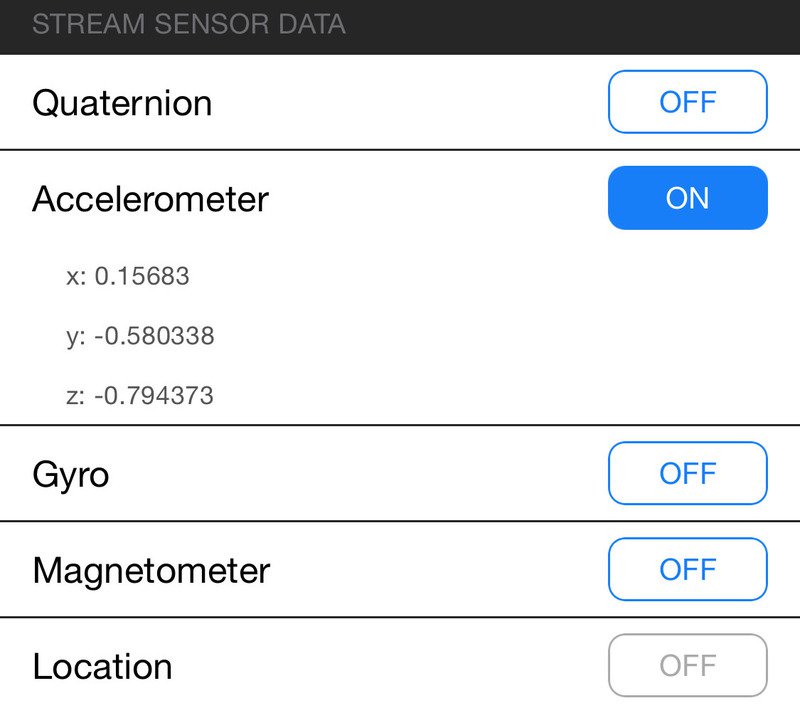
You can take Quaternion (absolute orientation), Accelerometer, Gyroscope, Magnetometer or GPS Location data from your phone and send it directly to your Arduino from the Controller activity.
By enabling the Accelerometer field, for example, you should see accelerometer data update in the app:
Crédit: AdaFruit Industries www.adafruit.com
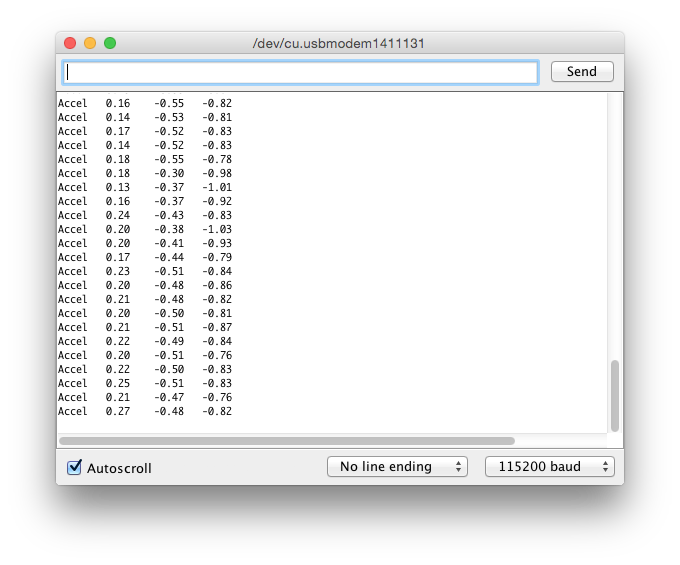
The data is parsed in the example sketch and output to the Serial Monitor as follows:
Accel	0.20	-0.51	-0.76
Accel	0.22	-0.50	-0.83
Accel	0.25	-0.51	-0.83
Accel	0.21	-0.47	-0.76
Accel	0.27	-0.48	-0.82
Crédit: AdaFruit Industries www.adafruit.com
Note that even though we only print 2 decimal points, the values are received from the App as a full 4-byte floating point.
Le pavé de commande
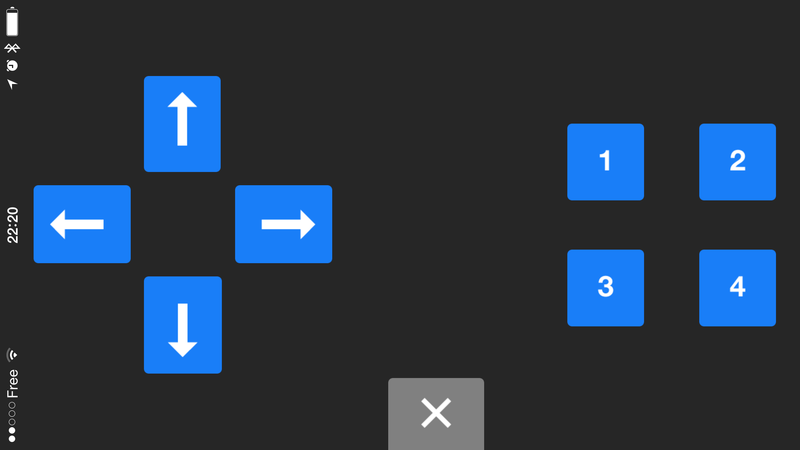
You can also use the Control Pad Module to capture button presses and releases by selecting the appropriate menu item:

Crédit: AdaFruit Industries www.adafruit.com
This will bring up the Control Pad panel, shown below:
Crédit: AdaFruit Industries www.adafruit.com
Button presses and releases will all be logged to the Serial Monitor with the ID of the button used:
Button 8 pressed
Button 8 released
Button 3 pressed
Button 3 released
Sélection de couleur
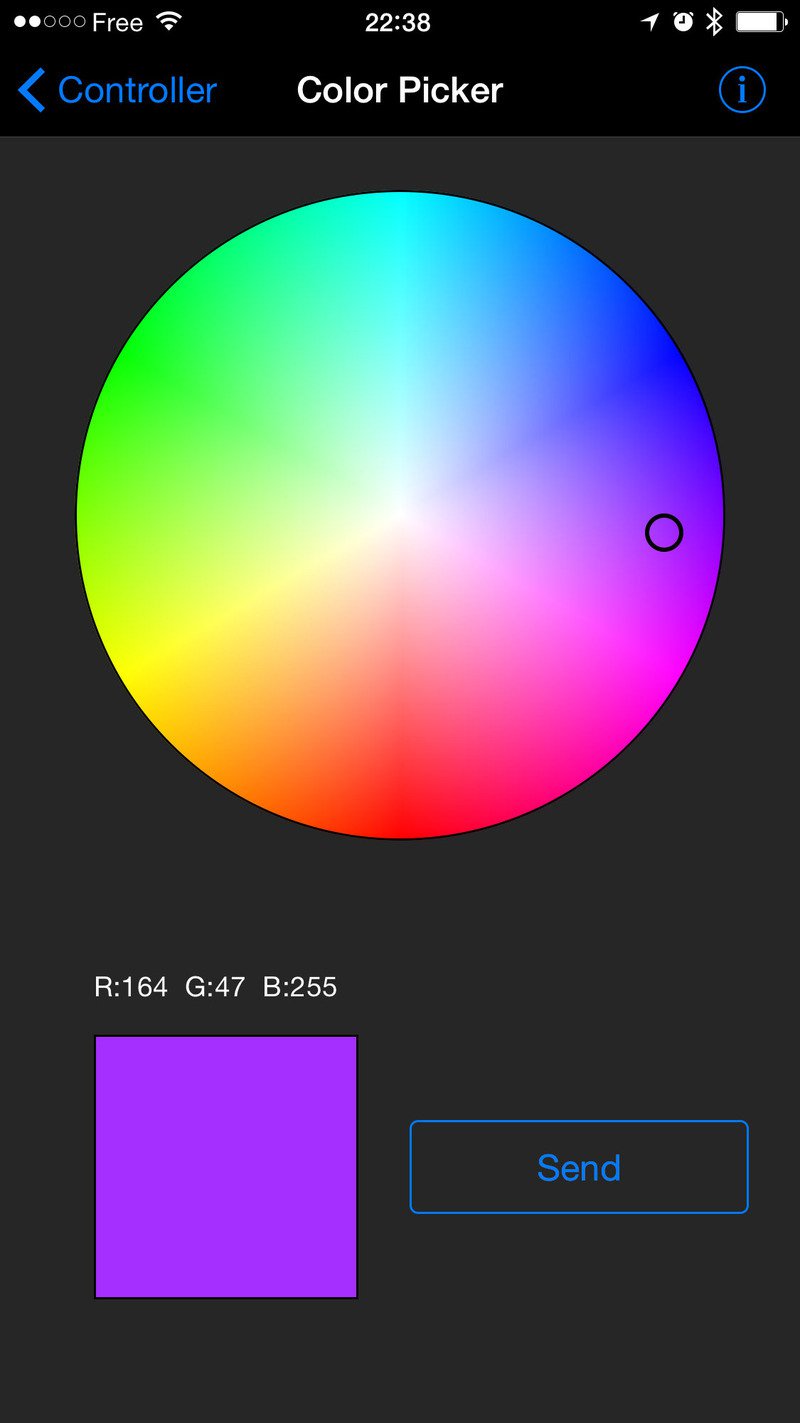
You can also send RGB color data via the Color Picker module, which presents the following color selection dialogue:
Crédit: AdaFruit Industries www.adafruit.com
This will give you Hexadecimal color data in the following format:
RGB #A42FFF
Voyez cette vidéo d'exemple produit par Adafruit (Youtube, anglais)
You can combine the color picker and controller sample sketches to make color-configurable animations triggered by buttons in the mobile app-- very handy for wearables! Download this combined sample code (configured for Feather but easy to adapt to FLORA, BLE Micro, etc.) to get started:
Basé sur "Bluefruit LE Shield" d'Adafruit Industries, écrit par
Kevin Townsend - Traduit en Français par shop.mchobby.be CC-BY-SA pour la traduction
Toute copie doit contenir ce crédit, lien vers cette page et la section "crédit de traduction".
Based on "Bluefruit LE Shield" from Adafruit Industries, written by
Kevin Townsend - Translated to French by shop.mchobby.be CC-BY-SA for the translation
Copies must includes this credit, link to this page and the section "crédit de traduction" (translation credit).
Traduit avec l'autorisation d'AdaFruit Industries - Translated with the permission from Adafruit Industries - www.adafruit.com