Différences entre versions de « FEATHER-M0-EXPRESS-Assembler »
(Page créée avec « {{FEATHER-M0-EXPRESS-NAV}} {{traduction}} {{FEATHER-M0-EXPRESS-TRAILER}} ») |
|||
| Ligne 1 : | Ligne 1 : | ||
{{FEATHER-M0-EXPRESS-NAV}} | {{FEATHER-M0-EXPRESS-NAV}} | ||
| + | |||
| + | == Introduction == | ||
{{traduction}} | {{traduction}} | ||
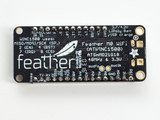
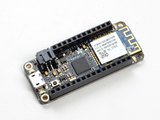
| + | We ship Feathers fully tested but without headers attached - this gives you the most flexibility on choosing how to use and configure your Feather | ||
| + | |||
| + | == Header Options! == | ||
| + | Before you go gung-ho on soldering, there's a few options to consider! | ||
| + | |||
| + | {{asm-begin}} | ||
| + | {{asm-row|img=FEATHER-M0-EXPRESS-Assembler-01.jpg}} | ||
| + | {{asm-img|img=FEATHER-M0-EXPRESS-Assembler-02.jpg}} | ||
| + | {{asm-img|img=FEATHER-M0-EXPRESS-Assembler-03.jpg}} | ||
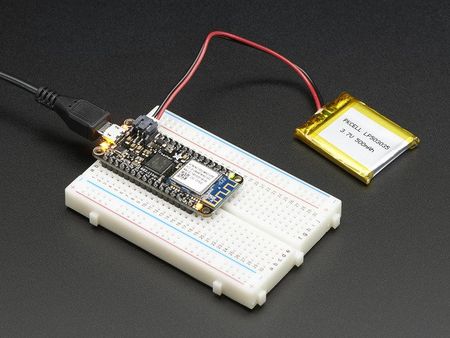
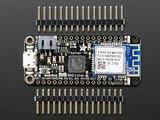
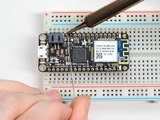
| + | The first option is soldering in plain male headers, this lets you plug in the Feather into a solderless breadboard | ||
| + | |||
| + | {{asm-row|img=FEATHER-M0-EXPRESS-Assembler-04.jpg}} | ||
| + | {{asm-img|img=FEATHER-M0-EXPRESS-Assembler-05.jpg}} | ||
| + | {{asm-img|img=FEATHER-M0-EXPRESS-Assembler-06.jpg}} | ||
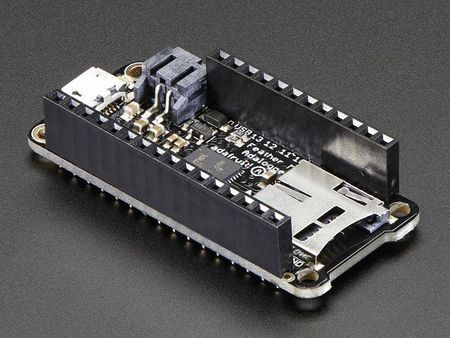
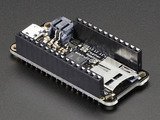
| + | Another option is to go with socket female headers. This won't let you plug the Feather into a breadboard but it will let you attach featherwings very easily | ||
| + | |||
| + | {{asm-row|img=FEATHER-M0-EXPRESS-Assembler-07.jpg}} | ||
| + | {{asm-img|img=FEATHER-M0-EXPRESS-Assembler-08.jpg}} | ||
| + | {{asm-img|img=FEATHER-M0-EXPRESS-Assembler-09.jpg}} | ||
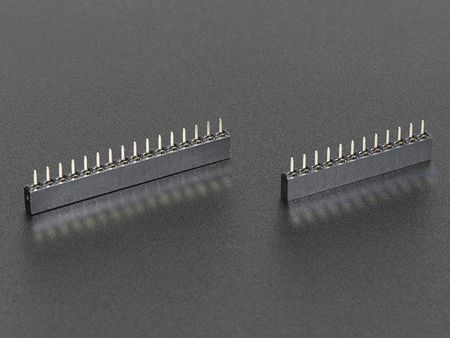
| + | We also have 'slim' versions of the female headers, that are a little shorter and give a more compact shape | ||
| + | |||
| + | {{asm-row|img=FEATHER-M0-EXPRESS-Assembler-10.jpg}} | ||
| + | {{asm-img|img=FEATHER-M0-EXPRESS-Assembler-11.jpg}} | ||
| + | {{asm-img|img=FEATHER-M0-EXPRESS-Assembler-12.jpg}} | ||
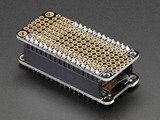
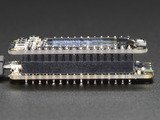
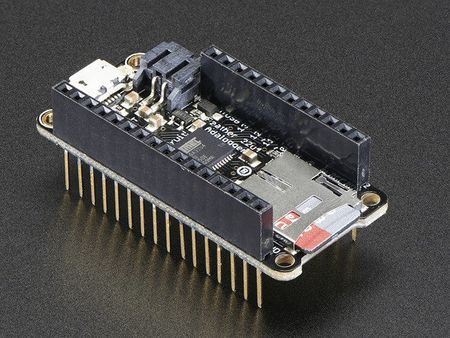
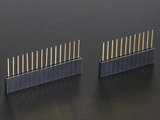
| + | Finally, there's the "Stacking Header" option. This one is sort of the best-of-both-worlds. You get the ability to plug into a solderless breadboard ''and'' plug a featherwing on top. But its a little bulky | ||
| + | |||
| + | {{asm-end}} | ||
| + | == Soldering in Plain Headers == | ||
| + | {{asm-begin}} | ||
| + | {{asm-row|img=FEATHER-M0-EXPRESS-Assembler-13.jpg}} | ||
| + | '''Prepare the header strip:''' | ||
| + | |||
| + | Cut the strip to length if necessary. It will be easier to solder if you insert it into a breadboard - '''long pins down''' | ||
| + | |||
| + | {{asm-row|img=FEATHER-M0-EXPRESS-Assembler-14.jpg}} | ||
| + | {{asm-img|img=FEATHER-M0-EXPRESS-Assembler-15.jpg}} | ||
| + | {{asm-img|img=FEATHER-M0-EXPRESS-Assembler-16.jpg}} | ||
| + | {{asm-img|img=FEATHER-M0-EXPRESS-Assembler-17.jpg}} | ||
| + | '''Add the breakout board:''' | ||
| + | |||
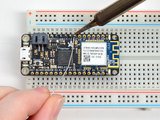
| + | Place the breakout board over the pins so that the short pins poke through the breakout pads | ||
| + | |||
| + | '''And Solder!''' | ||
| + | |||
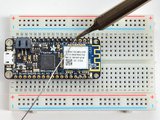
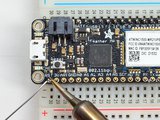
| + | Be sure to solder all pins for reliable electrical contact.<br><br>''(For tips on soldering, be sure to check out our ''<a href="http://learn.adafruit.com/adafruit-guide-excellent-soldering">''Guide to Excellent Soldering''</a>'').'' | ||
| + | |||
| + | {{asm-row|img=FEATHER-M0-EXPRESS-Assembler-18.jpg}} | ||
| + | {{asm-img|img=FEATHER-M0-EXPRESS-Assembler-19.jpg}} | ||
| + | {{asm-img|img=FEATHER-M0-EXPRESS-Assembler-20.jpg}} | ||
| + | {{asm-img|img=FEATHER-M0-EXPRESS-Assembler-21.jpg}} | ||
| + | Solder the other strip as well. | ||
| + | |||
| + | {{asm-row|img=FEATHER-M0-EXPRESS-Assembler-22.jpg}} | ||
| + | You're done! Check your solder joints visually and continue onto the next steps | ||
| + | |||
| + | {{asm-end}} | ||
| + | == Soldering on Female Header == | ||
| + | {{asm-begin}} | ||
| + | {{asm-row|img=FEATHER-M0-EXPRESS-Assembler-23.jpg}} | ||
| + | '''Tape In Place''' | ||
| + | |||
| + | For sockets you'll want to tape them in place so when you flip over the board they don't fall out | ||
| + | |||
| + | {{asm-row|img=FEATHER-M0-EXPRESS-Assembler-24.jpg}} | ||
| + | {{asm-img|img=FEATHER-M0-EXPRESS-Assembler-25.jpg}} | ||
| + | {{asm-img|img=FEATHER-M0-EXPRESS-Assembler-26.jpg}} | ||
| + | {{asm-img|img=FEATHER-M0-EXPRESS-Assembler-27.jpg}} | ||
| + | '''Flip & Tack Solder''' | ||
| + | |||
| + | After flipping over, solder one or two points on each strip, to 'tack' the header in place | ||
| + | |||
| + | {{asm-row|img=FEATHER-M0-EXPRESS-Assembler-28.jpg}} | ||
| + | {{asm-img|img=FEATHER-M0-EXPRESS-Assembler-29.jpg}} | ||
| + | {{asm-img|img=FEATHER-M0-EXPRESS-Assembler-30.jpg}} | ||
| + | {{asm-img|img=FEATHER-M0-EXPRESS-Assembler-31.jpg}} | ||
| + | '''And Solder!''' | ||
| + | |||
| + | Be sure to solder all pins for reliable electrical contact.<br><br>''(For tips on soldering, be sure to check out our ''<a href="http://learn.adafruit.com/adafruit-guide-excellent-soldering">''Guide to Excellent Soldering''</a>'').'' | ||
| + | |||
| + | {{asm-row|img=FEATHER-M0-EXPRESS-Assembler-32.jpg}} | ||
| + | {{asm-img|img=FEATHER-M0-EXPRESS-Assembler-33.jpg}} | ||
| + | {{asm-img|img=FEATHER-M0-EXPRESS-Assembler-34.jpg}} | ||
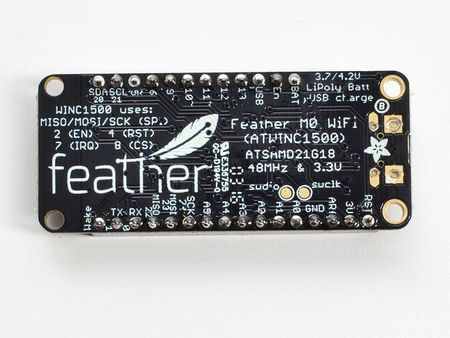
| + | You're done! Check your solder joints visually and continue onto the next steps | ||
| + | |||
| + | {{asm-end}} | ||
{{FEATHER-M0-EXPRESS-TRAILER}} | {{FEATHER-M0-EXPRESS-TRAILER}} | ||
Version du 13 octobre 2017 à 10:05
Introduction
|
|
En cours de traduction/élaboration. |
We ship Feathers fully tested but without headers attached - this gives you the most flexibility on choosing how to use and configure your Feather
Header Options!
Before you go gung-ho on soldering, there's a few options to consider!
Soldering in Plain Headers
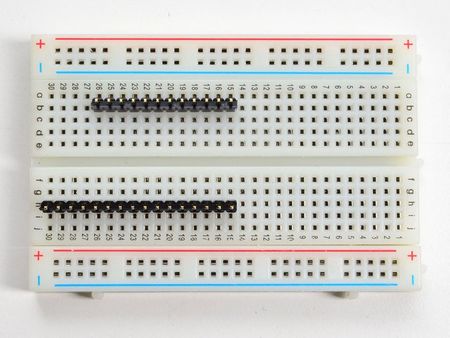
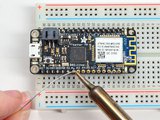
Prepare the header strip: Cut the strip to length if necessary. It will be easier to solder if you insert it into a breadboard - long pins down |
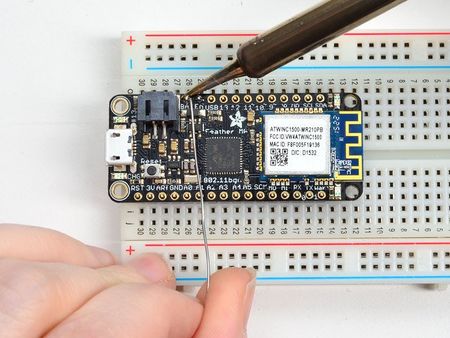
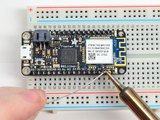
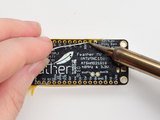
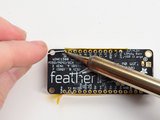
Place the breakout board over the pins so that the short pins poke through the breakout pads And Solder! Be sure to solder all pins for reliable electrical contact. |
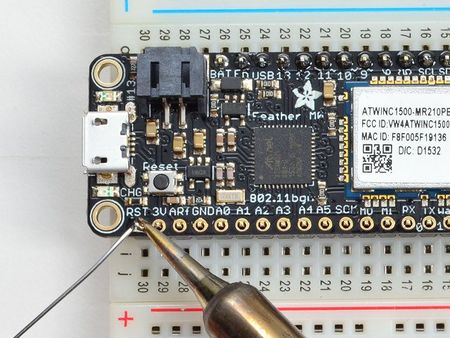
|
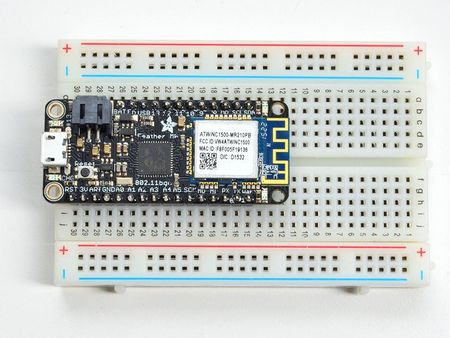
You're done! Check your solder joints visually and continue onto the next steps |
Soldering on Female Header
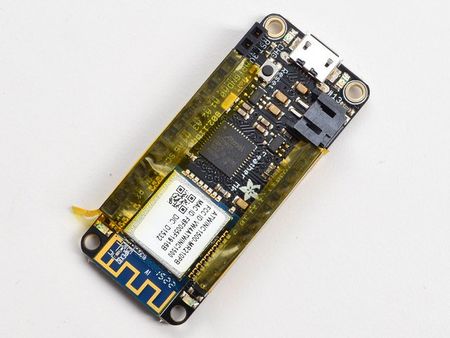
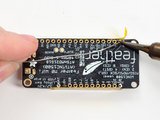
Tape In Place For sockets you'll want to tape them in place so when you flip over the board they don't fall out |
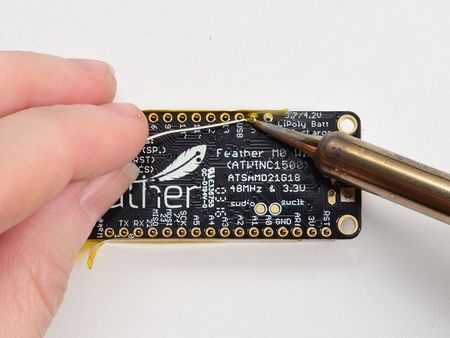
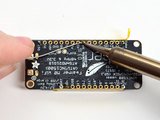
After flipping over, solder one or two points on each strip, to 'tack' the header in place |
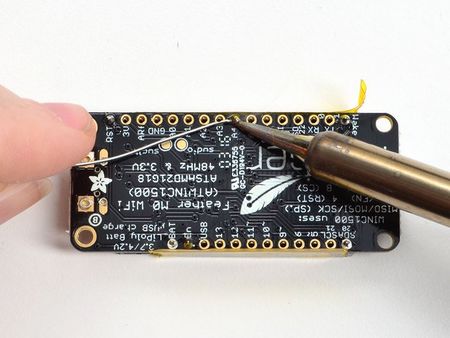
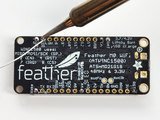
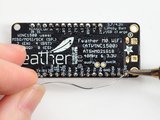
Be sure to solder all pins for reliable electrical contact. |
|
Source: Adafruit Feather M0 Express - Designed for CircuitPython créé par LadyAda, Tony DiCola, Scorr Shawcroft, Dan Halbert pour AdaFruit Industries. Crédit AdaFruit Industries
Traduit par Meurisse D. pour MCHobby.be
Traduit avec l'autorisation d'AdaFruit Industries - Translated with the permission from Adafruit Industries - www.adafruit.com
Toute référence, mention ou extrait de cette traduction doit être explicitement accompagné du texte suivant : « Traduction par MCHobby (www.MCHobby.be) - Vente de kit et composants » avec un lien vers la source (donc cette page) et ce quelque soit le média utilisé.
L'utilisation commercial de la traduction (texte) et/ou réalisation, même partielle, pourrait être soumis à redevance. Dans tous les cas de figures, vous devez également obtenir l'accord du(des) détenteur initial des droits. Celui de MC Hobby s'arrêtant au travail de traduction proprement dit.
