RASP-PiTFT-Assembler

De MCHobby - Wiki
Sauter à la navigation Sauter à la recherche


MCHobby investit du temps et de l'argent dans la réalisation de traduction et/ou documentation. C'est un travail long et fastidieux réalisé dans l'esprit Open-Source... donc gratuit et librement accessible.
SI vous aimez nos traductions et documentations ALORS aidez nous à en produire plus en achetant vos produits chez MCHobby.

Préparatifs

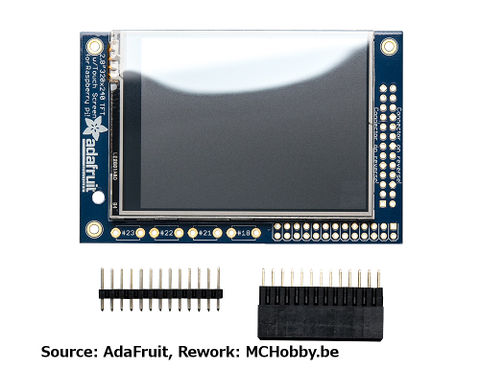
RASP-PiTFT-03.jpg
Crédit: AdaFruit Industries www.adafruit.com

Avant de commencer:

  • Vérifiez que vous avez tout ce dont vous avez besoin.
    • Une carte PiTFT assemblée avec l'écran 2.8",
    • Un connecteur/header femelle extra haut extra tall
    • Un connecteur mâle de 2x13 broches.

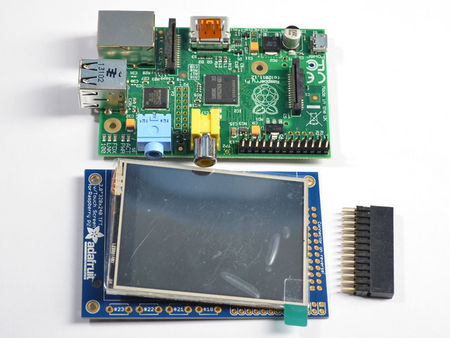
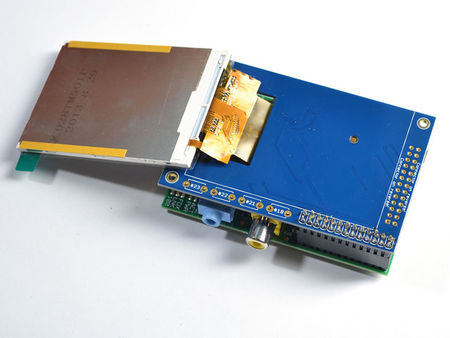
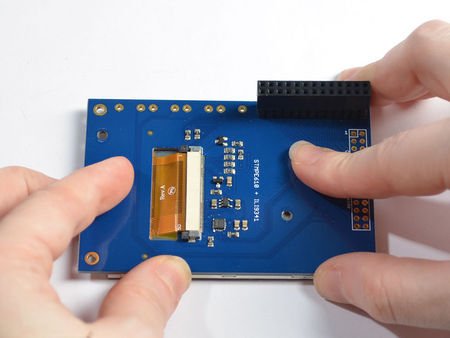
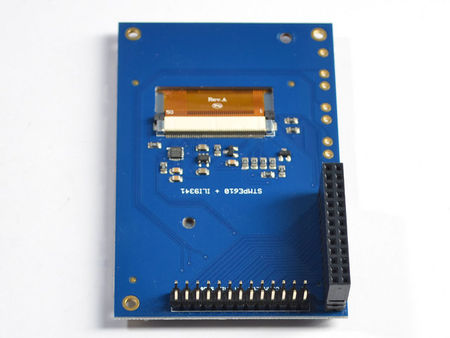
Note: Il est normal que l'écran soit flottant et pas encore collé sur la carte, il est ainsi plus facile pour vous de souder le connecteur GPIO!
RASP-PiTFT-05.jpg
Crédit: AdaFruit Industries www.adafruit.com

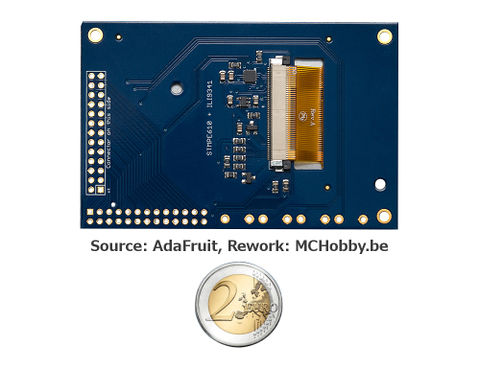
Vérifiez à l'arrière qye le TFT soit attaché et que le connecteur Flexible soit bien en place dans la socket FPC.

Assemblage

Crédit AdaFruit Industries pour toutes les images ci-dessous (voir ce tutoriel) - Credit to AdaFruit Industries for all pictures here under (see this tutorial) .

RASP-PiTFT-Asm-01.jpg The easiest way to attach the header is if you have a Raspberry Pi as a 'stand' - make sure its powered off & unplugged!
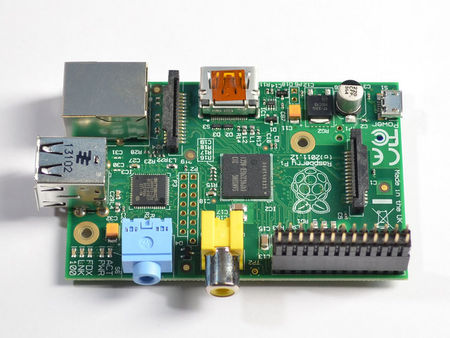
RASP-PiTFT-Asm-02.jpg Plug the extra tall female header into the GPIO port on the Pi as shown. Make sure its seated nice and flat
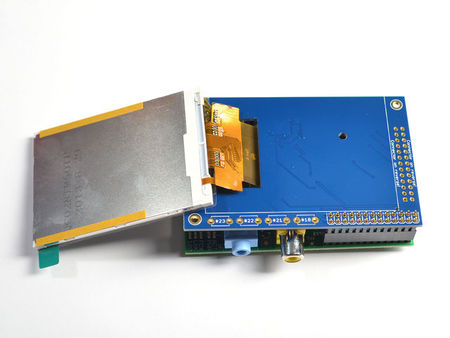
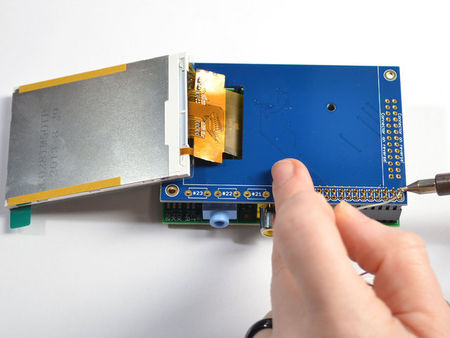
RASP-PiTFT-Asm-03.jpg Place the PiTFT shield on top so all the pins stick through the connector on the side. Gently flip the TFT so its off to the side and wont be in your way while you solder
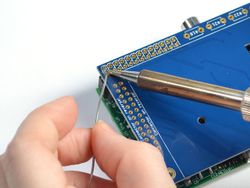
RASP-PiTFT-Asm-04.jpg


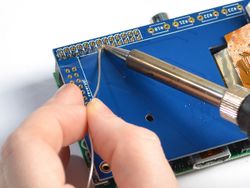
RASP-PiTFT-Asm-04b.jpg
RASP-PiTFT-Asm-04c.jpg
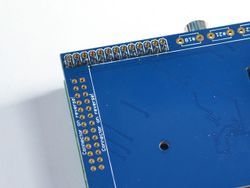
RASP-PiTFT-Asm-04d.jpg

Heat up your soldering iron, and grab some solder. Start by tack-soldering one of the corners while pressing on the plate to make it sit flat. Once you have one or two pins done you can continue to solder each of the pins.
RASP-PiTFT-Asm-05.jpg Before attaching the display, check that all the pins are soldered nicely and there's no bridging, cold solder, shorts, or unsoldered pins.
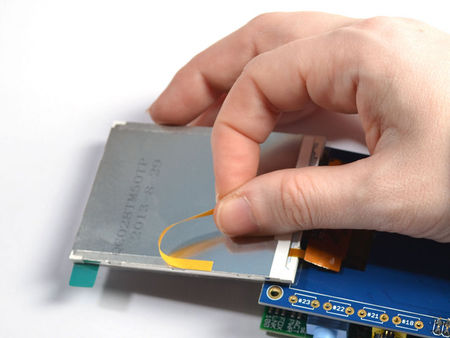
RASP-PiTFT-Asm-06.jpg Now we can attach the screen. Remove the two thin tape cover strips.
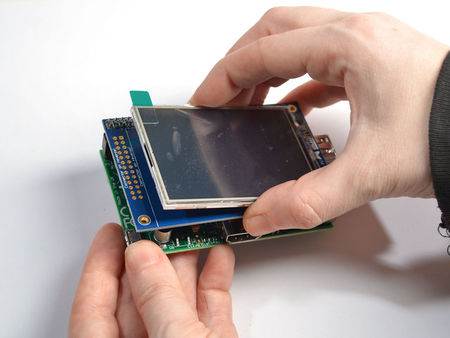
RASP-PiTFT-Asm-07.jpg Line up the screen on the white outline, make sure there's some space from the header you just soldered in and the metal sides of the screen. As long as you don't really press down on the screen you can reposition it once or twice.
RASP-PiTFT-Asm-08.jpg Once you have the screen so it is definitely not touching the header, you can gently press on the sides to secure the tape.
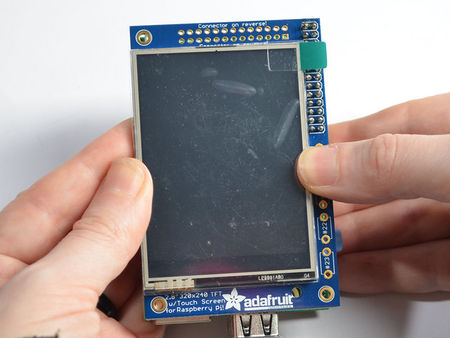
RASP-PiTFT-Asm-09.jpg If the protective plastic cover is still on the screen you can press it against a clean table from above. That way you will really securely attach it!
RASP-PiTFT-Asm-10.jpg If you want to attach an Adafruit Cobbler or similar, you can solder in the optional 2x13 male header on the bottom of the screen as shown here. This will keep the top side clean and flat. Solder in all 26 pins
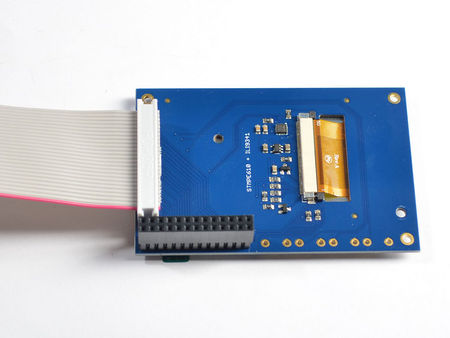
RASP-PiTFT-Asm-11.jpg You can attach a 26-pin IDC cable just make sure the pin 1 indicator is on the right as indicated in this photo - there's also a #1 marking on the PCB!

Source: Adafruit PiTFT - 2.8" Touchscreen Display for Raspberry Pi
Créé par LadyAda pour AdaFruit Industries.
Augmenté par Meurisse D. pour MCHobby

Traduction réalisée par Meurisse D pour MCHobby.be.

Toute référence, mention ou extrait de cette traduction doit être explicitement accompagné du texte suivant : «  Traduction par MCHobby (www.MCHobby.be) - Vente de kit et composants » avec un lien vers la source (donc cette page) et ce quelque soit le média utilisé.

L'utilisation commercial de la traduction (texte) et/ou réalisation, même partielle, pourrait être soumis à redevance. Dans tous les cas de figures, vous devez également obtenir l'accord du(des) détenteur initial des droits. Celui de MC Hobby s'arrêtant au travail de traduction proprement dit.

Traduit avec l'autorisation d'AdaFruit Industries - Translated with the permission from Adafruit Industries - www.adafruit.com