Rasp-Hack-GPIO AdaFruit PiCode
To make life easy for those wishing to experiment with attaching electronics to their Pi, Adafruit have produced an extensive and extremely useful collection of code. This includes simple Python libraries for a large number of modules, including displays, sensors and PWM controllers etc.
To fetch this code, you need to use some software called 'git'. This comes pre-installed on Occidentalis, but on Raspbian you must install it by entering the following commands into LX Terminal.
You will find the icon for LX Terminal on your desktop.
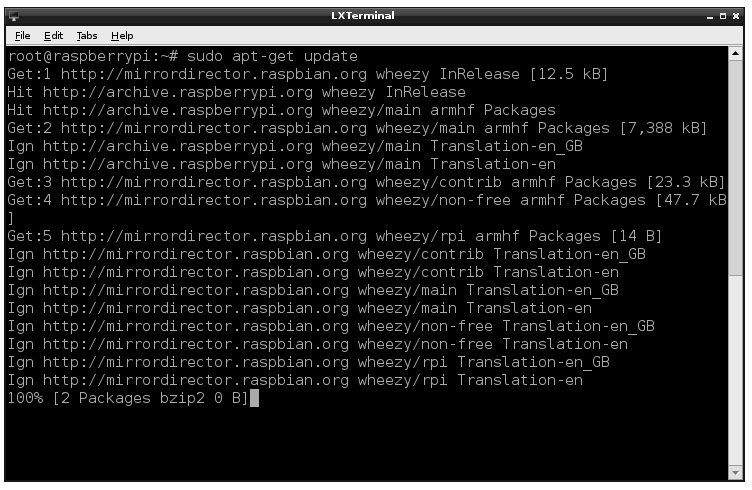
Before we go any further, issue the following command in LXTerminal. This will ensure you package can be found and that you get the latest version. It does not matter which directory you are in. Copy Code
sudo apt-get update
The update may take a while, especially if this is the first time you have run it on your Pi. Eventually it should give you another command prompt '$' and it will be ready for you to type the next command which is:
sudo apt-get install git
Once git is installed (if its not already there) make yourself a suitable directory to contain all the Python code that you are going to install. Now 'cd' into that directory and then issue the following commands in LX Terminal.
git clone https://github.com/adafruit/Adafruit-Raspberry-Pi-Python-Code.git
cd Adafruit-Raspberry-Pi-Python-Code
ls
If there is any problem during any of the steps above, you will see an error message. The most common reasons why something should fail to install are:
- a problem with your Internet connections
- a mis-typed command. Remember everything in Linux is case sensitive. It is best to open this page on your Raspberry Pi so you can just copy and paste the commands.
You will find all sorts of goodies in here, many of which we will use in later tutorials.
Source: GPIO Setup, créé par Simon Monk pour AdaFruit Industries.
Traduit et augmenté par Meurisse D. pour MCHobby.be, également basé sur des informations provenant du GitHub RaspberryPi
Traduit avec l'autorisation d'AdaFruit Industries - Translated with the permission from Adafruit Industries - www.adafruit.com
Toute référence, mention ou extrait de cette traduction doit être explicitement accompagné du texte suivant : « Traduction par MCHobby (www.MCHobby.be) - Vente de kit et composants » avec un lien vers la source (donc cette page) et ce quelque soit le média utilisé.
L'utilisation commercial de la traduction (texte) et/ou réalisation, même partielle, pourrait être soumis à redevance. Dans tous les cas de figures, vous devez également obtenir l'accord du(des) détenteur initial des droits. Celui de MC Hobby s'arrêtant au travail de traduction proprement dit.

