Rasp-PiGRRL-2-Alimentation

De MCHobby - Wiki
Sauter à la navigation Sauter à la recherche


MCHobby investit du temps et de l'argent dans la réalisation de traduction et/ou documentation. C'est un travail long et fastidieux réalisé dans l'esprit Open-Source... donc gratuit et librement accessible.
SI vous aimez nos traductions et documentations ALORS aidez nous à en produire plus en achetant vos produits chez MCHobby.

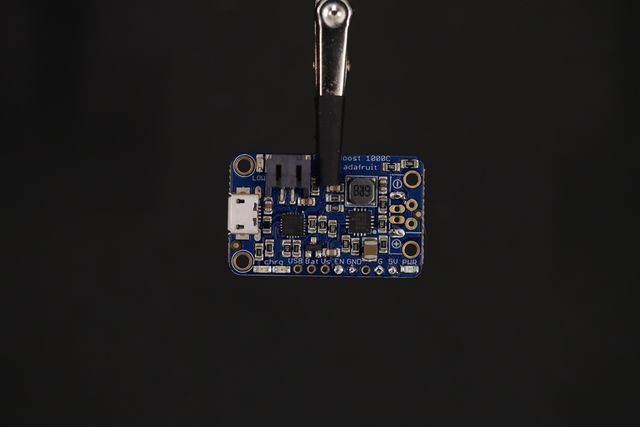
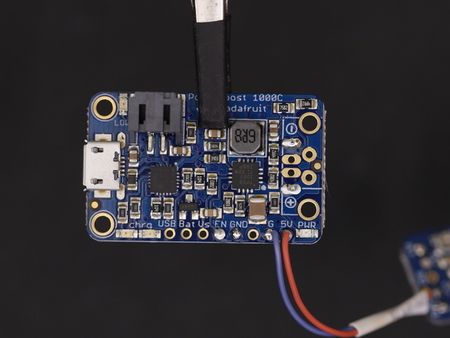
Préparer le PowerBoost 1000C

Rasp-PiGRRL-2-Alimentation-01.jpg
Crédit: AdaFruit Industries www.adafruit.com

Maintenez le PowerBoost dans un étau 3ième main.

Puis appliquez de la soudure sur les broches suivantes:

  • sortie Positive(+) pour le haut-parleur,
  • Sortie Négative(–) pour le haut-parleur,
  • Broche EN d'activation,
  • GND, G et 5V.
Rasp-PiGRRL-2-Alimentation-02.jpg


Rasp-PiGRRL-2-Alimentation-03.jpg
Rasp-PiGRRL-2-Alimentation-04.jpg

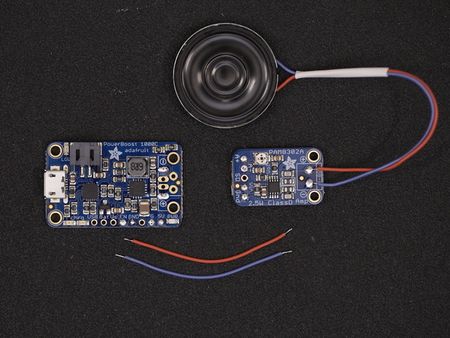
Nous aurons besoin de fils de 3cm de long (30 AWG) pour connecter l'ampli sur le PowerBoost 1000C. Utilisez votre dénudeuse pour enlever environ 4mm d'isolant à chaque bout. Ensuite, utilisez votre fer à souder pour étame les fils (appliquer une fine couche d'étain).

Placez maintenant l'amplificateur dans l'étau 3ième main et soudez des fils sur les broches Vin et Gnd.

Rasp-PiGRRL-2-Alimentation-05.jpg

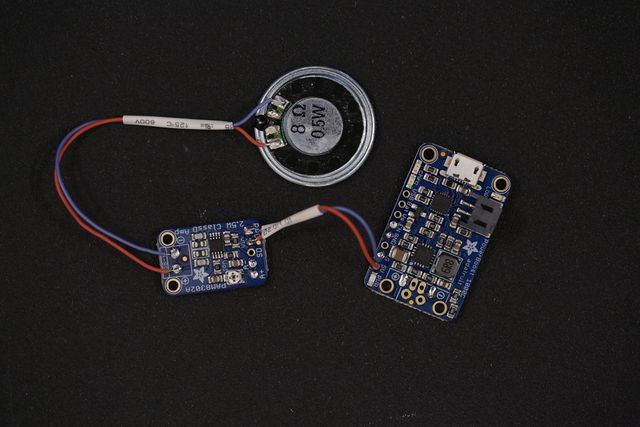
Slip on a piece of heat shrink tubing to the wires connected to the Vin and Gnd pins. Next, secure the PowerBoost 1000C to the helping third hands. Solder the VIN wire from the amp to the 5V pin on the PowerBoost. Then, solder the Gnd wire from the amp to the G pin on the PowerBoost 1000C.

Rasp-PiGRRL-2-Alimentation-06.jpg
Crédit: AdaFruit Industries www.adafruit.com

<a href="#connected-amp-speaker-and-powerboost-1000c" class="anchor-link"></a>Connected Amp, Speaker and PowerBoost 1000C

Now our amplifier and speaker are wired up the PowerBoost 1000C.
Rasp-PiGRRL-2-Alimentation-07.jpg


Rasp-PiGRRL-2-Alimentation-08.jpg
Rasp-PiGRRL-2-Alimentation-09.jpg
Rasp-PiGRRL-2-Alimentation-10.jpg
Rasp-PiGRRL-2-Alimentation-11.jpg

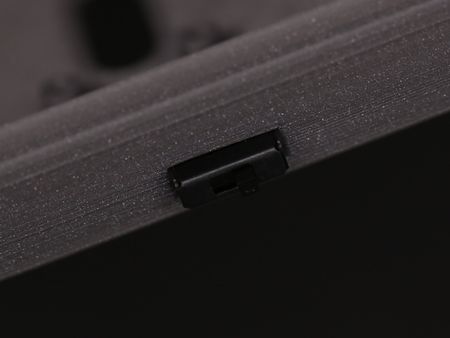
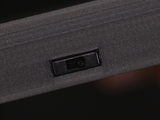
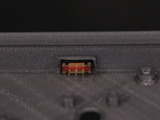
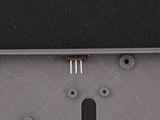
Next up we need to connect our slide switch to the PowerBoost 1000C. First, we should do a test fit and see if our switch can fit into the case. Insert the switch into the switch cutout of the bottom case. Press it all the way through. If it's too tight, you can use a filing tool to open it up.

Rasp-PiGRRL-2-Alimentation-12.jpg


Rasp-PiGRRL-2-Alimentation-13.jpg
Rasp-PiGRRL-2-Alimentation-14.jpg

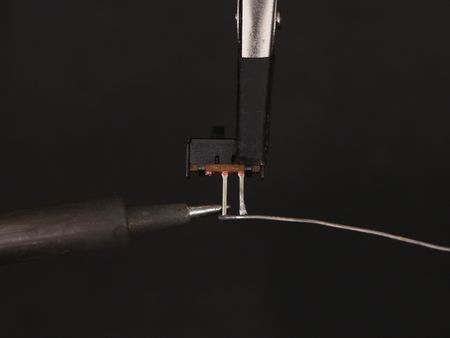
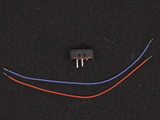
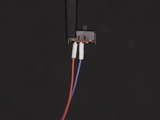
Remove one of the legs from the slide switch. Secure the switch to the helping third hands and apply solder to the two remaining legs. Now we'll need two new 30AWG wires that measure abot 7cm in length. Strip and tin the tips of each wire.

Rasp-PiGRRL-2-Alimentation-15.jpg


Rasp-PiGRRL-2-Alimentation-16.jpg
Rasp-PiGRRL-2-Alimentation-17.jpg

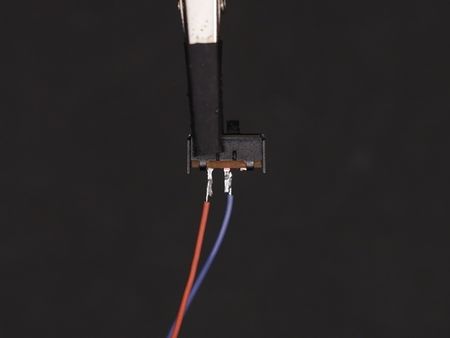
Solder the two wires to the two leads of the slide switch. Add pieces of heat shrink tubing to each terminal to insulate them.

Rasp-PiGRRL-2-Alimentation-18.jpg

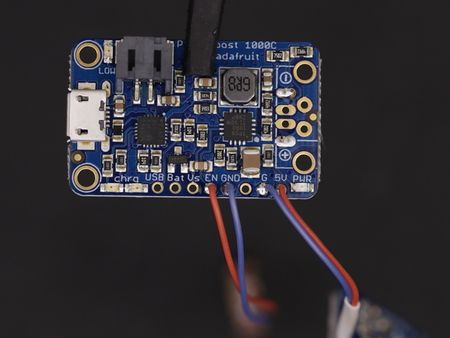
Now we need to solder the two wires to the EN and GND pins of the PowerBoost. The polarity doesn't matter that much here. The switch can be installed in your prefered position later (ie. Up position is ON, Down position if OFF, it's up too you!).

Rasp-PiGRRL-2-Alimentation-19.jpg
Crédit: AdaFruit Industries www.adafruit.com

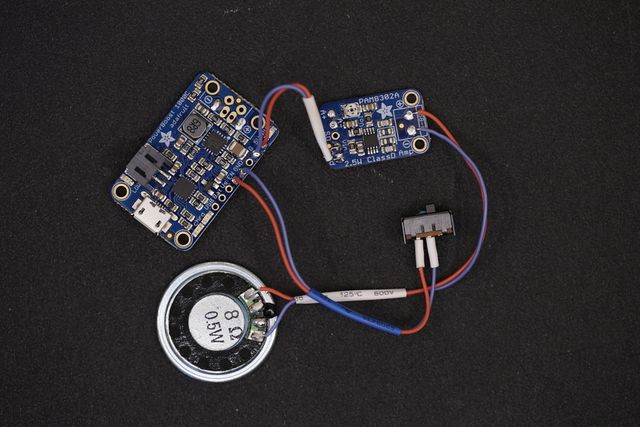
<a href="#wired-power-circuit" class="anchor-link"></a>Wired Power Circuit

Now we have our amp, speaker, PowerBoost and slide switch all wired up and connected. Now's a good time to take a break or continue!


Source: PiGRRL 2 - Make a portable Raspberry Pi 2 game console
Créé par les frères Ruiz pour AdaFruit Industries.

Traduction réalisée par Wrotny A pour MCHobby.be.

Toute référence, mention ou extrait de cette traduction doit être explicitement accompagné du texte suivant : «  Traduction par MCHobby (www.MCHobby.be) - Vente de kit et composants » avec un lien vers la source (donc cette page) et ce quelque soit le média utilisé.

L'utilisation commercial de la traduction (texte) et/ou réalisation, même partielle, pourrait être soumis à redevance. Dans tous les cas de figures, vous devez également obtenir l'accord du(des) détenteur initial des droits. Celui de MC Hobby s'arrêtant au travail de traduction proprement dit.

Traduit avec l'autorisation d'AdaFruit Industries - Translated with the permission from Adafruit Industries - www.adafruit.com