Différences entre versions de « Rasp-PiGRRL-2-Nappe »
(Page créée avec « {{Rasp-PiGRRL-2-NAV}} {{traduction}} {{Rasp-PiGRRL-2-TRAILER}} ») |
|||
| Ligne 2 : | Ligne 2 : | ||
{{traduction}} | {{traduction}} | ||
| + | |||
| + | |||
| + | == PiCable Resizing == | ||
| + | {{ADFImage|Rasp-PiGRRL-2-Nappe-01.jpg|640px}} | ||
| + | |||
| + | In this section, we'll resize the PiCable so it's more manageable once installed inside the case. Its some what optional - you can skip it but if you find space too tight when closing the case, you may want to resize the PiCable. | ||
| + | |||
| + | The stock ribbon cable is 152.4mm(6") in length, but I've found shortening it down to 108mm is just the right fit for the length we need. | ||
| + | |||
| + | {{asm-begin}} | ||
| + | {{asm-row|img=Rasp-PiGRRL-2-Nappe-02.jpg}} | ||
| + | {{asm-img|img=Rasp-PiGRRL-2-Nappe-03.jpg}} | ||
| + | {{asm-img|img=Rasp-PiGRRL-2-Nappe-04.jpg}} | ||
| + | {{asm-text}} | ||
| + | Use a pair of calipers or measuring tape to get the desired length and mark the ribbon cable - Tape, marker or otherwise. | ||
| + | |||
| + | {{asm-end}} | ||
| + | {{ADFImage|Rasp-PiGRRL-2-Nappe-05.jpg|640px}} | ||
| + | |||
| + | == Cut Cable == | ||
| + | With the cable split in two, set aside the longer end and keep the short end handy - we need to remove the connector from the end of it. | ||
| + | |||
| + | {{asm-begin}} | ||
| + | {{asm-row|img=Rasp-PiGRRL-2-Nappe-06.jpg}} | ||
| + | {{asm-img|img=Rasp-PiGRRL-2-Nappe-07.jpg}} | ||
| + | {{asm-img|img=Rasp-PiGRRL-2-Nappe-08.jpg}} | ||
| + | {{asm-img|img=Rasp-PiGRRL-2-Nappe-09.jpg}} | ||
| + | {{asm-img|img=Rasp-PiGRRL-2-Nappe-10.jpg}} | ||
| + | {{asm-text}} | ||
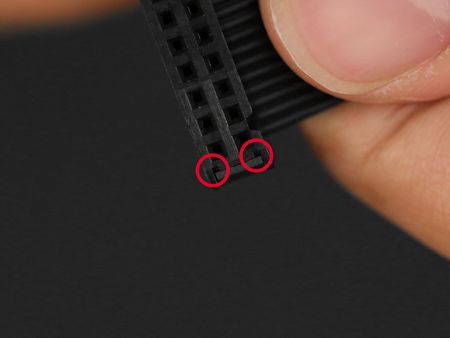
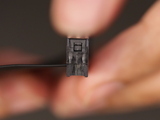
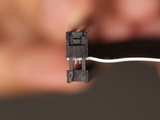
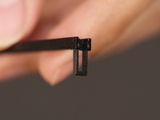
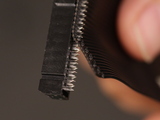
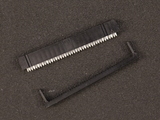
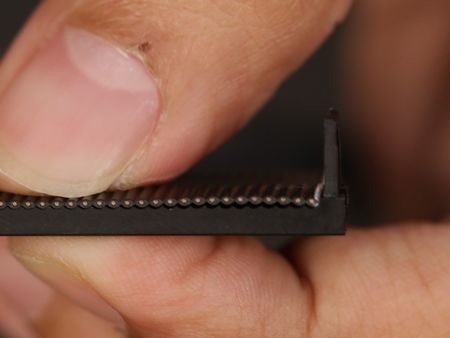
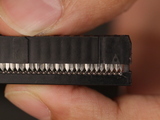
| + | Take a close look at the bottom of the connector. You'll see two tiny holes near each side. Now take a look at the side. You'll see the connector has a clip that is held in place with a notch. The goal here is to push that clip away from the notch so we can fit the top from the connector. You can fit something small and pointy such as a needle into the holes and push the clip away from the notch while pulling the top from the connector. When the clip is free, carefully pull the top part out. You'll need to do this for both sides. | ||
| + | |||
| + | {{asm-end}} | ||
| + | |||
| + | {{ambox-stop|text=DO THIS SLOWLY - Be very careful not to break the clips off!}} | ||
| + | |||
| + | {{asm-begin}} | ||
| + | {{asm-row|img=Rasp-PiGRRL-2-Nappe-11.jpg}} | ||
| + | {{asm-img|img=Rasp-PiGRRL-2-Nappe-12.jpg}} | ||
| + | {{asm-img|img=Rasp-PiGRRL-2-Nappe-13.jpg}} | ||
| + | {{asm-text}} | ||
| + | With the top removed from the connector, carefully peel the ribbon cable from the connector. You should be left with the top part and the female connector. You can discard the ribbon cable. | ||
| + | |||
| + | {{asm-end}} | ||
| + | |||
| + | {{ambox-stop|text=Slowly peel the ribbon cable off - If any metal bits come out, carefully push them back into the connector.}} | ||
| + | |||
| + | {{asm-begin}} | ||
| + | {{asm-row|img=Rasp-PiGRRL-2-Nappe-14.jpg}} | ||
| + | {{asm-img|img=Rasp-PiGRRL-2-Nappe-15.jpg}} | ||
| + | {{asm-img|img=Rasp-PiGRRL-2-Nappe-16.jpg}} | ||
| + | {{asm-img|img=Rasp-PiGRRL-2-Nappe-17.jpg}} | ||
| + | {{asm-text}} | ||
| + | Grab the longer piece of the ribbon cable from earlier and lay the cut end over the top piece - The ribbon cable should nicely fit into the grooves of the top piece. Now grab the female connector and insert the top piece into back onto the connector. Make sure the arrow/triangle marking lines up with the side of the ribbon cable with the single white colored wire. Press the two pieces together and make sure the clips nicely fit into the sides of the connector. | ||
| + | |||
| + | {{asm-end}} | ||
| + | {{ADFImage|Rasp-PiGRRL-2-Nappe-18.jpg|640px}} | ||
| + | |||
| + | == Mash Top Piece to Connector== | ||
| + | Unless you're incredibly strong, you won't be able to press the top piece back onto the connector because it's hard to puncture the wire with the pointy teeth. The easiest way to do this is to use a rubber mallet to smash the pieces together. I recommend doing this on a hard surface (like on the floor) while holding the connector in place. Tap the top piece in sessions as straight as you can and be careful not to mash your fingers in the process. If all goes well, the teeth from the connector will puncture the ribbon cable and close the two pieces back together. | ||
| + | |||
| + | {{ADFImage|Rasp-PiGRRL-2-Nappe-19.jpg|640px}} | ||
| + | |||
| + | == Shortened Pi Ribbon Cable == | ||
| + | And there you have it! A shortened Raspberry Pi Ribbon Cable. Bit of a hack, I know - But it really does make closing the case much easier in when we're all done. | ||
| + | |||
{{Rasp-PiGRRL-2-TRAILER}} | {{Rasp-PiGRRL-2-TRAILER}} | ||
Version du 14 février 2018 à 19:40
|
|
En cours de traduction/élaboration. |
PiCable Resizing
Crédit: AdaFruit Industries www.adafruit.com
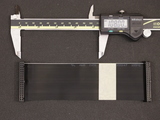
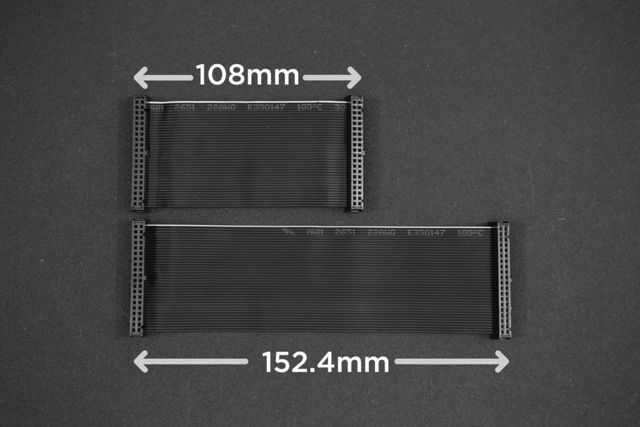
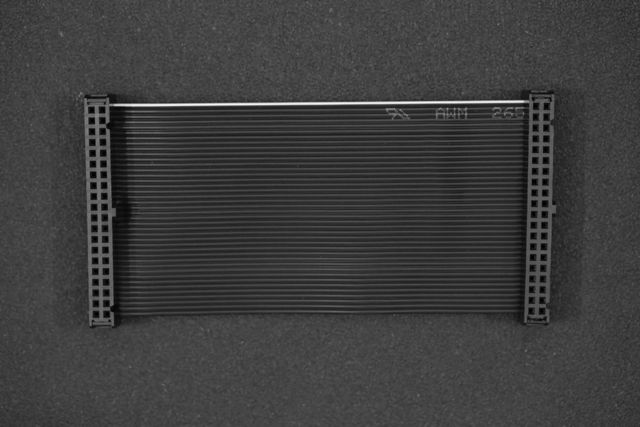
In this section, we'll resize the PiCable so it's more manageable once installed inside the case. Its some what optional - you can skip it but if you find space too tight when closing the case, you may want to resize the PiCable.
The stock ribbon cable is 152.4mm(6") in length, but I've found shortening it down to 108mm is just the right fit for the length we need.
|
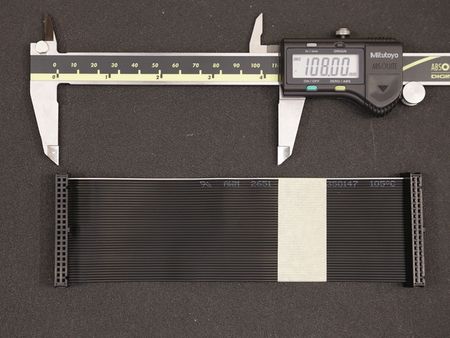
Use a pair of calipers or measuring tape to get the desired length and mark the ribbon cable - Tape, marker or otherwise. |
Crédit: AdaFruit Industries www.adafruit.com
Cut Cable
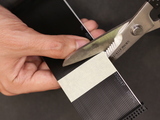
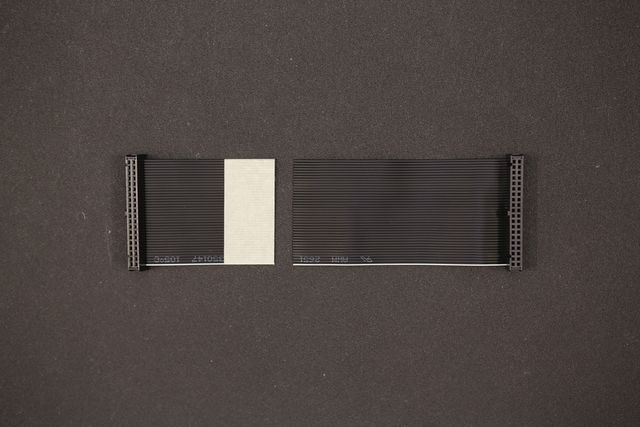
With the cable split in two, set aside the longer end and keep the short end handy - we need to remove the connector from the end of it.
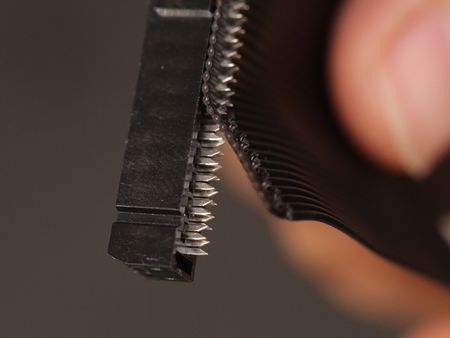
| DO THIS SLOWLY - Be very careful not to break the clips off! |
|
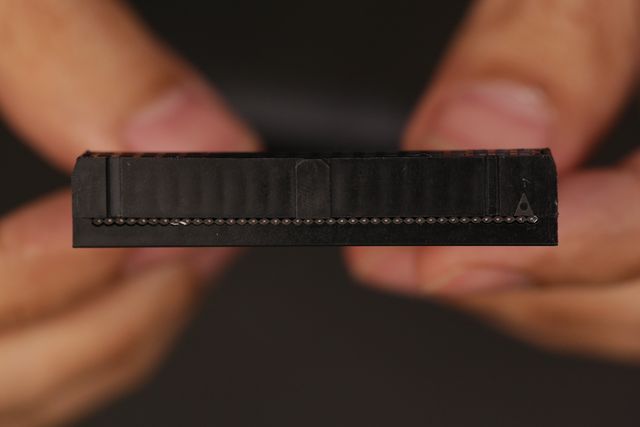
With the top removed from the connector, carefully peel the ribbon cable from the connector. You should be left with the top part and the female connector. You can discard the ribbon cable. |
| Slowly peel the ribbon cable off - If any metal bits come out, carefully push them back into the connector. |
Crédit: AdaFruit Industries www.adafruit.com
Mash Top Piece to Connector
Unless you're incredibly strong, you won't be able to press the top piece back onto the connector because it's hard to puncture the wire with the pointy teeth. The easiest way to do this is to use a rubber mallet to smash the pieces together. I recommend doing this on a hard surface (like on the floor) while holding the connector in place. Tap the top piece in sessions as straight as you can and be careful not to mash your fingers in the process. If all goes well, the teeth from the connector will puncture the ribbon cable and close the two pieces back together.
Crédit: AdaFruit Industries www.adafruit.com
Shortened Pi Ribbon Cable
And there you have it! A shortened Raspberry Pi Ribbon Cable. Bit of a hack, I know - But it really does make closing the case much easier in when we're all done.
Source: PiGRRL 2 - Make a portable Raspberry Pi 2 game console
Créé par les frères Ruiz pour AdaFruit Industries.
Traduction réalisée par Wrotny A pour MCHobby.be.
Toute référence, mention ou extrait de cette traduction doit être explicitement accompagné du texte suivant : « Traduction par MCHobby (www.MCHobby.be) - Vente de kit et composants » avec un lien vers la source (donc cette page) et ce quelque soit le média utilisé.
L'utilisation commercial de la traduction (texte) et/ou réalisation, même partielle, pourrait être soumis à redevance. Dans tous les cas de figures, vous devez également obtenir l'accord du(des) détenteur initial des droits. Celui de MC Hobby s'arrêtant au travail de traduction proprement dit.
Traduit avec l'autorisation d'AdaFruit Industries - Translated with the permission from Adafruit Industries - www.adafruit.com
