Différences entre versions de « PowerBoost-500-Chargeur-Switch »
| Ligne 2 : | Ligne 2 : | ||
== Interrupteur On/Off == | == Interrupteur On/Off == | ||
| − | {{bloc-etroit|text= | + | {{bloc-etroit|text=Le PowerBoost 500 Chargeur n'est pas livré avec un interrupteur marche/arrêt (pour désactiver la sortie) mais il est très facile d'en ajouter un! Vous avez juste besoin d'un interrupteur deux directions (SPDT) pour breadboard. |
| − | + | Nous allons activer/désactiver le boost par l'intermédiaire de la broche '''ENABLE''' de sorte que l'interrupteur n'aura pas besoin de transporter de la puissance (il s'agit uniquement de transporter un signal qui indique au convertisseur ce qu'il doit faire). Vous pouvez utiliser l'importe quel interrupteur, ceux disposant d'un empattement de 2.54mm sont idéals. Si votre interrupteur n'a que deux broches (au lieux de trois) attaché une des broches sur '''GND''' et l'autre sur la broche '''EN''' - l'alimentation est coupée lorsque l'interrupteur est fermé. | |
}} | }} | ||
| Ligne 15 : | Ligne 15 : | ||
{{asm-row|img=PowerBoost-500-Chargeur-Switch-10.jpg}} | {{asm-row|img=PowerBoost-500-Chargeur-Switch-10.jpg}} | ||
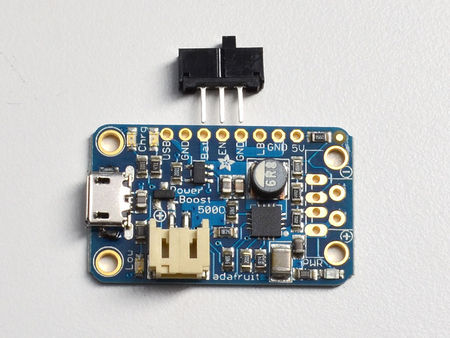
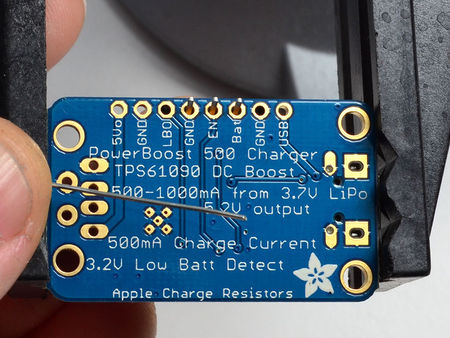
| − | {{asm-text}} | + | {{asm-text}} L'interrupteur se branche sur le connecteur et se branche sur '''VBAT, EN''' et '''GND'''. |
| − | + | ||
| + | L'interrupteur est symétrique. | ||
{{asm-row|img=PowerBoost-500-Chargeur-Switch-11.jpg}} | {{asm-row|img=PowerBoost-500-Chargeur-Switch-11.jpg}} | ||
| − | {{asm-text}} ''' | + | {{asm-text}} '''Avant de soudez, vérifiez bien attentivement que vous avez placé l'interrupteur dans les bons trous!''' |
{{asm-row|img=PowerBoost-500-Chargeur-Switch-12.jpg}} | {{asm-row|img=PowerBoost-500-Chargeur-Switch-12.jpg}} | ||
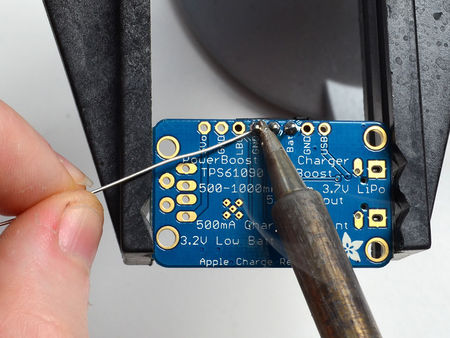
| − | {{asm-text}} | + | {{asm-text}} Soudez les 3 broches de l'interrupteur. |
{{asm-row|img=PowerBoost-500-Chargeur-Switch-13.jpg}} | {{asm-row|img=PowerBoost-500-Chargeur-Switch-13.jpg}} | ||
| − | {{asm-text}} | + | {{asm-text}} Voila! vérifiez que les soudures soient correctes. |
{{asm-row|img=PowerBoost-500-Chargeur-Switch-14.jpg}} | {{asm-row|img=PowerBoost-500-Chargeur-Switch-14.jpg}} | ||
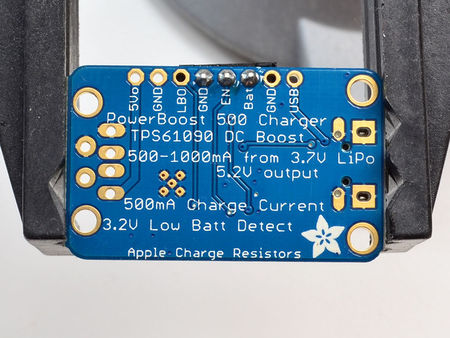
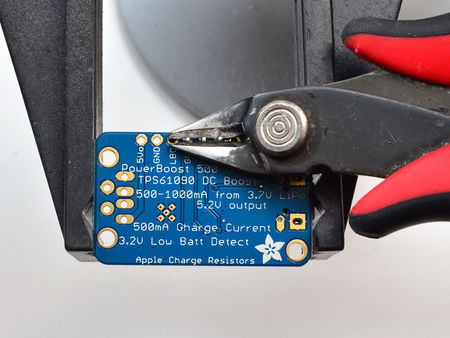
| − | {{asm-text}} | + | {{asm-text}} Utilisez une pince coupante pour raccourcir les broches |
{{asm-row|img=PowerBoost-500-Chargeur-Switch-15.jpg}} | {{asm-row|img=PowerBoost-500-Chargeur-Switch-15.jpg}} | ||
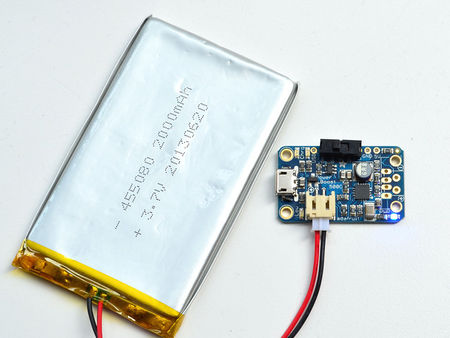
| − | {{asm-text}} | + | {{asm-text}} Lorsque l'interrupteur est sur la gauche, la sortie 5V est branchée. Vous pouvez le savoir car la LED bleue est allumée. |
{{asm-row|img=PowerBoost-500-Chargeur-Switch-16.jpg}} | {{asm-row|img=PowerBoost-500-Chargeur-Switch-16.jpg}} | ||
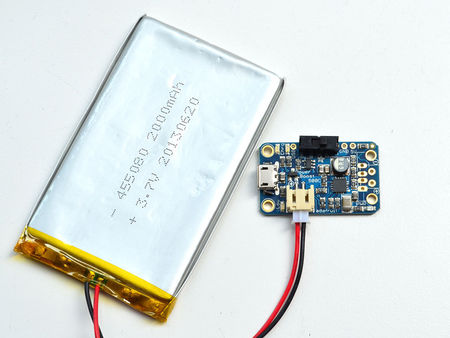
| − | {{asm-text}} | + | {{asm-text}} Faite passer l'interrupteur sur la droite pour couper le PowerBoost. |
{{asm-end}} | {{asm-end}} | ||
{{PowerBoost-500-Chargeur-TRAILER}} | {{PowerBoost-500-Chargeur-TRAILER}} | ||
Version actuelle datée du 6 décembre 2014 à 23:00
Interrupteur On/Off
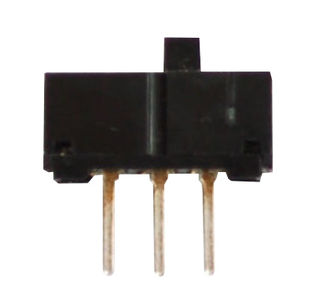
Le PowerBoost 500 Chargeur n'est pas livré avec un interrupteur marche/arrêt (pour désactiver la sortie) mais il est très facile d'en ajouter un! Vous avez juste besoin d'un interrupteur deux directions (SPDT) pour breadboard.
Nous allons activer/désactiver le boost par l'intermédiaire de la broche ENABLE de sorte que l'interrupteur n'aura pas besoin de transporter de la puissance (il s'agit uniquement de transporter un signal qui indique au convertisseur ce qu'il doit faire). Vous pouvez utiliser l'importe quel interrupteur, ceux disposant d'un empattement de 2.54mm sont idéals. Si votre interrupteur n'a que deux broches (au lieux de trois) attaché une des broches sur GND et l'autre sur la broche EN - l'alimentation est coupée lorsque l'interrupteur est fermé.
Assembler
Crédit à AdaFruit.com pour toutes les images ci-dessous - All images here under are credited to AdaFruit.com
Tutoriel Adafruit PowerBoost 500 Charger créé par Lady Ada pour AdaFruit Industries.
Tutoriel traduit par Meurisse D. pour MCHobby.be
Traduit avec l'autorisation d'AdaFruit Industries - Translated with the permission from Adafruit Industries - www.adafruit.com
Toute référence, mention ou extrait de cette traduction doit être explicitement accompagné du texte suivant : « Traduction par MCHobby (www.MCHobby.be) - Vente de kit et composants » avec un lien vers la source (donc cette page) et ce quelque soit le média utilisé.
L'utilisation commercial de la traduction (texte) et/ou réalisation, même partielle, pourrait être soumis à redevance. Dans tous les cas de figures, vous devez également obtenir l'accord du(des) détenteur initial des droits. Celui de MC Hobby s'arrêtant au travail de traduction proprement dit.
