3D-OrdBot-premiere-impression
- Etapes
- Optionnels
- Où Acheter
Introduction
| Attention: en cours de rédaction |
Nous voici sur le point de réaliser nos premières impressions.
Nous avons déjà fait la connaissance de PronterFace, le logiciel de pilotage de l'OrdBot. Nous avons également besoin d'un autre logiciel, un "SLICER".
Le SLICER est programme qui va découper un objet (STL) en couche et instruction d'impression (le fameux G-Code).
Deux logiciels remontent rapidement lorsque l'on fait des recherches sur le Net:
- SkeInForge
- Slic3r
SkeInforge
SkeInForge fait office de standard, utilisé sur les OrdBot, il est appelable directement depuis pronterFace (une fois skeInforge installé).
SkeInForge fonctionne sur toutes les plateforme (écrit en Python).
Ce logiciel étant très complet (trop peut-être), il est aussi très difficile à maitriser.
Sclic3r
Logiciel très simple d'emploi fonctionnant aussi sur toutes les plateformes (y compris Ubuntu/Linux Mint).
Son gros avantage est de disposer d'un Wizard permettant la saisie des informations de base de votre imprimante, ce qui la rend facilement exploitable si l'on débute dans le domaine.
Slic3r
Installation
Pour installer le logiciel sur votre machine, rendez vous sur le site de Slic3r et suivez les instructions.
Sclic3r.org section des téléchargements
Wizard de configuration
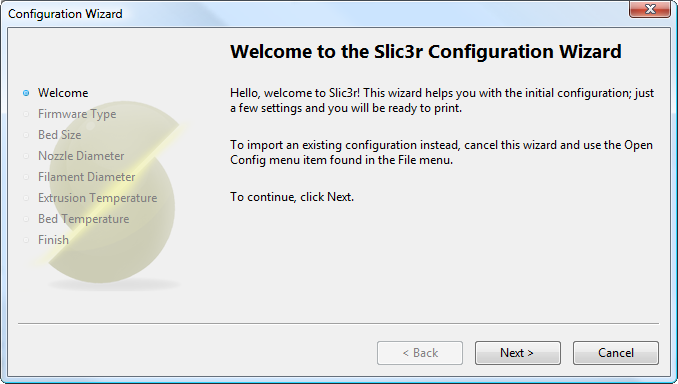
Ce qu'il y a de vraiment génial avec Slic3r, c'est qu'il utilise un Wizard pour vous aider à configurer rapidement et facilement les paramètres principaux de votre imprimante.
Hormis le Wizard, Slic3r propose également un mode simple... idéal pour les nouveaux arrivants.
Le wizard de configuration pose une série de question et crée un fichier de configuration avec lequel Slic3r démarre.
Source: Slic3r.org]
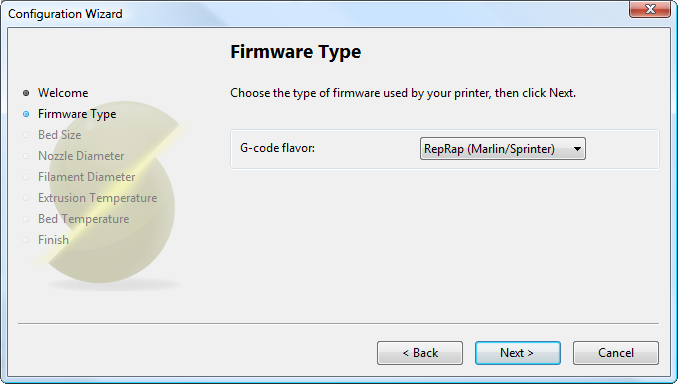
Type de FirmWare
The gcode produced by Slic3r is tailored to particular types of firmware. The first step prompts for the firmware that the printer uses. This should have been specified when the printer was built or configured. If unsure then contact the supplier.
Source: Slic3r.org]
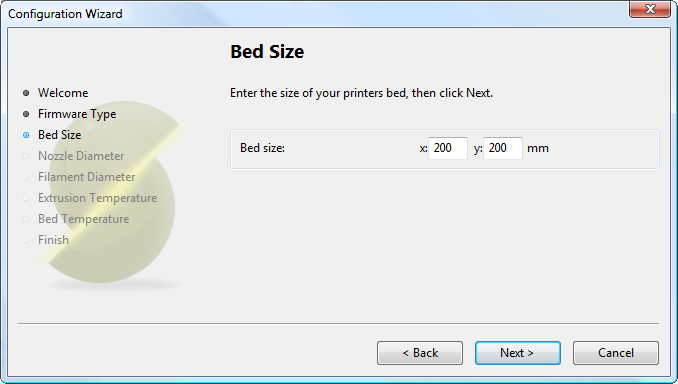
= Taille du lit
This setting defines the maximum distance the extruder may travel along the X and Y axis. If the dimensions are not readily available for the printer then it can be easily measured.
Be sure to measure from the lower left corner where the extruder nozzle rests when are the home position to the maximum distance the nozzle can travel in each direction. Take into account that the X carriage may touch the frame before the nozzle reaches it’s full distance, this will depend on the printer make and model.
Also remember to check any firmware end-stop settings which may limit X/Y movement.
Source: Slic3r.org]
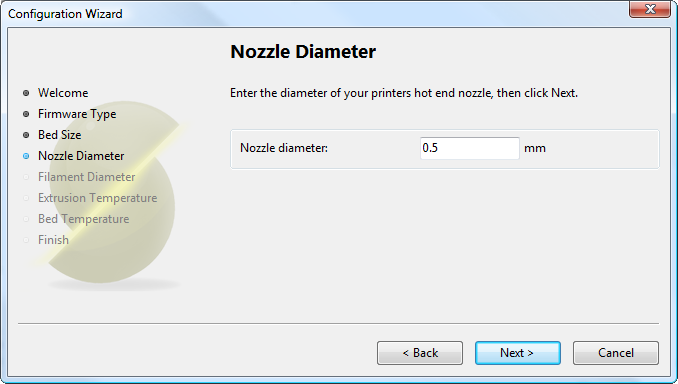
Taille de la buse
The diameter of the hot-end nozzle is usually clearly displayed either in the description of the hot-end, or in the associated documentation, when the hot-end is purchased. Common values are 0.5mm and 0.35mm.
If the nozzle was home-made, or came from a source without a diameter given, then carefully measure the aperture as accurately as possible. One way of determining nozzle size is to very slowly (1mm/s) extrude some filament into free air and measure the thickness of the resulting extrusion1. This has the benefit of taking die swell into account, and consequently may be a useful thing to do even if the diameter is known.
Source: Slic3r.org]
Diamètre du filament
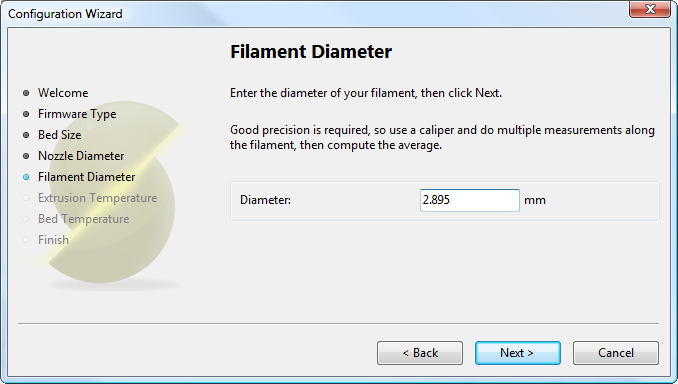
For Slic3r to produce accurate results it must know as accurately as possible how much material is pushed through the extruder. Therefore it is vital to give it as precise a value as possible for the filament diameter.
Although the filament used in FDM printers is sold as being either 3mm or 1.75mm this is only a general guide. The diameter can vary between manufacturers and even between batches. Therefore it is highly recommended to take multiple measurements from along a length of the filament and use the average. For example, measurements of 2.89, 2.88, 2.90 and 2.91 would yield an average of 2.895, and so this would be used.
Source: Slic3r.org]
Température d'extrusion
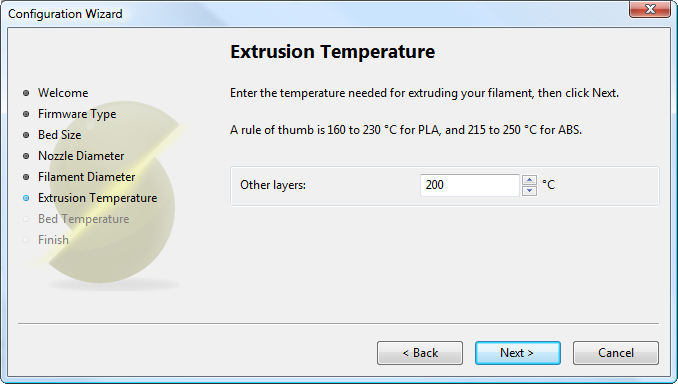
The extrusion temperature will depend on the material, and most can operate over a range of temperatures. The supplier should provide guidance as to which temperatures are suitable. A very general rule of thumb is that PLA lies between 160°C and 230°C, and ABS lies between 215°C and 250°C. More exotic materials will have a different range.
This is one parameter which you will want to fine tune when you start producing prints. The optimal temperature can vary even between colours of the same material. Another factor which may affect the chosen temperature is how fast the extrusion is, where generally faster extrusion runs hotter.
Note: One may choose to control the extruder temperature manually from the printer controller. In this case the temperature can be set to zero.
Source: Slic3r.org]
Température du lit & fin
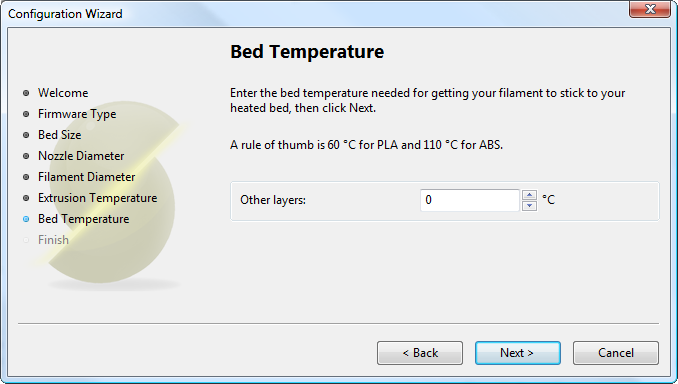
If the printer has a heated bed then this parameter may be set. As with the extruder temperature, the value will depend on the material used. A rule of thumb is that PLA requires 60°C and ABS requires 110°C.
Note: One may choose to control the bed temperature manually from the printer controller. In this case the temperature can be set to zero.
Source: Slic3r.org]
Source: Slic3r.org]
Plus d'information
Le site de Slic3r vous propose aussi une section manuel (en anglais).
Où Acheter
Le kit Ord Bot Hadron complet est disponible chez MCHobby.
Réalisé par Meurisse D. Pour MCHobby.be, Licence CC-BY-SA.
L'utilisation commercial de la traduction/documentation (texte), même partielle, pourrait être soumis à redevance. Dans tous les cas de figures, vous devez également obtenir l'accord du(des) détenteur initial des droits si cela s'applique. Celui de MC Hobby s'arrêtant au travail de traduction proprement dit et/ou réalisation de la documentation.
Pour toute référence non-commerciale de la documentation, merci de mentionner le crédit "par MCHobby.be vente de kit et composant", licence et lien vers www.mchobby.be; et ce quelque soit le média utilisé.
Reprap France / eMotionTech avec qui nous collaborons sur ce projet est bien entendu libre de référencer notre documentation. Certaines informations peuvent par ailleurs provenir de leurs ressources.
Ord Bot est documenté sur Buildlog.net - documentation en anglais - licence CC Attribution-Share Alike 3.0 Unported.