Différences entre versions de « ENG-CANSAT-V2-ASSEMBLY »
Sauter à la navigation
Sauter à la recherche
(Page créée avec « {{ENG-CANSAT-PICO-NAV}} == Abstract == The {{pl|2271|original version of the CANSAT kit}} required many soldering operation. It's intimidating for newcomers with little e… ») |
|||
| Ligne 4 : | Ligne 4 : | ||
The {{pl|2271|original version of the CANSAT kit}} required many soldering operation. It's intimidating for newcomers with little experience with a soldering iron. | The {{pl|2271|original version of the CANSAT kit}} required many soldering operation. It's intimidating for newcomers with little experience with a soldering iron. | ||
| − | With the {{pl||CANSAT V2 kit}}, things have been made | + | With the {{pl||CANSAT V2 kit}}, things have been made easier than ever, no solder required! |
== Assembling the Cansat == | == Assembling the Cansat == | ||
Version du 29 juillet 2025 à 19:47
Abstract
The original version of the CANSAT kit required many soldering operation. It's intimidating for newcomers with little experience with a soldering iron.
With the CANSAT V2 kit, things have been made easier than ever, no solder required!
Assembling the Cansat
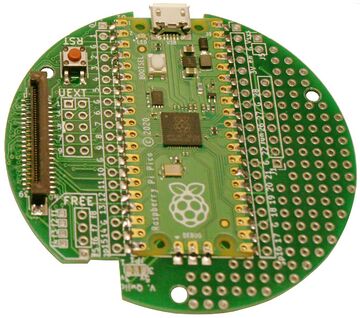
The Pico is the MicroControler propeling the board.
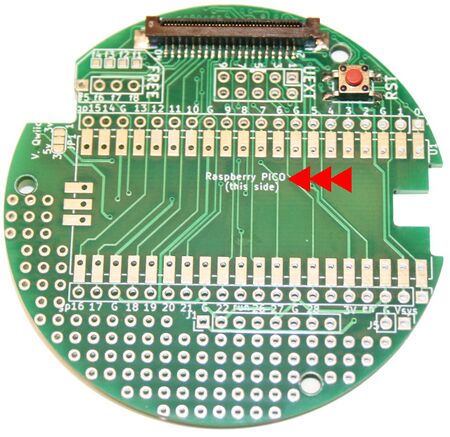
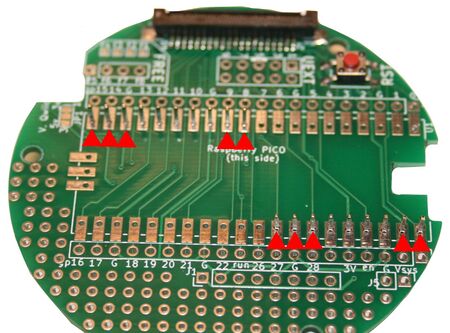
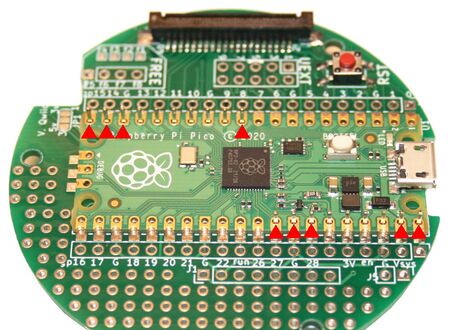
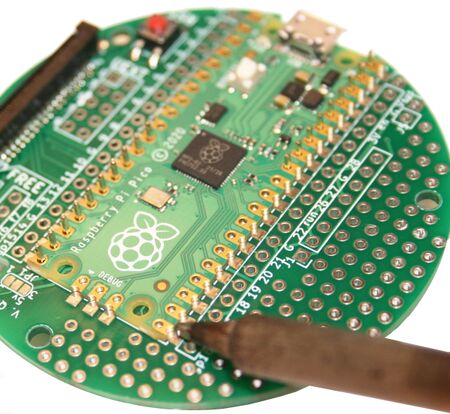
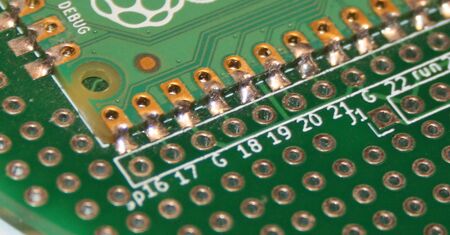
It is soldered on the top of the Cansat Base Board, this can be done with Pin Header or directly flat on the board.
Lets starts to assemble it!
Lipo Booster soldering
The kit can be used either with a PowerBoost 500 Charger, either a PowerBoost 1000 Charger.
The soldering operation depends on the selected PowerBoost model.
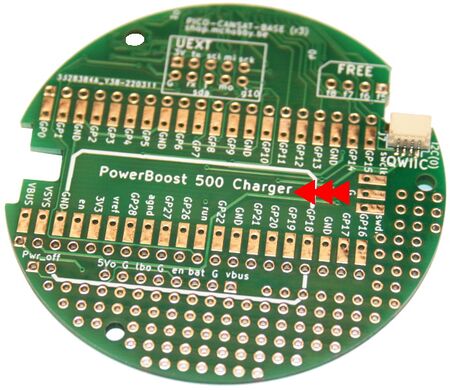
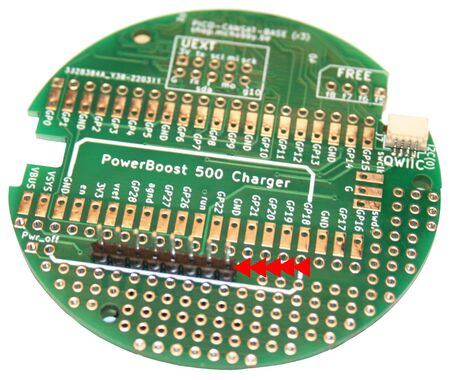
PowerBoost 500 Charger Soldering
The PowerBoost 500 is the default powering system of this kit.
| The instructions doesn't applies to the PowerBoost 1000 charger. |
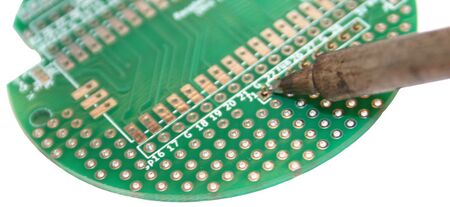
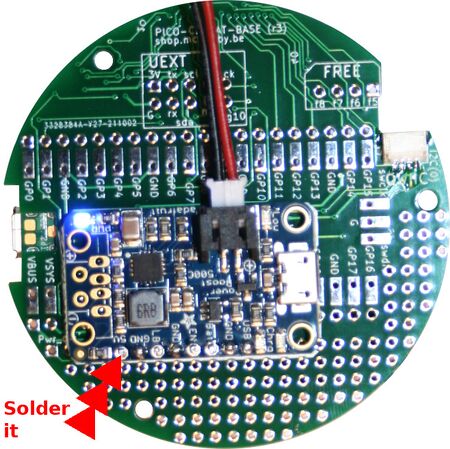
Let's solder it
Written by Meurisse D. for MCHobby
