Différences entre versions de « ENG-CANSAT-V2-ASSEMBLY »
Sauter à la navigation
Sauter à la recherche
| Ligne 9 : | Ligne 9 : | ||
Let's prepare the main CANSAT board. | Let's prepare the main CANSAT board. | ||
| − | [[fichier:ENG-CANSAT-V2-CONTENT-10.jpg| | + | [[fichier:ENG-CANSAT-V2-CONTENT-10.jpg|800px]] |
{{asm-begin}} | {{asm-begin}} | ||
Version du 29 juillet 2025 à 20:51
Abstract
The original version of the CANSAT kit required many soldering operation. It's intimidating for newcomers with little experience with a soldering iron.
With the CANSAT V2 kit, things have been made easier than ever, no solder required!
Assembling the Cansat
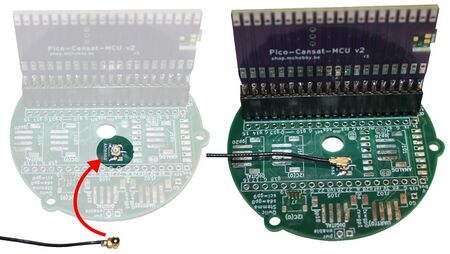
Let's prepare the main CANSAT board.
|
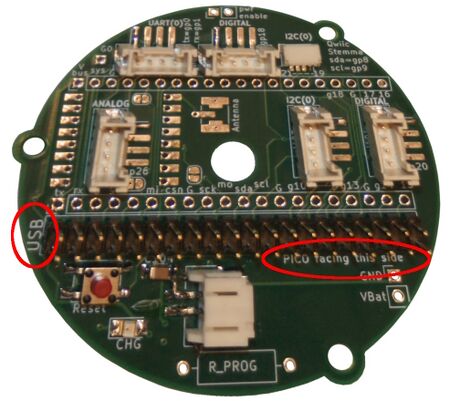
Take the base board and orient the board to see the USB label on the left and the "Pico/MCU facin this side" in front of you. | ||
|
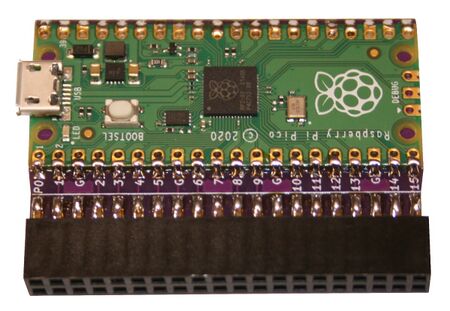
Grab the CPU board with the microcontroler facing front. | ||
|
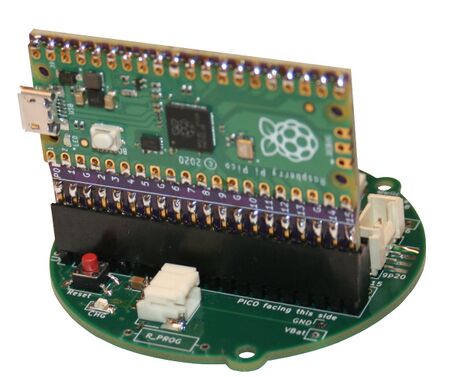
Now, insert the MCU board onto the 2x20 pin connector. | ||
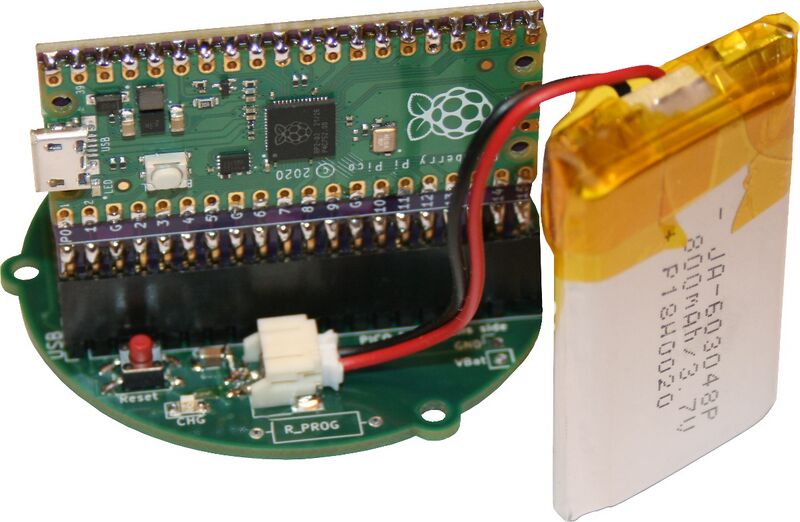
| 450px | Even when not required yet, user can pick the Lipo battery then plug it into the 2 poles JST connector (facing the microcontroler).
| ||
|
When required, plug the µFl antenna coax.
|
Assembling the base station
x
Written by Meurisse D. for MCHobby
