Différences entre versions de « ENG-CANSAT-V2-ASSEMBLY »
Sauter à la navigation
Sauter à la recherche
| Ligne 30 : | Ligne 30 : | ||
{{asm-row|img=ENG-CANSAT-V2-ASSEMBLY-14.jpg}} | {{asm-row|img=ENG-CANSAT-V2-ASSEMBLY-14.jpg}} | ||
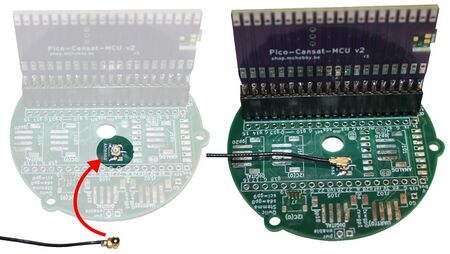
| − | {{asm-text}} | + | {{asm-text}} '''Antenna must be connected before any communication attempt!''' |
| + | |||
| + | To do so, connect the µFl coaxial wire on the board then connect the demo antenna to the other side. | ||
| + | |||
| + | {{tmbox | type = speedy | text = Long range communication will requires dedicated antenna tuned for their final usage. HAM Club is the right place to get started.}} | ||
Version du 29 juillet 2025 à 22:06
Abstract
The original version of the CANSAT kit required many soldering operation. It's intimidating for newcomers with little experience with a soldering iron.
With the CANSAT V2 kit, things have been made easier than ever, no solder required!
Assembling the Cansat
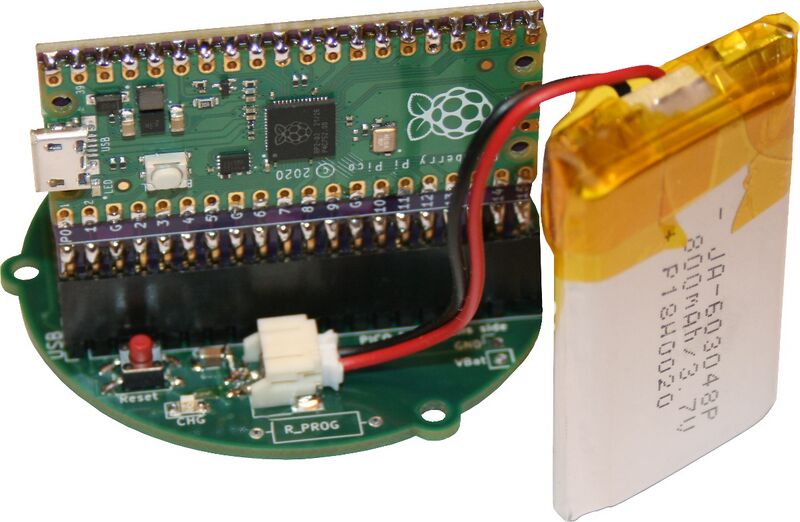
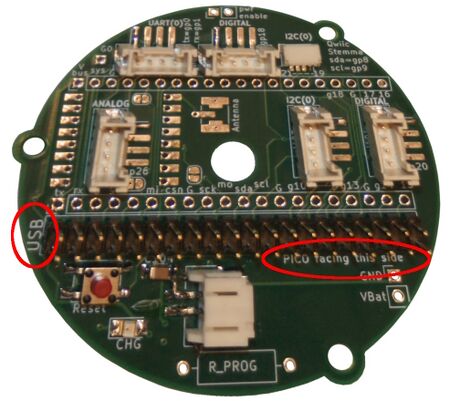
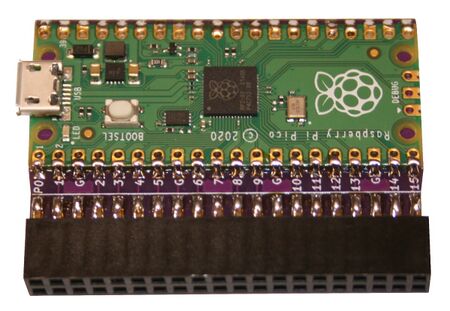
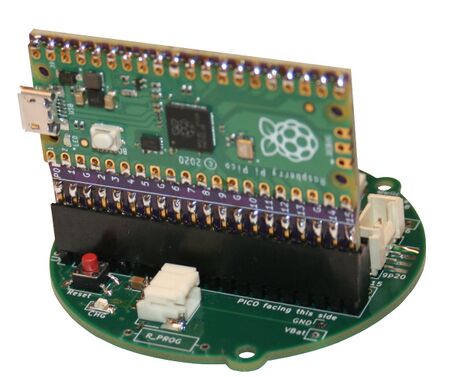
Let's prepare the main CANSAT board.
Assembling the base station
x
Written by Meurisse D. for MCHobby
