AdaFruit LOL Shield Montage
Souder les LEDs
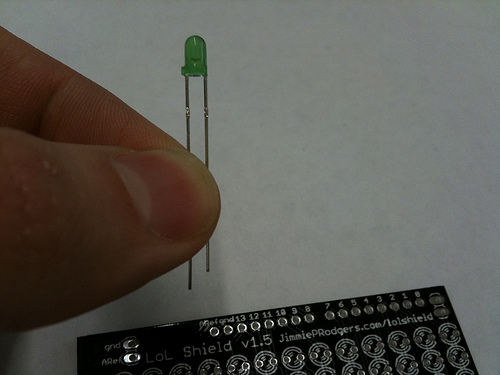
Puisque les LEDs sont des diodes (des diodes émettant de la lumière), elles se branches dans un seul sens. Le but d'une diode est de laisser circuler le courant dans un seul sens de manière à ce que le courant ne circule que dans le sens que vous avez choisit. Les LEDs ont la particularité d'émettre de la lumière pendant qu'elles exécute leur travail de diode.
C'est aussi ce principe qui nous permet de contrôler beaucoup de LEDs à partir des quelques broches disponibles sur un Arduino.
Chaque LED dispose de deux marquage permettant d'identifier sa polarité. La première est que la broche positive est plus longue que la broche négative. You can also see above that a small notch is taken out of the LED case, that marks the negative side as well.
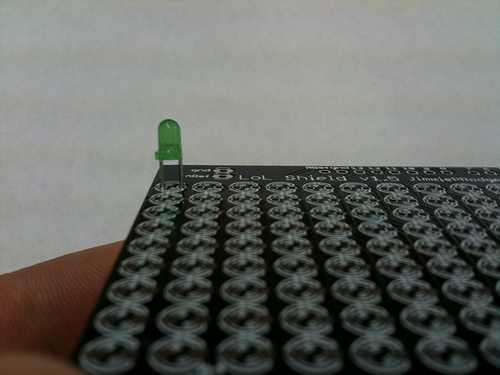
If you look at the silkscreen (the white markings) on the PCB (printed circuit board), you will find that a little notch has been taken out of the LED drawing as well. You are going to be placing all of the LEDs in the same way, matching both the notch and short lead to the marked spot on the PCB. Essentially, with the text being upright and readable, you will place the long lead on the left side, and the short lead on the right side.
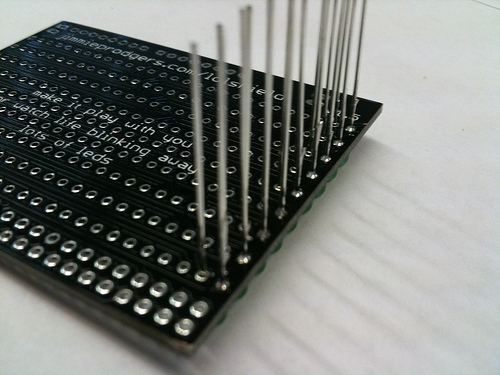
It’s much quicker if you do these in columns. Place them all in, and gently pinch with your fingers to flip the board over. You will then solder just one side of the LEDs before you straighten them.
Check out this video for more information: LoL Shield – LED Straightening
Pour résumer ce qui est expliqué en anglais sur la vidéo:
- Placer les LEDS, une rangée à la fois, puis effectuez les opérations suivantes.
- Retourner bien a plat.
- Ne souder qu'une seule des deux pattes des lEDs de la rangée.
- Contrôler l'alignement.
- Corriger l'alignement comme suit:
- Pousser légèrement la LED a remettre en place à l'aide du doigt
- EN MÊME TEMPS, faire fondre le point de soudure (la LED tombe bien en place).
- IMMÉDIATEMENT APRÈS, retirer le fer a souder et attendre 3 secondes avant de retirer le doigt (que la soudure refroidisse et tienne bien en place)
Armé de ces quelques explications, vous pouvez (re-)visionner la vidéo ci-dessus.
To straighten the LEDs you solder one lead of each LED so that it sticks to the PCB. Then you gently place your finger on the LED and press on it as you re-heat the soldered joint. By pressing it flat against the PCB, the LED will automatically straighten up. Keep filling in each column and work your way down in this way. Some people also find it helpful to place a column on the opposite side to stabilize the PCB. I tend to work my way in about halfway, and then start filling in the opposite direction. With the amount of time you are going to spend, you’ll find a method that works best for you. Take your time, and rest if you get tired.
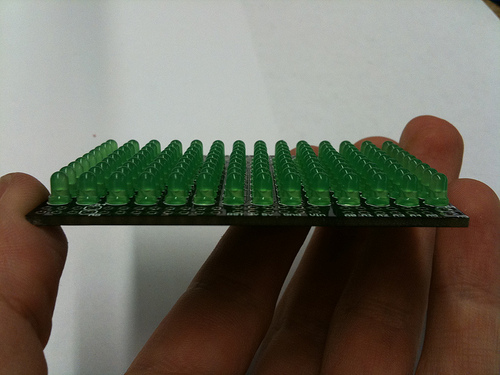
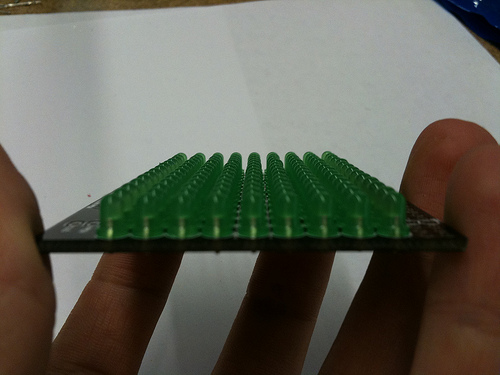
By looking down the rows and columns, you can see which LEDs are straight or crooked. This is much easier to fix when only one lead is soldered in, and it’s easiest to find them along the way. Straightening them all at the end is quite a bit more difficult.
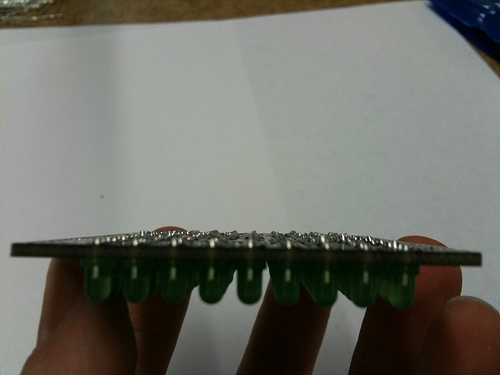
Once all of the LEDs are straight, you should try and clip the leads as short as you can without lifting pads off the PCB. Clip just at the top of the solder blob (it’s okay to cut a bit into it). This is mostly important around the area above the USB port.
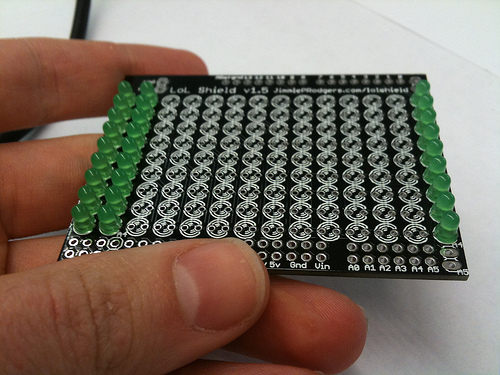
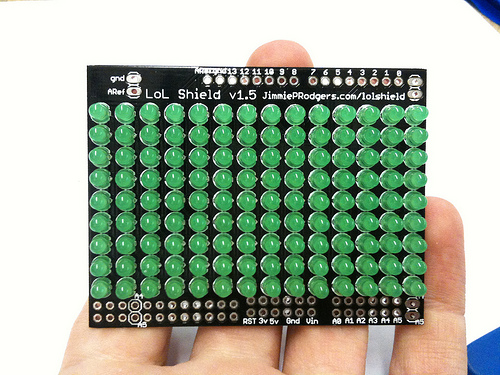
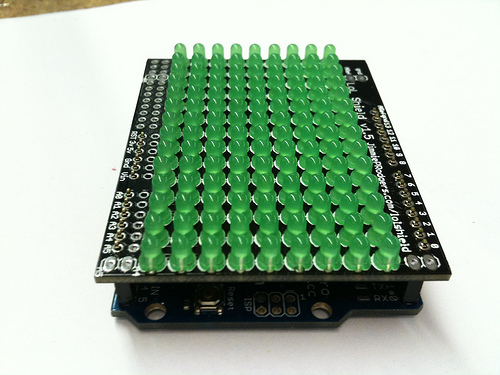
Hopefully your LoL Shield should look like this. Now you are ready to move onto the headers.
Note: If you have the v1.1 kit, you will need to also short the resistor positions. There are 12 of them total, and you can use some of the leads you’ve just cut off of the LEDs. Otherwise the LEDs won’t light up
Les connecteurs
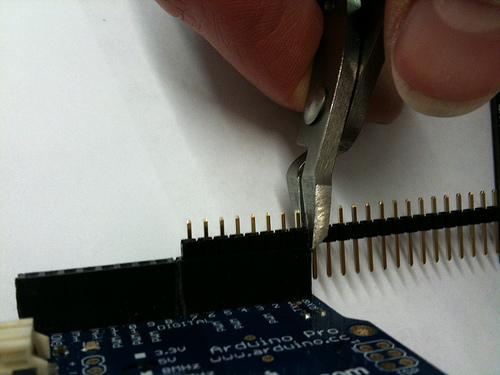
Go ahead and get your Arduino out. It’s easiest to just put the headers into place and clip them there. That way the headers are all the correct size.
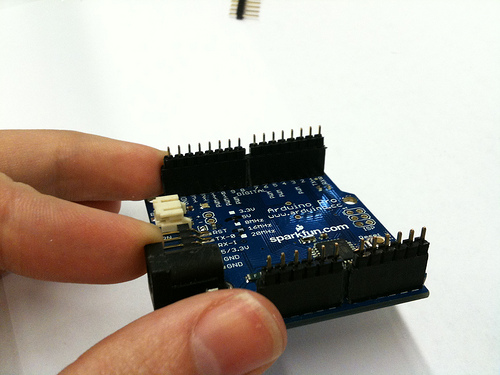
You’ll end up with something like this. Go ahead and leave the headers in place, because you’ll be soldering on top of the Arduino shortly.
Simply place the LoL Shield on top of the headers and solder them in place. Trying to line up headers so that they stick comfortably in the Arduino is very hard. This keeps them nice and straight. You don’t have to worry about damaging anything. Just heat it long enough to solder it in place, and it should work out fine.
Now you are ready to program your Arduino!
La source de cette page est disponible ici
Toute référence, mention ou extrait de cette traduction doit être explicitement accompagné du texte suivant : « Traduction par MCHobby (www.MCHobby.be) - Vente de kit et composants » avec un lien vers la source (donc cette page) et ce quelque soit le média utilisé.
L'utilisation commercial de la traduction (texte) et/ou réalisation, même partielle, pourrait être soumis à redevance. Dans tous les cas de figures, vous devez également obtenir l'accord du(des) détenteur initial des droits. Celui de MC Hobby s'arrêtant au travail de traduction proprement dit.
