Différences entre versions de « RASP-PIZERO-Video »
| Ligne 35 : | Ligne 35 : | ||
{{ADFImage|RASP-PIZERO-Video-30.jpg}} | {{ADFImage|RASP-PIZERO-Video-30.jpg}} | ||
| + | == Vidéo composite NTSC/PAL == | ||
| + | OK so you want TV video? Maybe for one of our very tiny composite video screens? | ||
| + | |||
| + | {{ADFImage|RASP-PIZERO-Video-40.jpg}} | ||
| + | |||
| + | Well, the quality is not going to be nearly as nice as with VGA or HDMI but you can do it. Find the two pads marked ''TV'' on the Zero | ||
| + | |||
| + | {{ADFImage|RASP-PIZERO-50.jpg}} | ||
| + | |||
| + | The hole on the left, nearest to the TV text, is the signal (+) line, the pin to the right of it is the ground (-) line. Solder two wires to these pads and connect them to an RCA Jack like this one | ||
| + | |||
| + | {{ADFImage|RASP-PIZERO-51.jpg}} | ||
| + | |||
| + | Make sure to not have HDMI plugged in, it should auto-switch to TV out. If you have somehow set your Pi for HDMI out only, plug your HDMI screen back in, or use a console cable to connect and log into the Pi. Then run '''sudo raspi-config''' at a command line to set video output to composite! [https://learn.adafruit.com/using-a-mini-pal-ntsc-display-with-a-raspberry-pi/ Vous aurez également besoin d'ajuster les paramètres de votre Pi pour utiliser la sortie vidéo composition avec la meilleure résolution possible]. | ||
{{RASP-PIZERO-TRAILER}} | {{RASP-PIZERO-TRAILER}} | ||
Version du 28 novembre 2015 à 21:58
Introduction
The Raspberry Pi chipset was originally designed to be a HDMI/graphics co-processor for mobile devices. For that reason, it has quite a bit of 'HDMI horsepower' and can, despite it's small size, play 1080p video at full screen.
Sortie Video HDMI
The easiest & fastest way to get video going is to connect up an HDMI display. We have a ton of options, and any HDMI display size from 640x480 up to 1920x1080 will work. The Mini HDMI port is conveniently labeled and shown below:
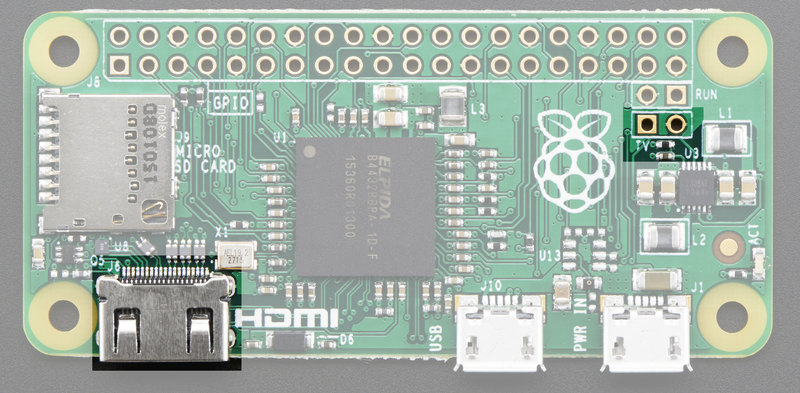
Crédit: AdaFruit Industries www.adafruit.com

Crédit: AdaFruit Industries www.adafruit.com
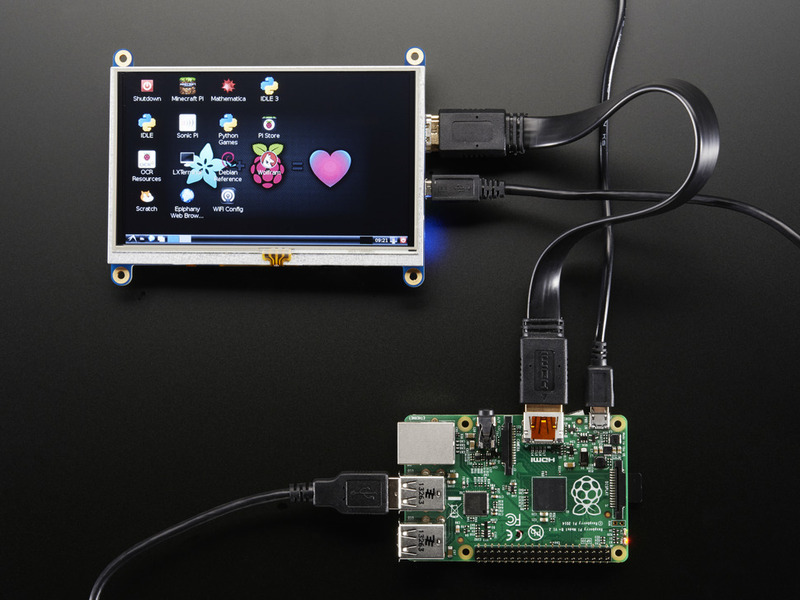
For example, our 5" HDMI touch backpack which is the smallest all-in-one display we carry can be powered from the Pi Zero's USB port and provide a touchscreen at the same time.
(Shown here with a Pi 2 because, well, the Pi Zero wasn't out at the time)
Crédit: AdaFruit Industries www.adafruit.com
To connect an HDMI device, you'll need 2 things, a Mini HDMI to HDMI Adapter and an HDMI Cable
The HDMI cable is pretty straight-forward to understand, and you can get one anywhere. The HDMI adapter is required because the Pi Zero does not have a standard size HDMI port, instead the port is slimmer and smaller to keep the Zero petite. The adapter is pretty straight forward to use - plug it into the Pi Zero and the port is now large enough for any standard HDMI cable
Sortie video PiTFT
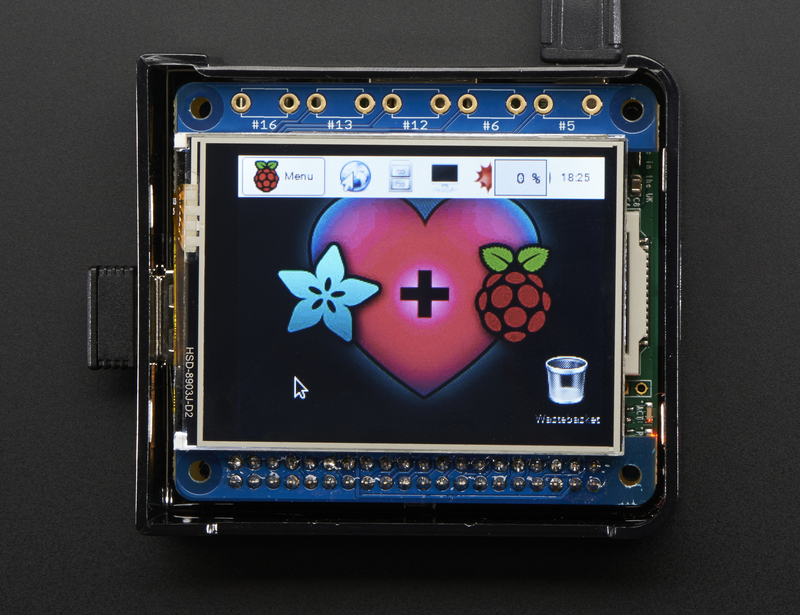
Even though it is 'half size' of the A+, you can still use and of PiTFT d'Adafruit on the Pi Zero You can use any size from our 2.2" 320x240 PiTFT HAT, up to our 3.5" Touchscreen 480x320.
Before you can plug in a HAT or PiTFT you'll need to solder in the 2x20 male header (que vous pouvez sectionner sur une rangée de 40 broches de long).
Then follow the tutorial for the PiTFT of your choice! Be sure to pick the Jessie install image
Crédit: AdaFruit Industries www.adafruit.com
Sortie VGA
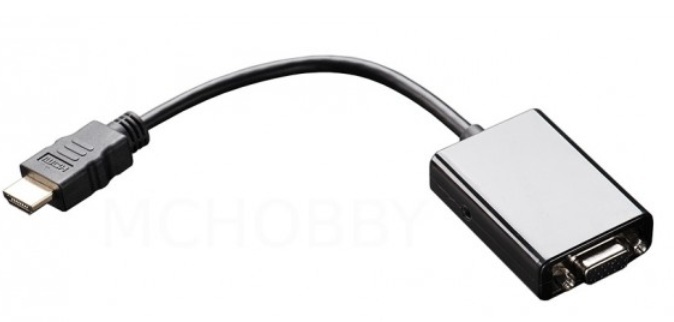
This one is pretty easy, just use the HDMI adapter above, and an HDMI to VGA adapter (this also has the benefit of giving you an audio output)
Crédit: AdaFruit Industries www.adafruit.com
Vidéo composite NTSC/PAL
OK so you want TV video? Maybe for one of our very tiny composite video screens?
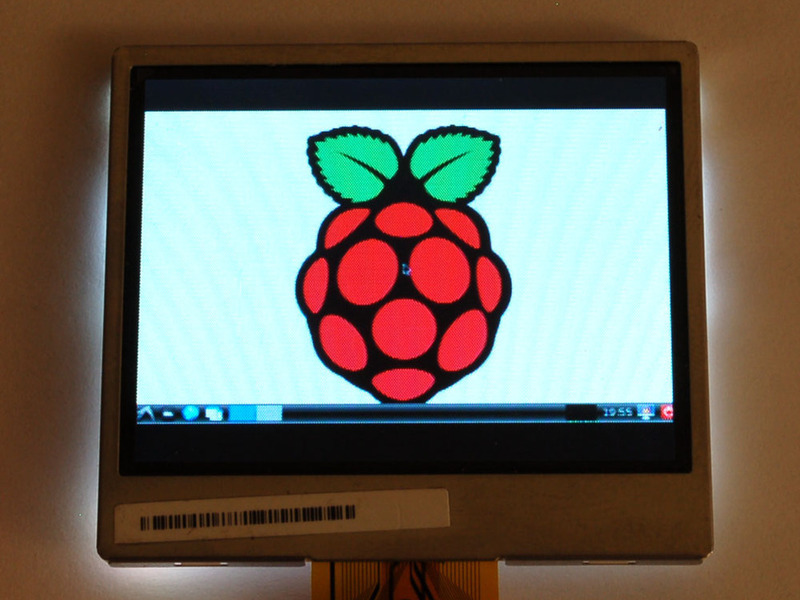
Crédit: AdaFruit Industries www.adafruit.com
Well, the quality is not going to be nearly as nice as with VGA or HDMI but you can do it. Find the two pads marked TV on the Zero

Crédit: AdaFruit Industries www.adafruit.com
The hole on the left, nearest to the TV text, is the signal (+) line, the pin to the right of it is the ground (-) line. Solder two wires to these pads and connect them to an RCA Jack like this one
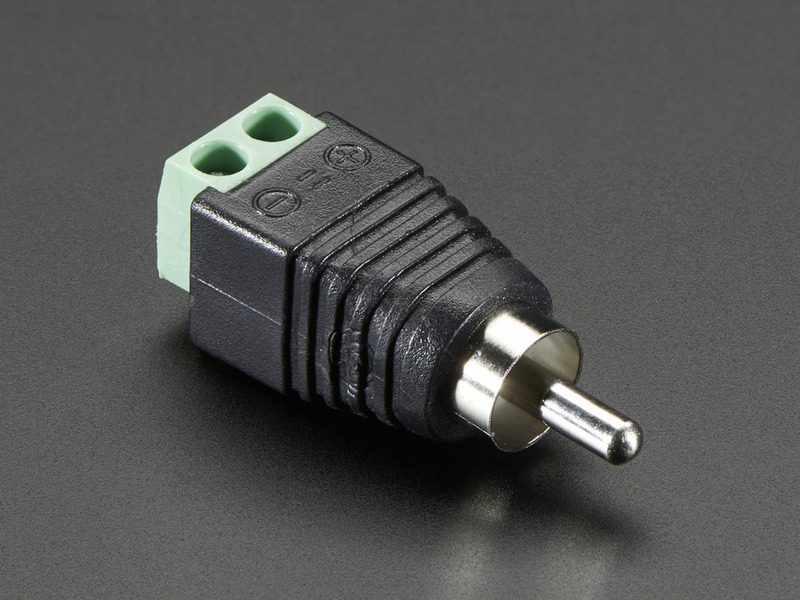
Crédit: AdaFruit Industries www.adafruit.com
Make sure to not have HDMI plugged in, it should auto-switch to TV out. If you have somehow set your Pi for HDMI out only, plug your HDMI screen back in, or use a console cable to connect and log into the Pi. Then run sudo raspi-config at a command line to set video output to composite! Vous aurez également besoin d'ajuster les paramètres de votre Pi pour utiliser la sortie vidéo composition avec la meilleure résolution possible.
Source: Introducing the Raspberry Pi Zero
Créé par LadyAda pour AdaFruit Industries.
Traduction réalisée et augmentée par Meurisse D pour MCHobby.be.
Toute référence, mention ou extrait de cette traduction doit être explicitement accompagné du texte suivant : « Traduction par MCHobby (www.MCHobby.be) - Vente de kit et composants » avec un lien vers la source (donc cette page) et ce quelque soit le média utilisé.
L'utilisation commercial de la traduction (texte) et/ou réalisation, même partielle, pourrait être soumis à redevance. Dans tous les cas de figures, vous devez également obtenir l'accord du(des) détenteur initial des droits. Celui de MC Hobby s'arrêtant au travail de traduction proprement dit.
Traduit avec l'autorisation d'AdaFruit Industries - Translated with the permission from Adafruit Industries - www.adafruit.com