Différences entre versions de « Rasp-Hat-Moteur-Assembler »
| Ligne 4 : | Ligne 4 : | ||
== Souder les connecteurs et les borniers == | == Souder les connecteurs et les borniers == | ||
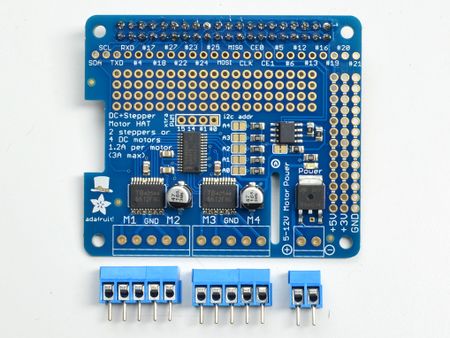
| − | + | Il y a un peu de soudure à faire avant de pouvoir propulser votre premier robot. Dans cette partie, nous allons attacher un connecteur 2x20 de façon à pouvoir brancher la carte sur un Raspberry-Pi. Il faudra également souder les borniers pour le raccordement des moteurs et des alimentations. | |
''Toutes les images ci-dessous sont créditées à [http://www.adafruit.com Adafruit Industries] - All the images here under are crédited to [http://www.adafruit.com Adafruit Industries''. | ''Toutes les images ci-dessous sont créditées à [http://www.adafruit.com Adafruit Industries] - All the images here under are crédited to [http://www.adafruit.com Adafruit Industries''. | ||
| Ligne 11 : | Ligne 11 : | ||
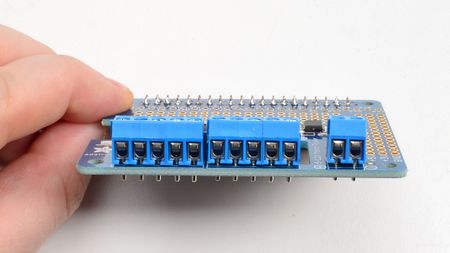
{{asm-row|img=Rasp-Hat-Moteur-Assembler-00.jpg}} | {{asm-row|img=Rasp-Hat-Moteur-Assembler-00.jpg}} | ||
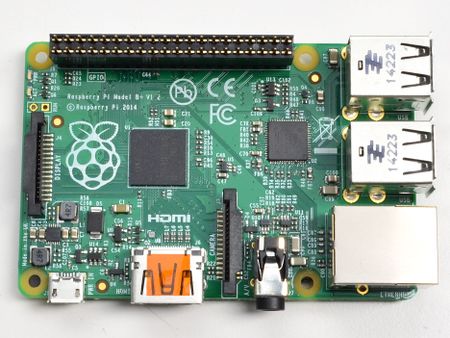
| − | {{asm-text}} | + | {{asm-text}} Nous allons commencer par enfoncer le connecteur 2x20 sur le GPIO du Raspvberry-Pi. Cela maintiendra le connecteur bien en place pendant l'opération de soudure. Assurez-vous que votre Pi soit bien hors tension! |
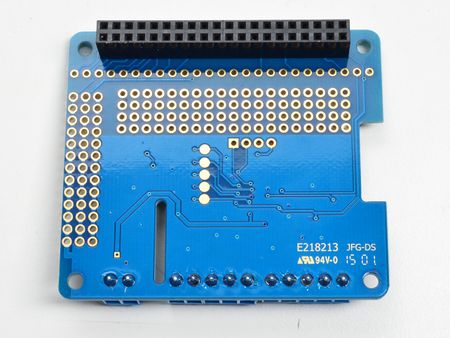
{{asm-row|img=Rasp-Hat-Moteur-Assembler-01.jpg}} | {{asm-row|img=Rasp-Hat-Moteur-Assembler-01.jpg}} | ||
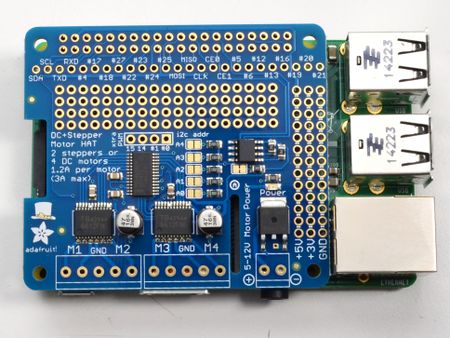
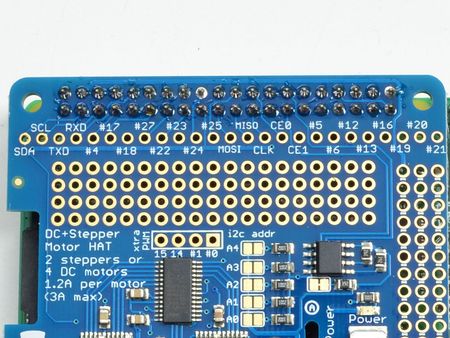
| − | {{asm-text}} | + | {{asm-text}} Placer le HAT au dessus du connecteur de sorte que les broches du connecteur 2x20 ressorte de l'autre côté des pastilles du HAT. |
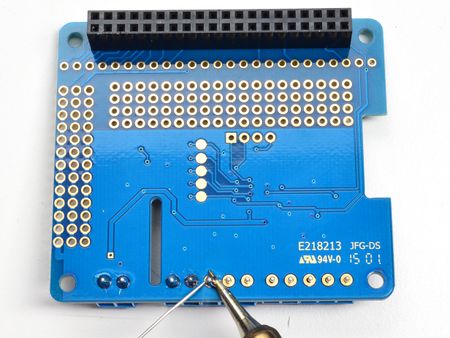
{{asm-row|img=Rasp-Hat-Moteur-Assembler-02.jpg}} | {{asm-row|img=Rasp-Hat-Moteur-Assembler-02.jpg}} | ||
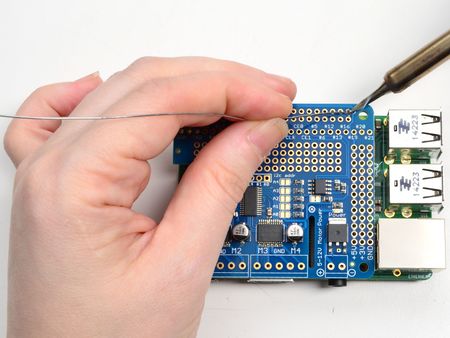
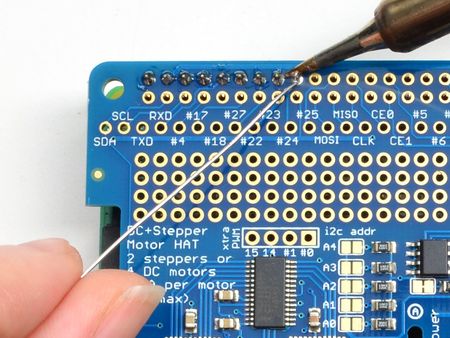
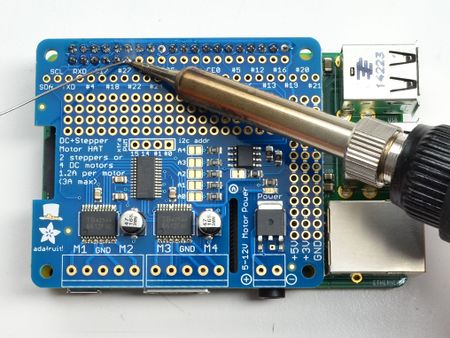
| − | {{asm-text}} ''' | + | {{asm-text}} '''Puis souder!''' |
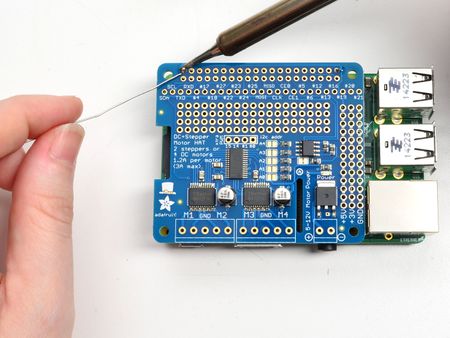
| − | + | Chauffer le fer à souder. Commencer par souder la broche en haut à droite du connecteur. | |
Once it is soldered, put down the solder and reheat the solder point with your iron while straightening the HAT so it isn't leaning down | Once it is soldered, put down the solder and reheat the solder point with your iron while straightening the HAT so it isn't leaning down | ||
Version du 1 septembre 2017 à 09:16
|
|
En cours de traduction/élaboration. |
Souder les connecteurs et les borniers
Il y a un peu de soudure à faire avant de pouvoir propulser votre premier robot. Dans cette partie, nous allons attacher un connecteur 2x20 de façon à pouvoir brancher la carte sur un Raspberry-Pi. Il faudra également souder les borniers pour le raccordement des moteurs et des alimentations.
Toutes les images ci-dessous sont créditées à Adafruit Industries - All the images here under are crédited to [http://www.adafruit.com Adafruit Industries.
Source: Adafruit DC and Stepper Motor HAT for Raspberry Pi
Créé par LadyAda pour AdaFruit Industries.
Traduction réalisée par Meurisse D pour MCHobby.be.
Toute référence, mention ou extrait de cette traduction doit être explicitement accompagné du texte suivant : « Traduction par MCHobby (www.MCHobby.be) - Vente de kit et composants » avec un lien vers la source (donc cette page) et ce quelque soit le média utilisé.
L'utilisation commercial de la traduction (texte) et/ou réalisation, même partielle, pourrait être soumis à redevance. Dans tous les cas de figures, vous devez également obtenir l'accord du(des) détenteur initial des droits. Celui de MC Hobby s'arrêtant au travail de traduction proprement dit.
Traduit avec l'autorisation d'AdaFruit Industries - Translated with the permission from Adafruit Industries - www.adafruit.com
