ENG-CANSAT-PICO-ASSEMBLY
Abstract
This tutorial can be conduct with your own source of materials.
If by any chance you have a Cansat Pico Kit, you do have the needed material but also additional boards to pre-assemble a CANSAT objet.
This section contains recommandations and tips to follow to quickly assemble your kit and be ready to work within 10 to 15 minutes.
Raspberry-Pi Pico Soldering
|
|
En cours de traduction/élaboration. |
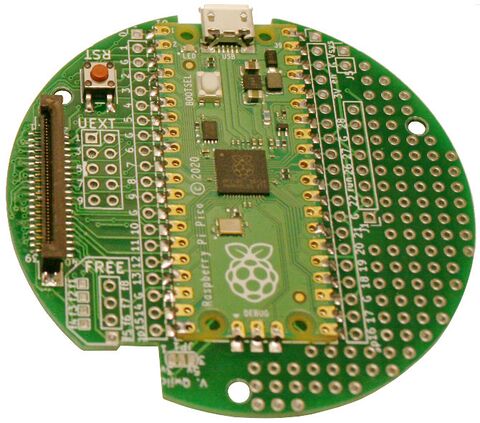
The Pico is the MicroControler propeling the board.
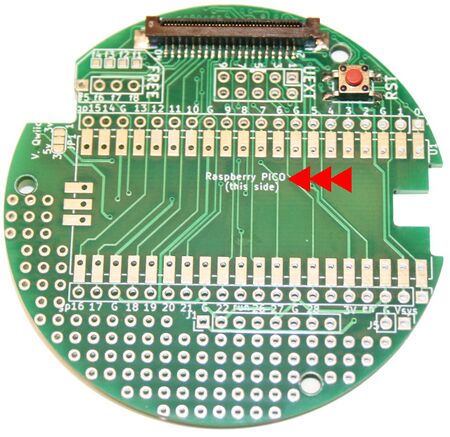
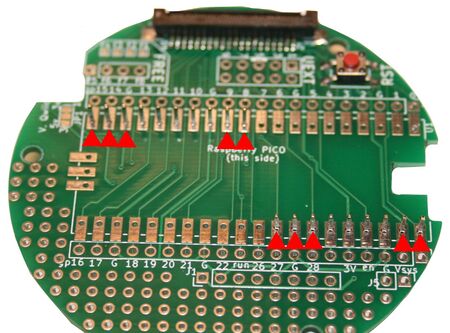
It is soldered on the top of the Cansat Base Board, this can be done with Pin Header or directly flat on the board.
PowerBoost 500 Charger Soldering
The PowerBoost 500 is the default powering system of this kit.
|
|
En cours de traduction/élaboration. |
PowerBoost 1000 Charger Soldering
The PowerBoost 500 of the kit can be replaced with a PowerBoost 1000 to get more power (1000mA) from the Lipo battery
|
|
En cours de traduction/élaboration. |
RFM69HCW Soldering
The RFM69HWC is the radio module used in the CanSat-Pico kit to transmit data
|
|
En cours de traduction/élaboration. |
Written by Meurisse D. for MCHobby


