Adafruit Motor Shield V2-Assembler
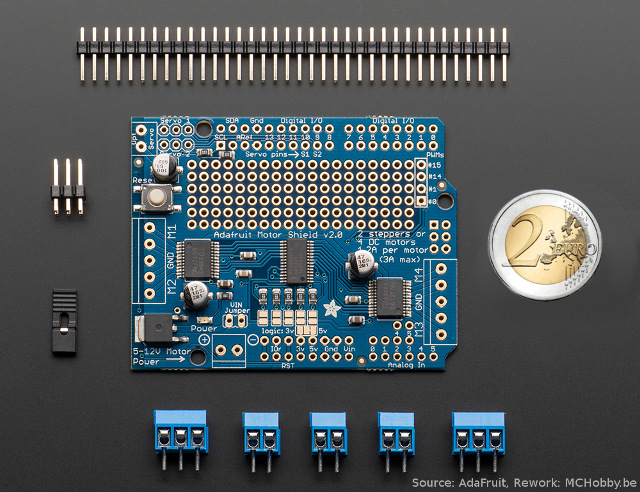
Crédit: AdaFruit Industries www.adafruit.com
Placer un Header Normal
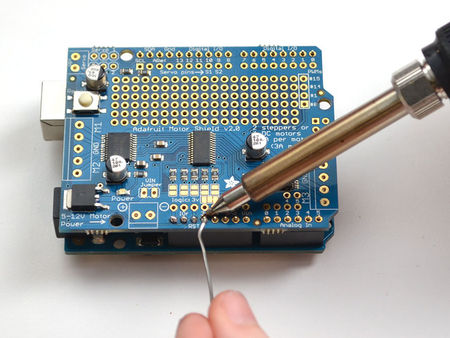
Le shield est livré avec un pinHeader normal (empattement 2.54mm). Les pinHeaders normaux ne permettent pas d'empiler les shields mais ils sont mécaniquement plus résistant et sont aussi beaucoup moins cher! N'effectuez pas ces opérations si vous voulez installer un shield au dessus de celui-ci car une fois soudé, il sera impossible de placer un stacking header!
Voyez plus bas dans cette page si vous voulez installer in Stacking Header.
Assemblage
Toutes les images ci-dessous provennent d'AdaFruit Industries - Crédit AdaFruit Industries.
All images here under comes from AdaFruit Industries - Crédit to AdaFruit Industries.
Placer les borniers et connecteurs
After you have installed either normal or stacking headers, you must install the terminal blocks.
|
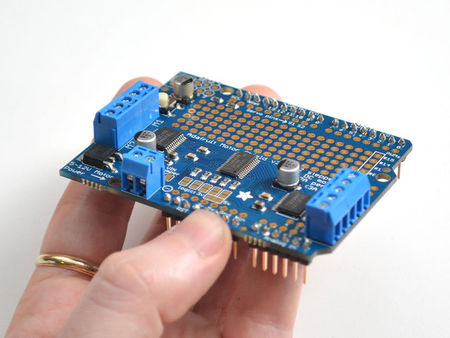
Next we will install the terminal blocks. These are how we will connect power and motors to the shield. They're much easier to use than soldering direct, just use a small screwdriver to release/attach wires!
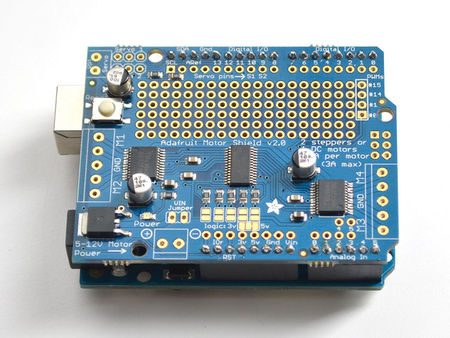
First, though, we must solder them in. Slide the 3-pin terminal blocks into 2-pin terminal blocks so that you have 2 x 5-pin and 1 x 2-pin blocks. The two 5-pin sets go on either side. The 2-pin piece goes near the bottom of the shield. Make sure that the open holes of the terminal blocks face out! |
| 450px | Le texte de description ici |
|
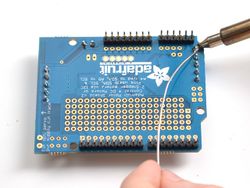
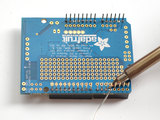
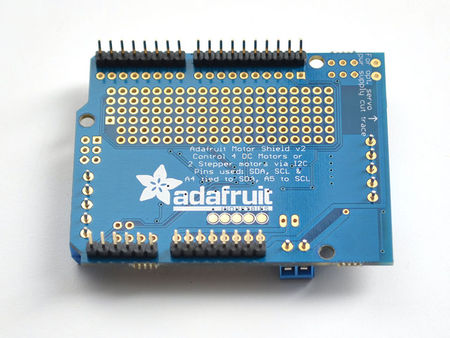
Flip the board over so that you can see & solder the pins of the terminal blocks |
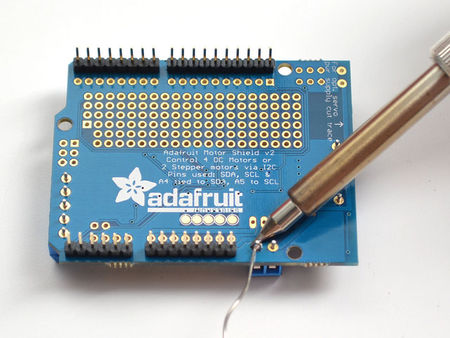
|
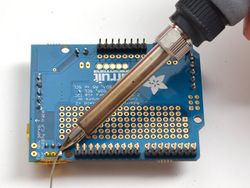
Solder in the two pins of the external power terminal-block |
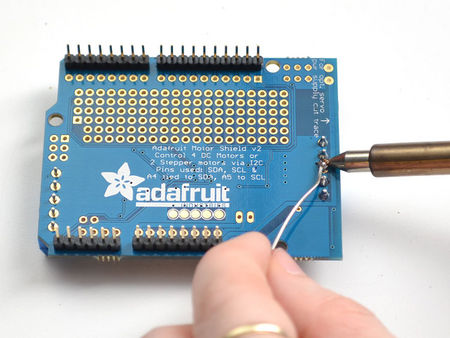
|
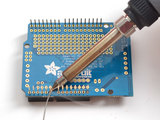
Solder in both motor blocks, 5 pads each |
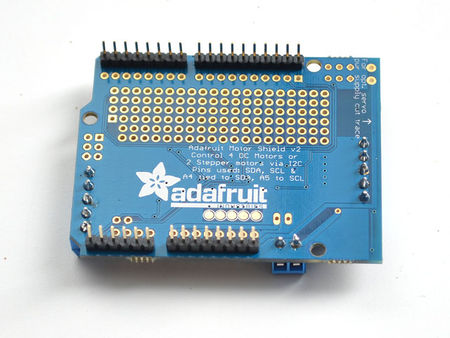
|
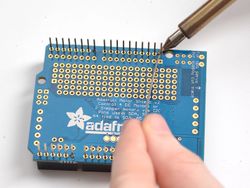
That's it for the terminal blocks. Next up, servo connections. |
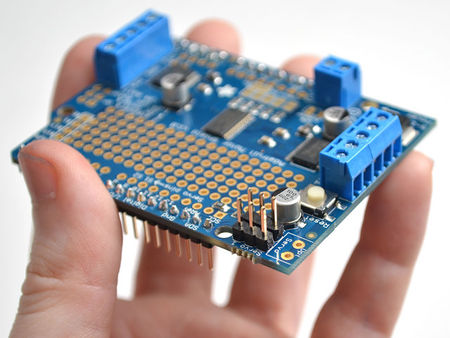
|
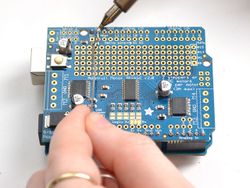
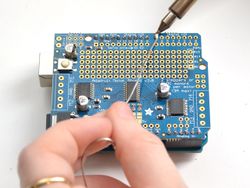
OK next up take the 2x3 pin header and place it with the short legs down into the top corner where it says SERVO 1 and SERVO 2
You might have to sort of angle the part a little to get it to fit into both sets of 3-pin holes. we did this so it wont fall out easily when you turn it over! |
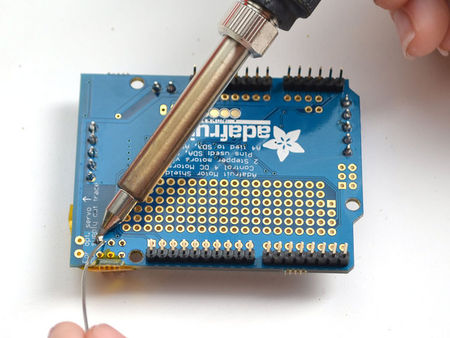
|
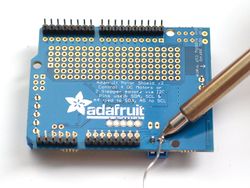
Then flip the board over and solder the 6 pins |
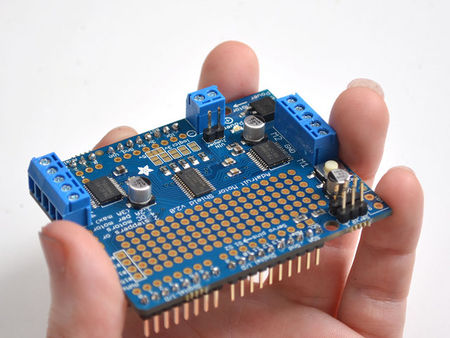
|
Finally, break off a 2-pin piece of header and place it next to the POWER terminal block, short legs down, tape it in place if necessary and solder it in. |
Installer un Stacking Header
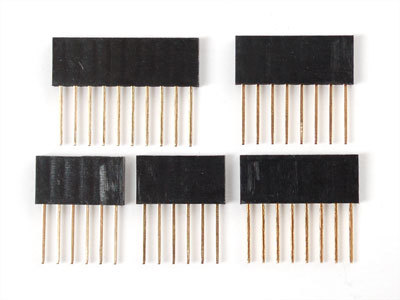
|
You will need to purchase Arduino stacking headers for this step, the shield does not come with them.
|
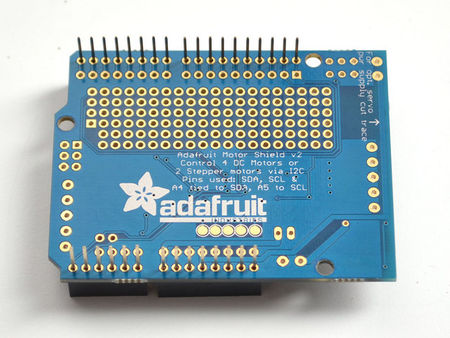
|
Start by sliding the 10 pin, 2 x 8 pin and 6-pin stacking headers into the outer rows of the shield from the top. Then flip the board over so its resting on the four headers. Pull on the legs if necessary to straighten them out. |
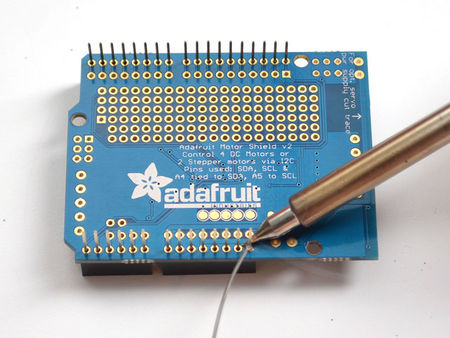
|
Tack one pin of each header, to get them set in place before more soldering. If the headers go crooked you can re-heat the one pin while re-positioning to straighten them up |
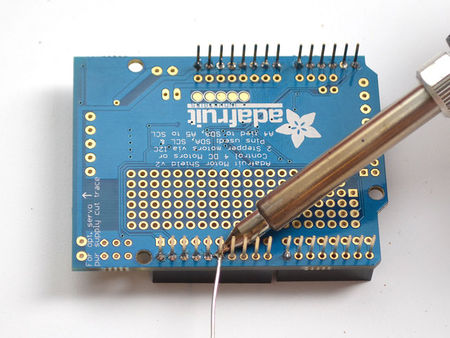
|
Once you've tacked and straightened all the headers, go back and solder the remaining pins for each header. |
Source: Adafruit Motor Shield V2 for Arduino créé par LadyAda pour AdaFruit Industries. Crédit [www.adafruit.com AdaFruit Industries]
Traduit par Meurisse D. pour MCHobby.be
Nos remerciements à Mr Pierre M. pour ses suggestions de correction.
Traduit avec l'autorisation d'AdaFruit Industries - Translated with the permission from Adafruit Industries - www.adafruit.com
Toute référence, mention ou extrait de cette traduction doit être explicitement accompagné du texte suivant : « Traduction par MCHobby (www.MCHobby.be) - Vente de kit et composants » avec un lien vers la source (donc cette page) et ce quelque soit le média utilisé.
L'utilisation commercial de la traduction (texte) et/ou réalisation, même partielle, pourrait être soumis à redevance. Dans tous les cas de figures, vous devez également obtenir l'accord du(des) détenteur initial des droits. Celui de MC Hobby s'arrêtant au travail de traduction proprement dit.
